Applying clearcoat with a TouchUpDirect pen

How to Fix Multiple Small Rock Chips

Choosing the Right Fix for Chips

This method works best:

  • Small — pencil eraser-sized or smaller
  • Numerous — multiple chips in the same area
  • Surface-level — colorcoat damage only, no bare metal or plastic showing
  • Located on the hood, bumper, roof, or door panels from road debris or gravel

No sanding is needed for tiny surface chips. If the damage goes through to metal or plastic, consider using a Primer. Surface chips that don’t expose bare metal don’t require Primer — but when the chip reaches metal, upgrading to the Preferred or Platinum Pen Kit with a Primer Pen is recommended.
Step-by-Step: Fixing Multiple Small Stone Chips

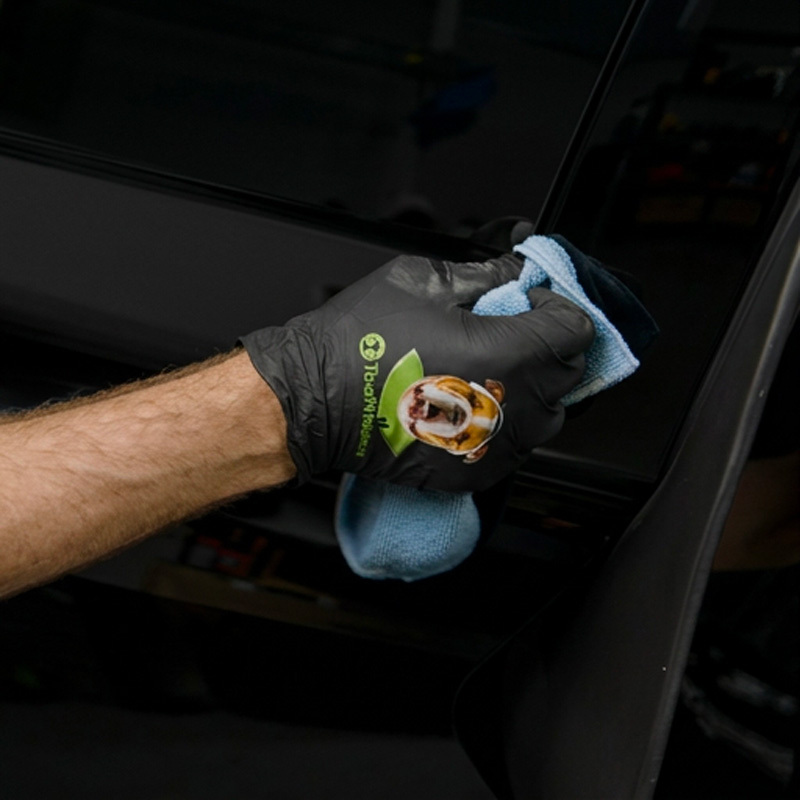
  1. Step 1: Clean the Area (~5 minutes)

     Black-gloved hand cleaning a dark vehicle panel with a microfiber cloth before repairing rock chips.

    Best conditions:

    Work at around 70°F. Avoid direct sunlight and humid or rainy weather.
    Wash the chipped area with soap and water, then dry thoroughly. For best results, follow with a Wax & Grease Remover wipe (optional but recommended): wipe the area in one direction to remove road grime, wax residue, and oils that could prevent the paint from bonding. Let the surface dry completely before moving on.
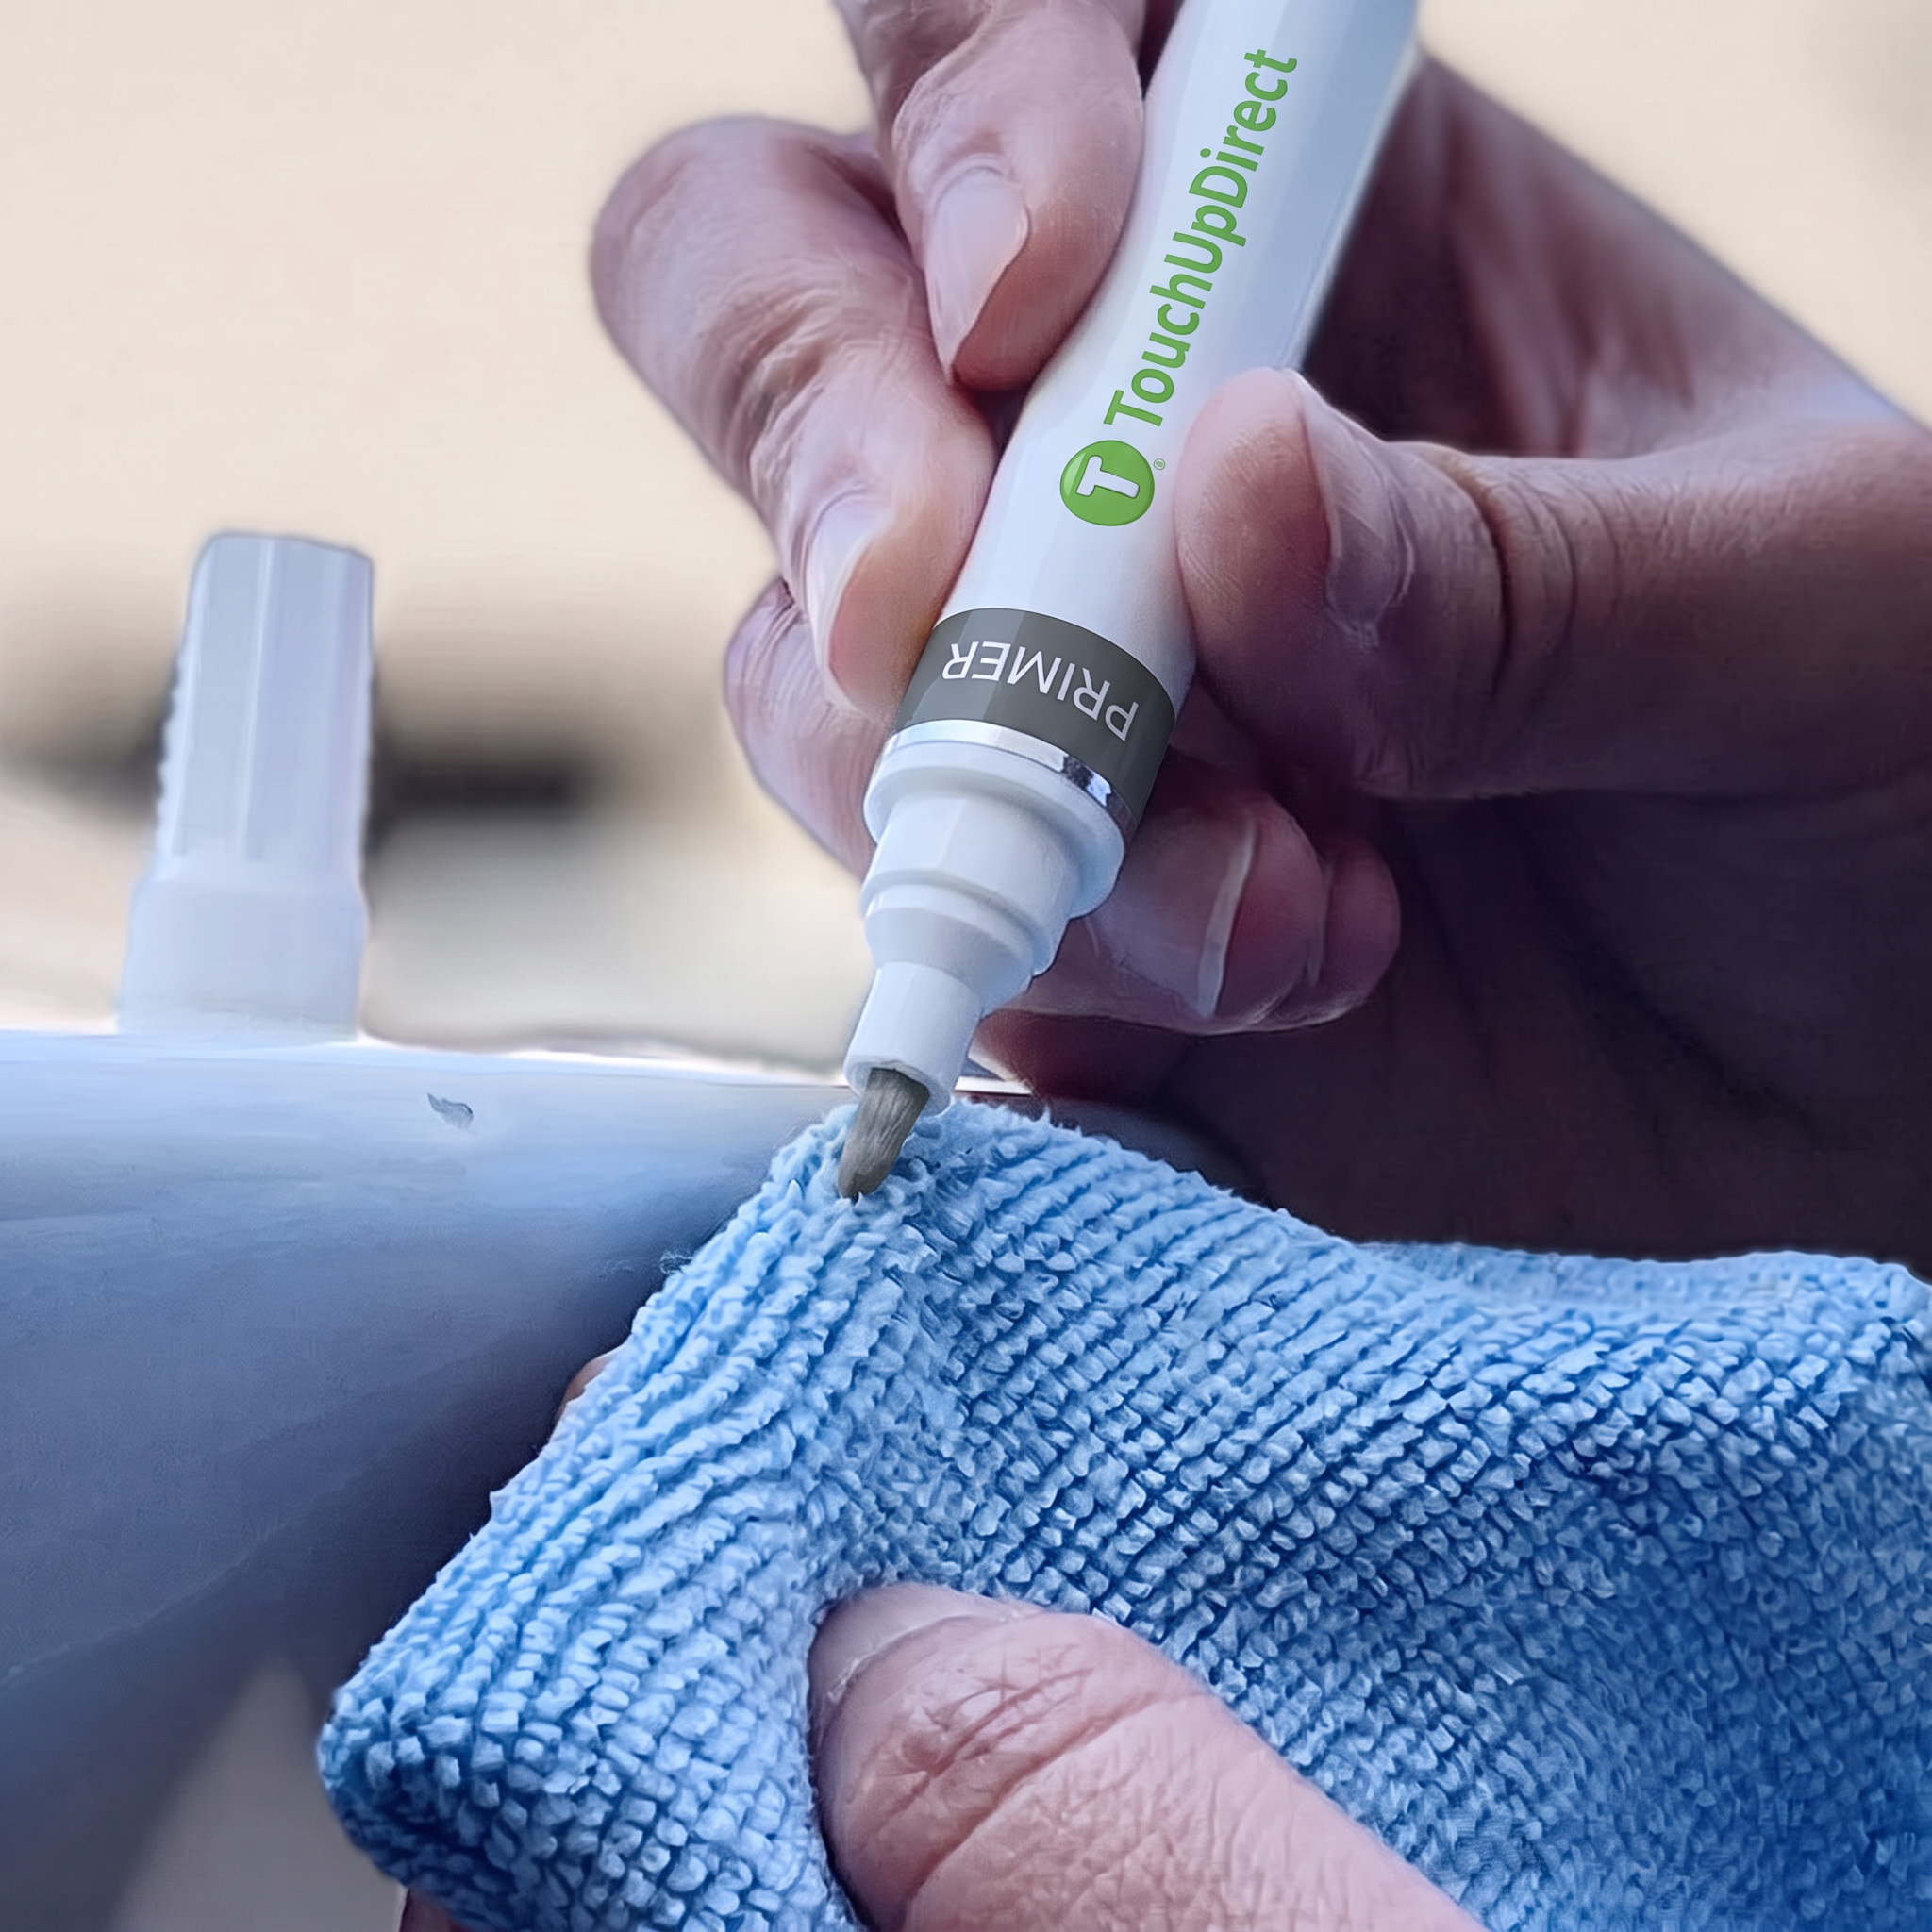
  2. Step 2: Prime the Pens (first use only)

    Hand priming the tip of a TouchUpDirect paint pen against a microfiber cloth.
    Before applying paint, get the ink flowing:
    • Remove the cap
    • Press the tip down firmly on a soft surface 3–5 times until the tip is saturated with paint
    • Wipe away any excess paint that builds up on the tip
    Repeat this for the Clearcoat pen as well before you use it.
  3. Step 3: Test the Color on the Test Card

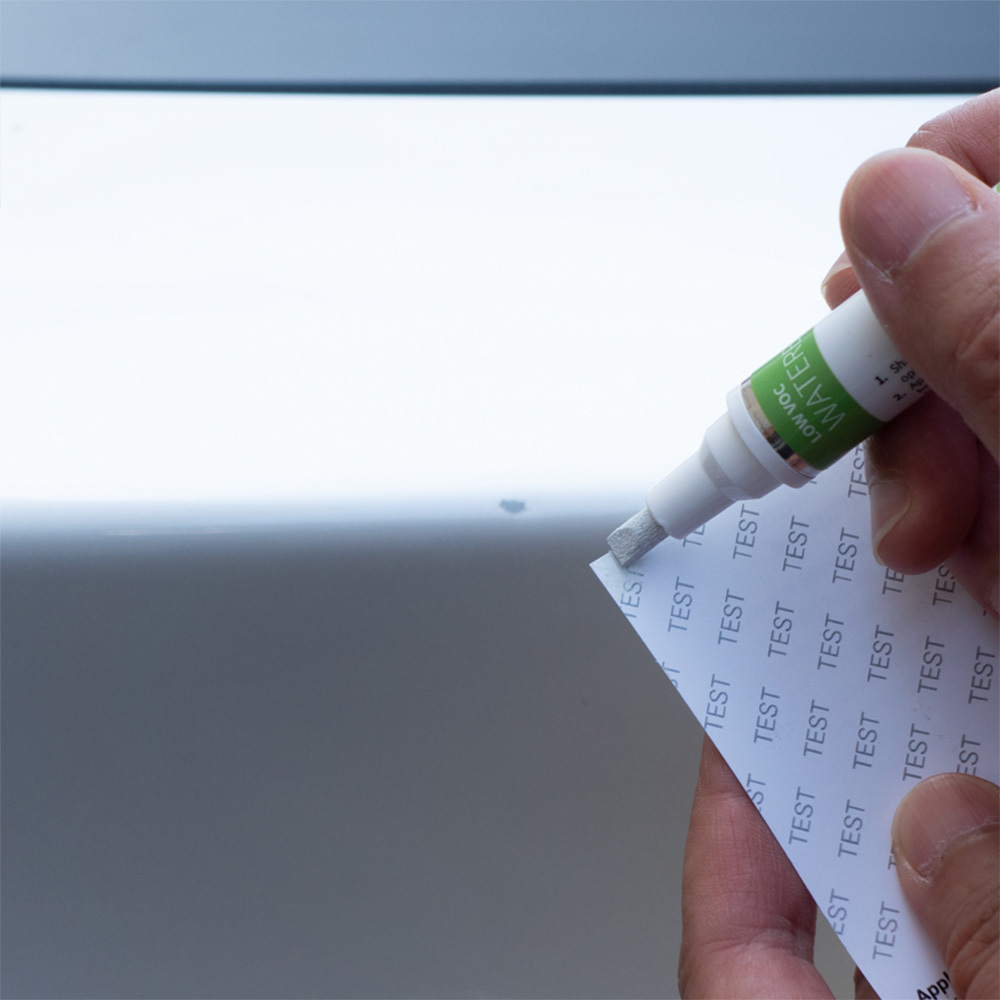
    Hand applying colorcoat with a TouchUpDirect paint pen along the edge of a test card.

    Tips

    Apply the paint along the edge of the test card, rather than in the middle. This lets you hold the painted edge flush against your vehicle's panel for a more accurate side-by-side comparison.
    Before touching the vehicle, apply 2–3 thin coats of Colorcoat to the test card, letting each coat dry for 15 minutes. Then apply Clearcoat on top and let it dry for 15–30 minutes — the clearcoat is what reveals the true, final color, so don't skip it. Hold the finished test card up to your vehicle to compare. If it matches, you're ready to proceed. If it doesn't look right, stop and contact us before applying anything to the vehicle.
  4. Step 4: Apply the Colorcoat (~15–20 minutes)

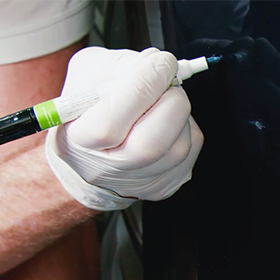
    Gloved hand applying blue colorcoat with a touch up paint pen to small chips on a dark vehicle panel.
    This is the most important step — and the most common place people go wrong. Using a light dabbing motion, gently touch the pen tip to each chip and let the paint flow in. Do not stroke or drag. Do not try to fill the chip in one pass.
  5. Step 5: Apply the Clearcoat (~10 minutes)

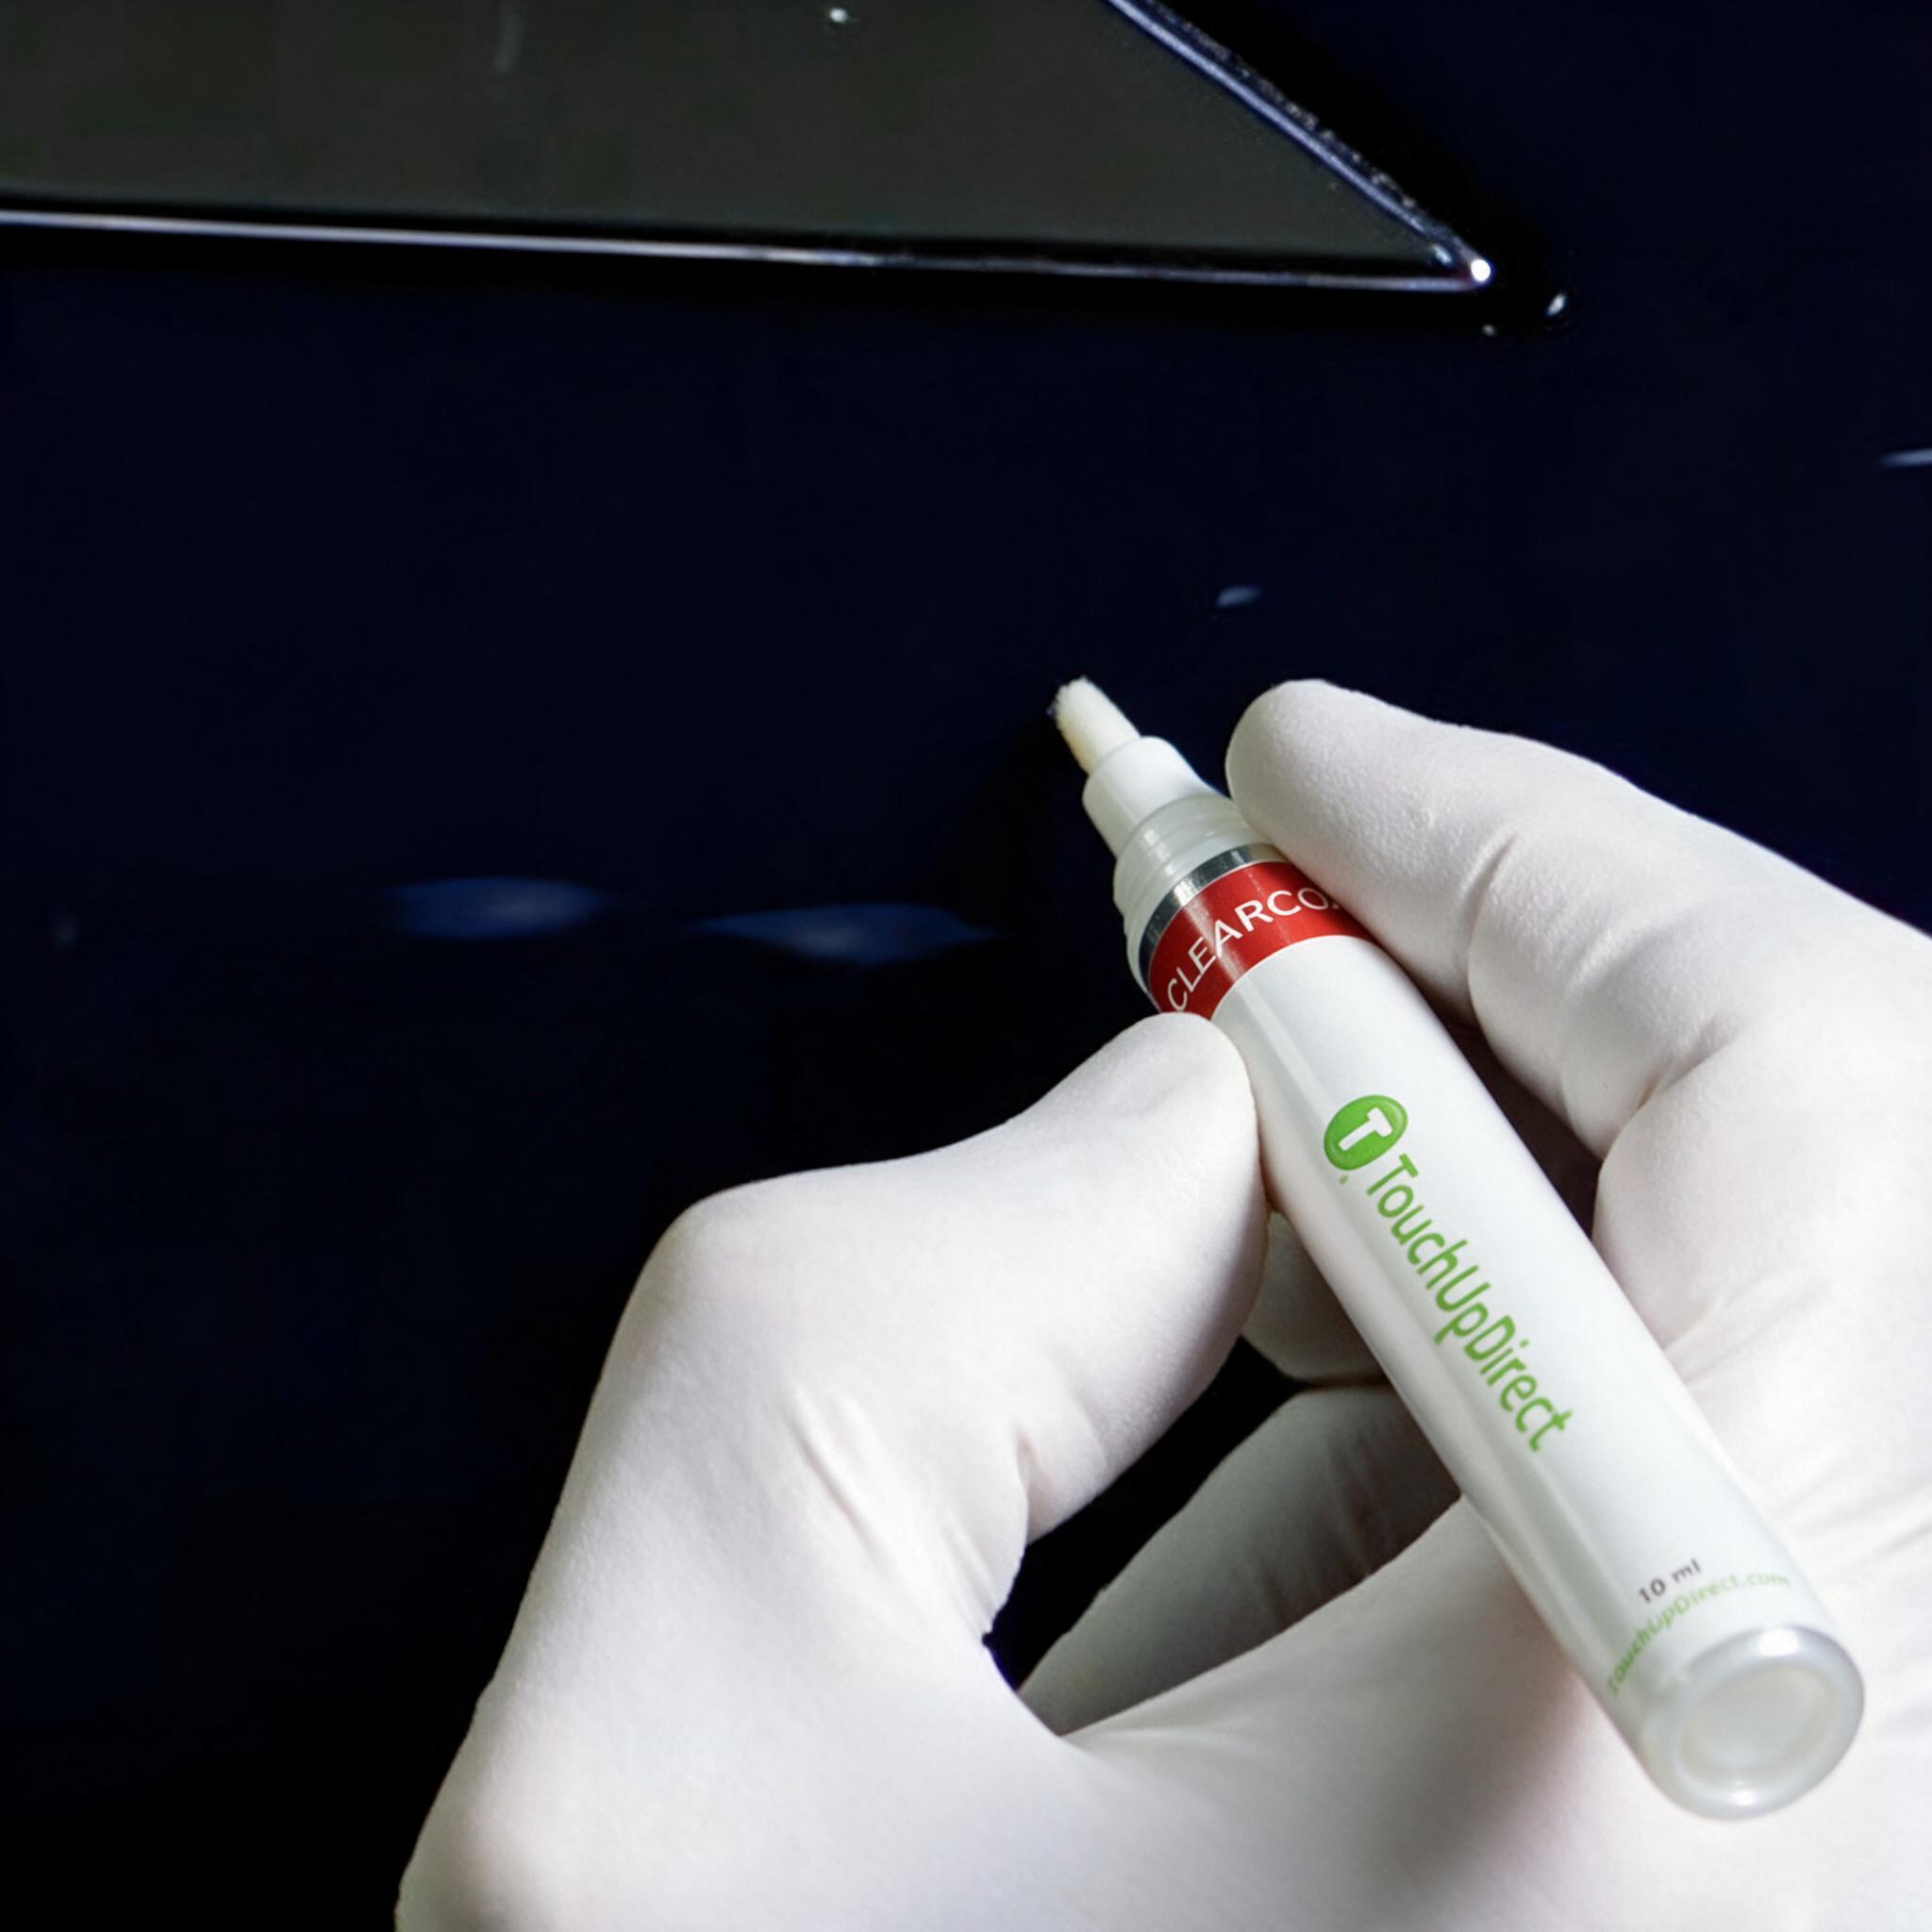
    Gloved hand applying clearcoat with a TouchUpDirect paint pen over repaired rock chips on a dark blue vehicle panel.
    Once the colorcoat is dry to the touch, apply the clearcoat. This is not optional — clearcoat is what gives the repair its gloss, makes the color match correctly, and protects the paint from UV fading, weather, and washing. Using the same dabbing technique:
    • Apply one light, even coat of clearcoat over each repaired chip
    • Let dry for 10-15 minutes
    • Apply a second coat if needed for full coverage
    • Do not exceed 4 total coats of clearcoat
    Clearcoat is dry to handle within 30 minutes of the last application.
  6. Step 6: Wait Before Polishing or Waxing

    Clock graphic over a repaired dark blue vehicle panel representing the waiting period before polishing or waxing.

    longevity:

    3–5+ years with proper application
    48 hours before polishing or waxing the area. After 48 hours, you can polish or wax the treated area to blend the sheen and restore the full factory finish.

What This Repair Saves You

Repair Saving
TouchUpDirect DIYBody Shop
Cost$40 Pen Essential Kit$500–$1,000+
Time15–30 min activeDays (drop-off + wait)
Skill LevelBeginnerN/A
ResultColor-matched, sealed, lastingProfessional repaint

Frequently Asked Questions

  • Do I need primer for small stone chips?

    No — not if the chip is surface-level and doesn't expose bare metal or plastic. Skipping primer on these chips actually gives a better result by keeping the repair volume small and flat.

  • How many coats of colorcoat do I need?

    Most small chips only need 1–2 coats. Some may cover in a single coat. Always let each coat dry 10–15 minutes before deciding if another is needed.

  • How do I avoid a lumpy finish?

    Apply thin coats and resist the urge to over-fill. The pen tip delivers a precise, small amount of paint — trust the process and build up gradually.

  • When can I wash my car after this repair?

    Wait 48 hours before washing and avoid high-pressure washing directly over the repair for the first week.

  • When can I polish or wax?

    After 48 hours. Polishing after curing helps blend the sheen of the repair with the surrounding paint.

  • How many chips will one kit cover?

    One Essential Kit covers approximately 20–30 small chips. If you have extensive road rash across a full panel, consider ordering two kits.

  • Free Shipping

  • Amazing Customer Support

  • Color Match Guarantee