Applying clearcoat with a TouchUpDirect pen

How to Fix a Large Car Scratch

Is This the Right Method for Your Scratch?

This method works best when your scratch is:

  • Large - too extensive for a touch up
  • Repairable with paint - the panel itself is not dented or severely damaged
  • Spread across a larger area - such as a door, fender, bumper, hood, or other body panel

For a large scratch, an aerosol provides broader and more even coverage than a pen or brush, making it the better choice for blending the repaired area into the surrounding finish.
Step-by-Step: Fixing a Large Scratch

  1. Step 1: Clean and Inspect the Area (~10 minutes)

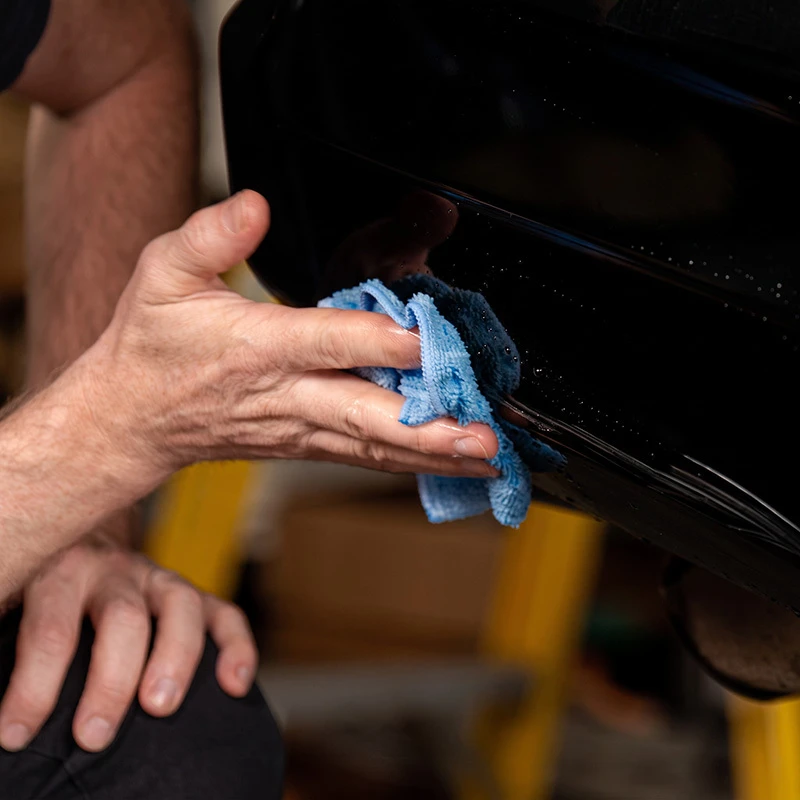
    Person cleaning a large scratch on a black vehicle panel with a microfiber cloth.
    Start by washing the damaged panel with soap and water to remove dirt and road grime. Rinse thoroughly and allow the area to dry completely.
    Now inspect the scratch closely. If you can see bare metal, plastic, or another exposed substrate, primer will be required before applying Colorcoat
  2. Step 2: Sand the Scratch (~15–30 minutes)

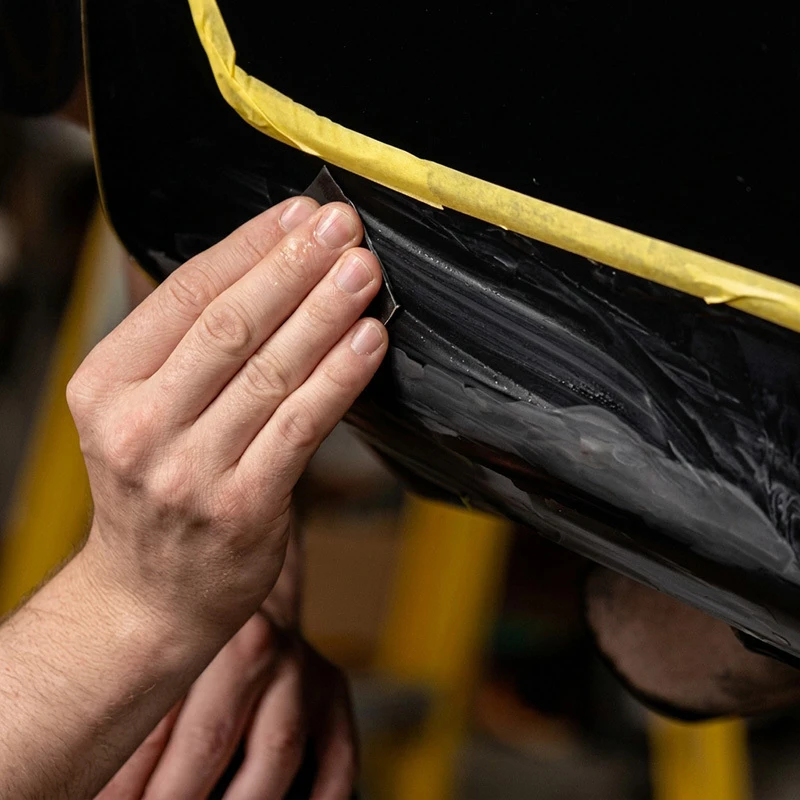
    and sanding a large scratch on a black vehicle panel inside a taped repair area.

    Tip:

    Don't rush this step. Any rough edges or imperfections left underneath the repair can become much more noticeable after Primer, Colorcoat, and Clearcoat are applied.
    The goal of sanding is to smooth the damaged area and remove loose or raised edges around the scratch.
    Use 400-grit sandpaper to gradually smooth the damaged surface. Keep your sanding focused on the repair area and avoid unnecessarily sanding the surrounding factory paint.
    If the scratch is deep enough that it cannot be filled with Primer alone, you may need Scratch & Chip Putty to fill the deeper scratches. After sanding, clean the area again to remove all dust and residue.
  3. Step 3: Mask the Repair Area

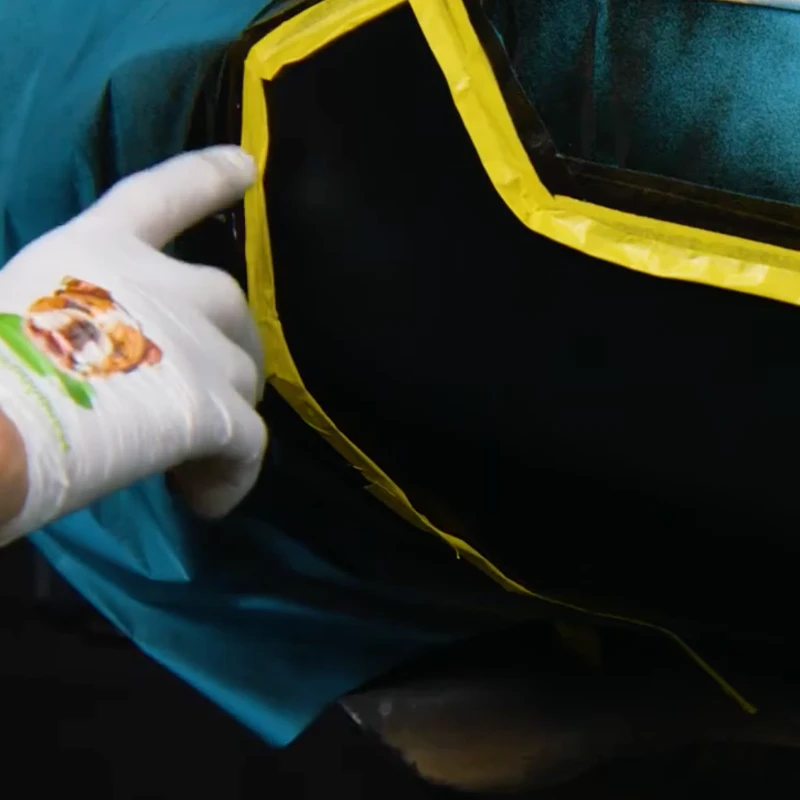
    Gloved hand checking a vehicle repair area protected with masking tape and masking paper.

    Tips:

    • Mask 12–18 inches beyond the damaged area to prevent overspray and leave enough room to blend the repair seamlessly into the surrounding paint.
    • To avoid hard paint edges, we recommend using the rolled tape technique along all edges of the paint area.
    Before spraying, carefully mask the surrounding vehicle to protect it from overspray.
    Leave enough room around the damaged area to allow the new paint to blend naturally into the existing finish. Avoid creating a hard, obvious paint edge directly around the scratch.
    Make sure the surface is clean, dry, and free of sanding dust before you begin painting.
  4. Step 4: Apply Primer (~30 minutes)

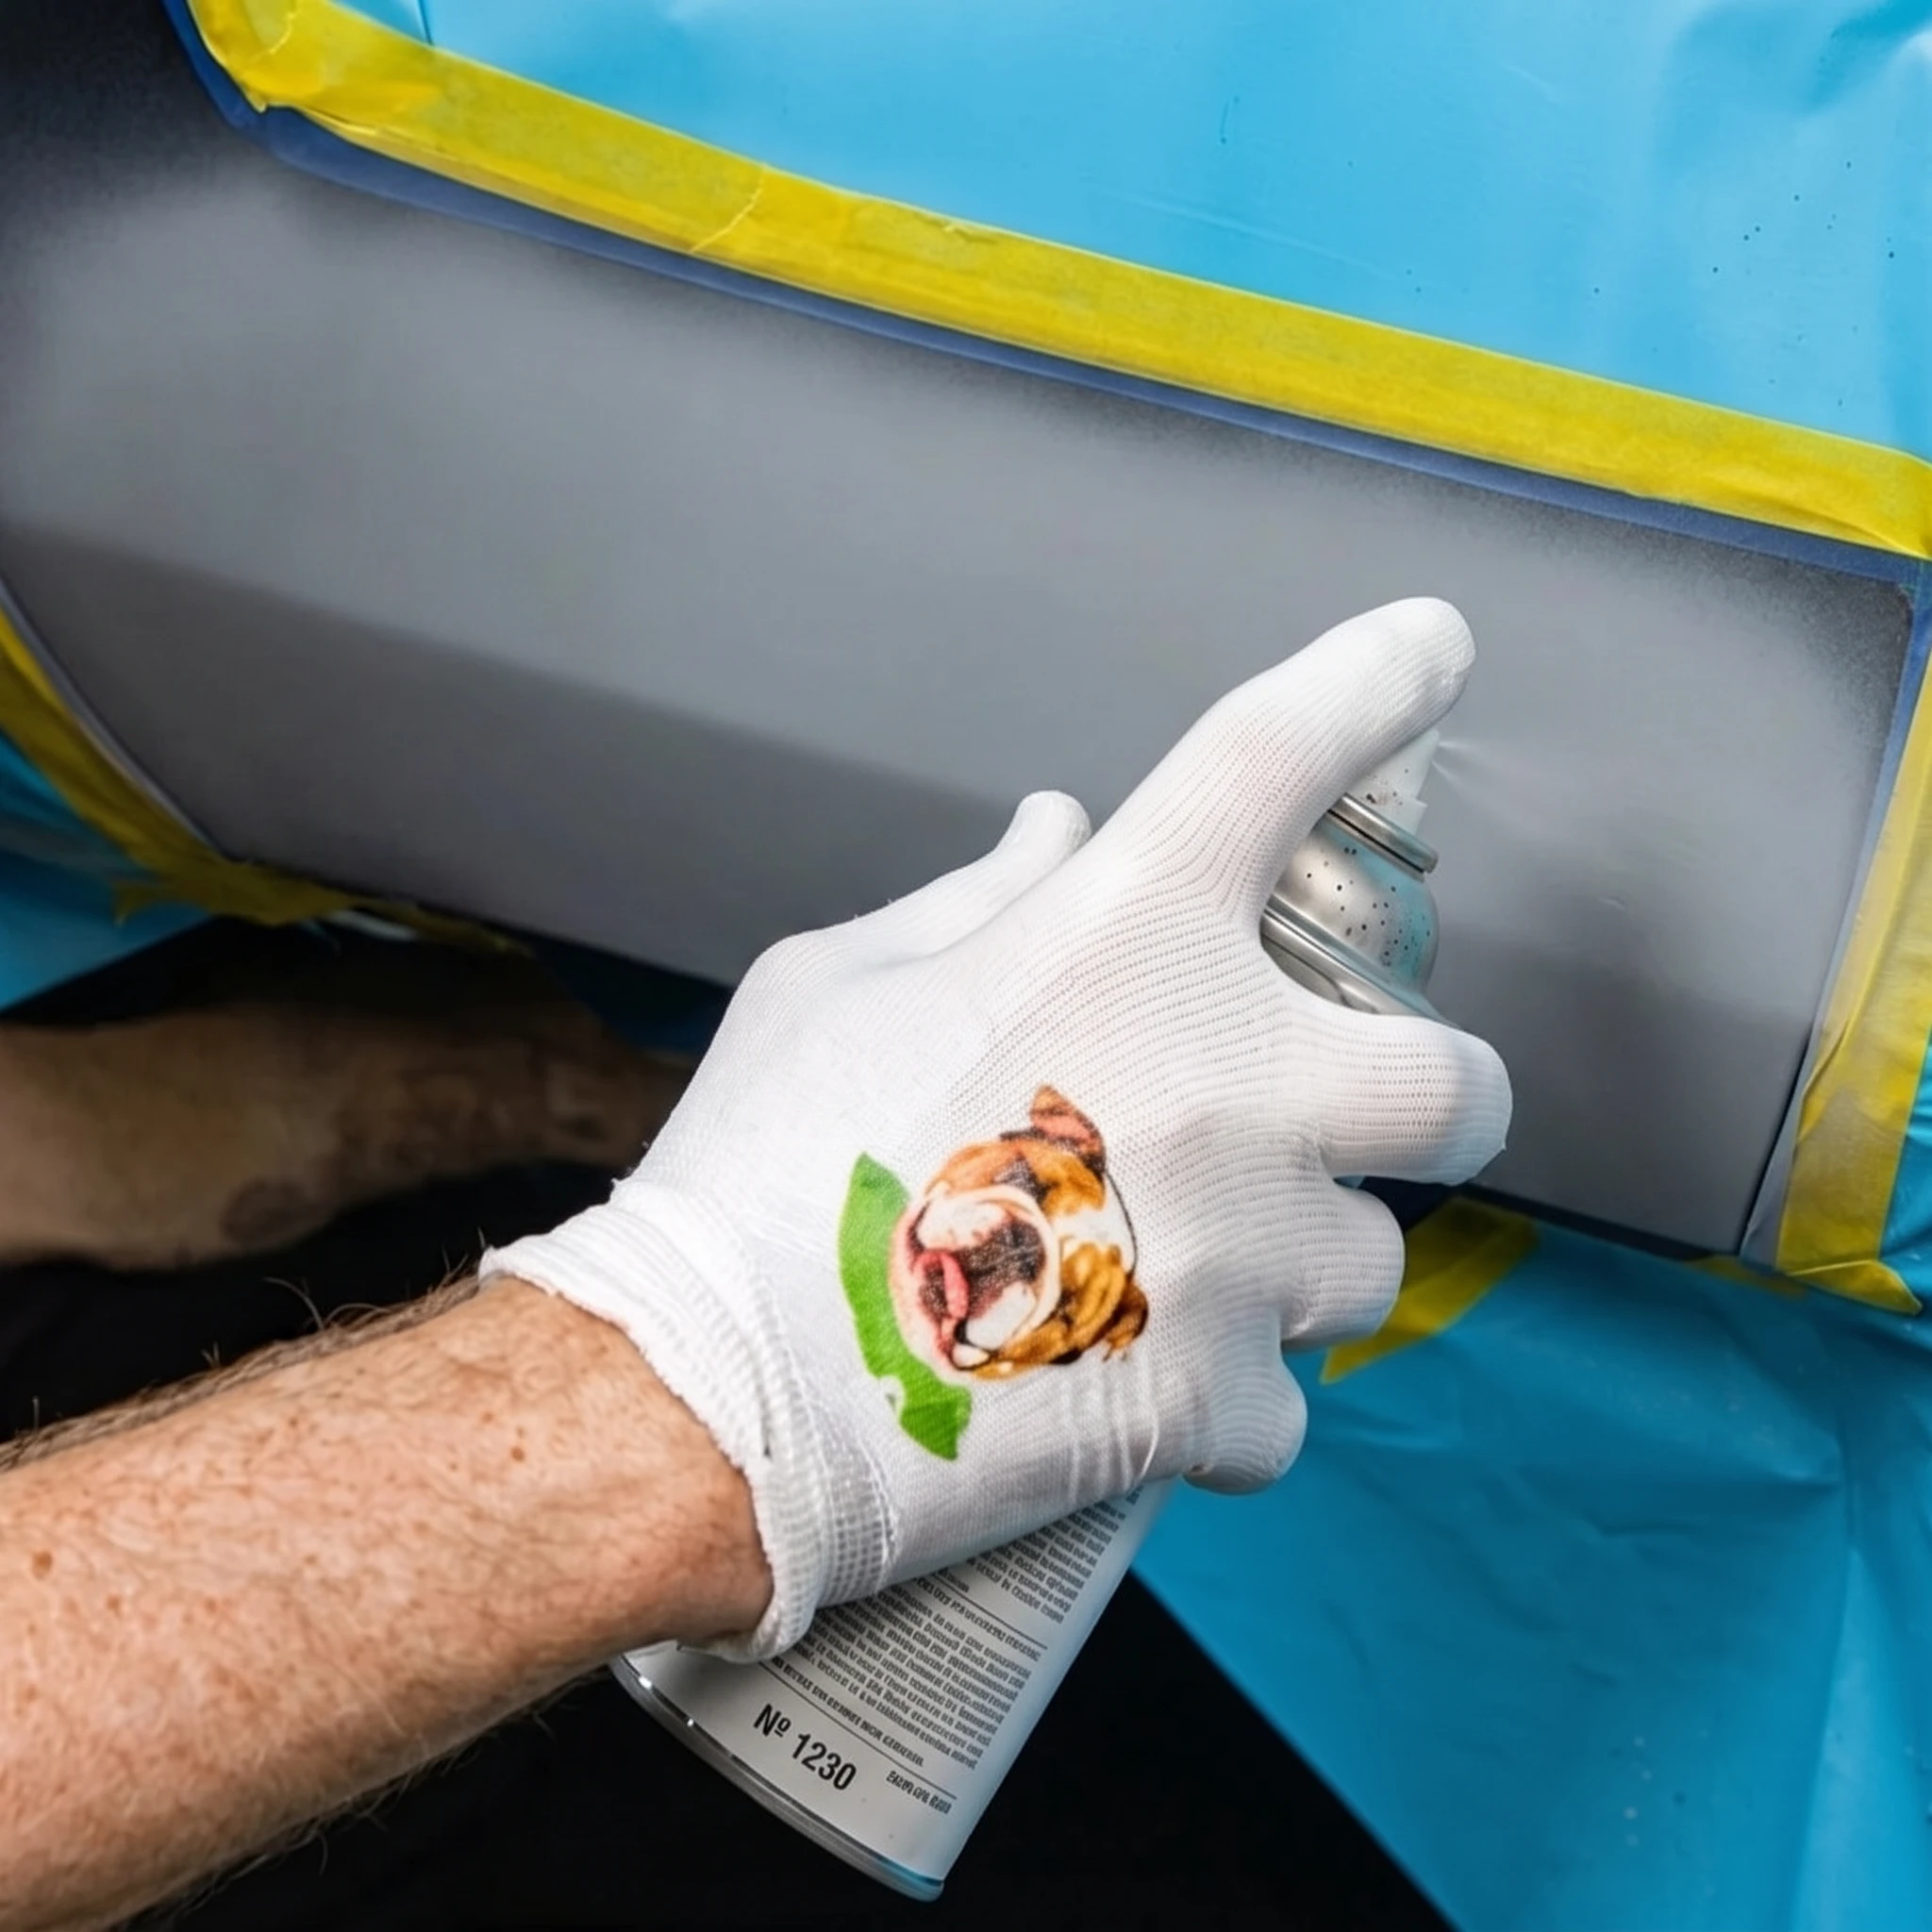
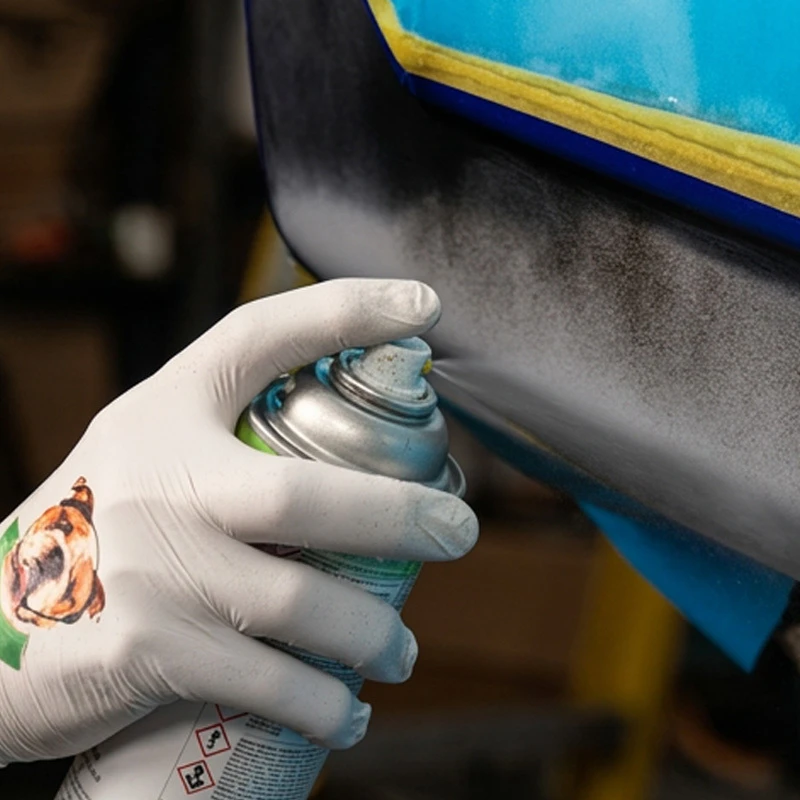
    Gloved hand applying aerosol primer to a masked vehicle panel during a large scratch repair.
    Primer is important when the scratch reaches bare metal, plastic, or another exposed substrate. It creates a surface that the Colorcoat can properly adhere to and helps protect the exposed area.
    Apply a light, even coat of Primer to the damaged area. Avoid trying to build the entire repair with one heavy coat.
    • Apply a thin first coat
    • Allow it to dry
    • Apply a second coat if needed
    • Let the Primer dry completely before moving on
  5. Step 5: Wet-Sand the Dry Primer (~15 minutes)

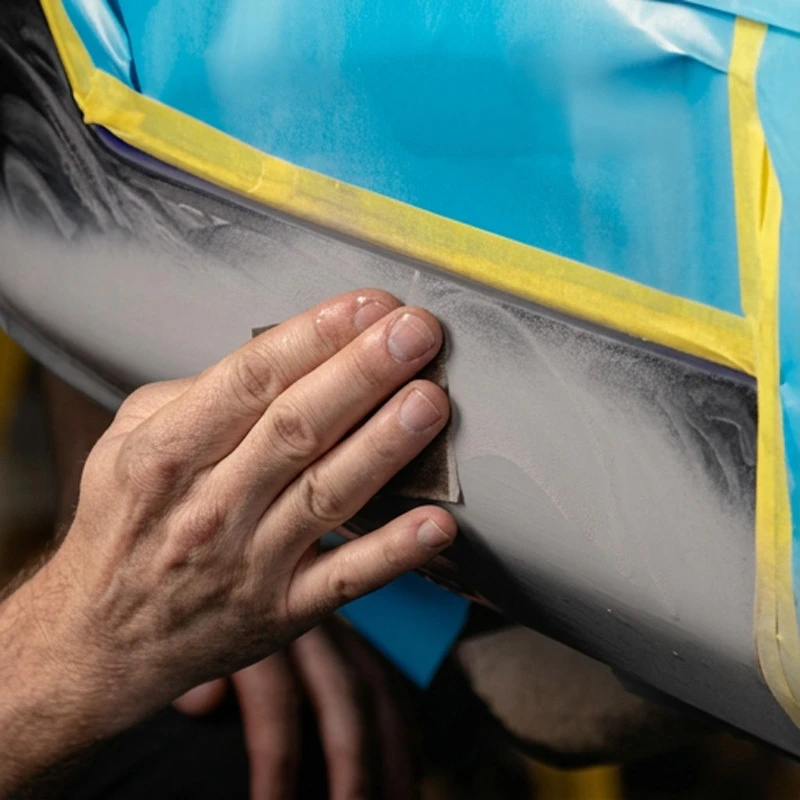
    Hand wet sanding dried automotive primer on a masked vehicle panel.

    Important:

    Any unevenness in the Primer can become more noticeable once the Clearcoat is applied, so take the time to get this surface right.
    Once the Primer is dry, inspect the surface. It should be smooth and even. If necessary, lightly wet-sand the Primer to remove imperfections and create a smooth surface for Colorcoat.
    • Use 400-grit sandpaper and dip the sandpaper into a cup of water.
    • Lightly sand the primed area using a circular motion.
  6. Step 6: Test the Color

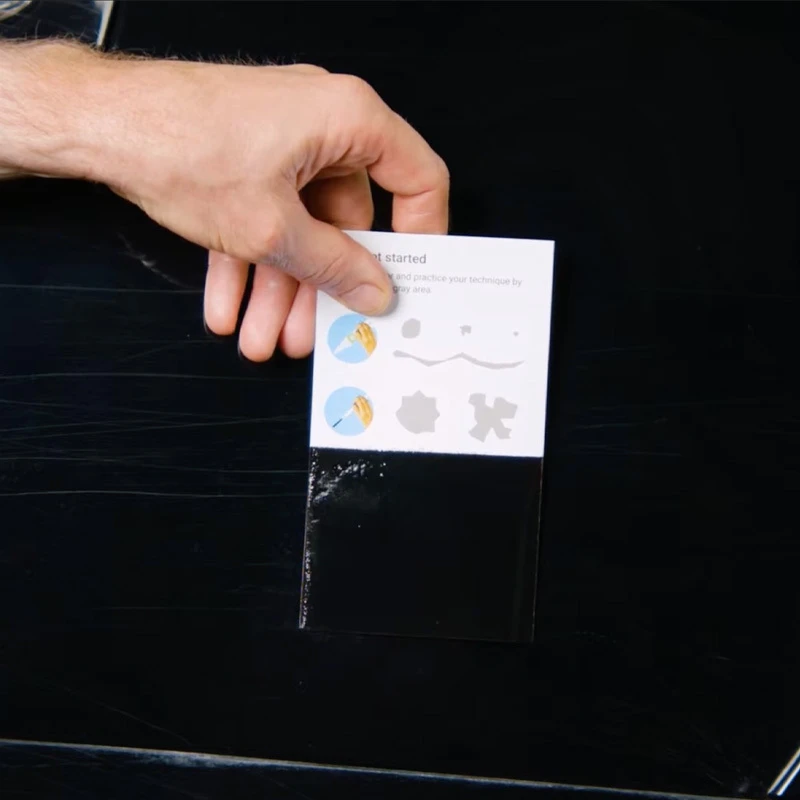
    Hand holding a painted test card against a dark vehicle panel to verify the color match.
    Before spraying your vehicle, always test the Colorcoat and Clearcoat on the included test card.
    Apply the Colorcoat according to the instructions, allowing each coat to dry before applying the next. Then apply Clearcoat over the test area.
    Compare the finished test card with the vehicle in natural lighting.
    If the color matches, you're ready to proceed. If it doesn't look right, stop and contact TouchUpDirect for our Color Match Guarantee.
  7. Step 7: Apply the Colorcoat (~30–40 minutes)

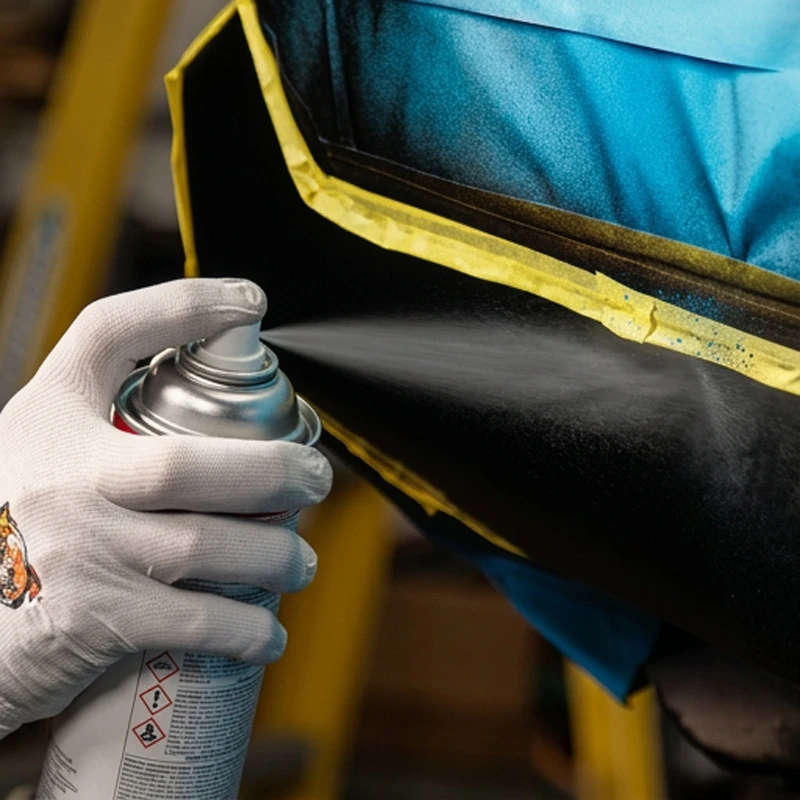
    Gloved hand applying aerosol colorcoat in light coats to a masked vehicle repair area.

    Tricoat:

    For Tricoat colors, apply the Basecoat first. Once the Basecoat is completely dry, apply the Midcoat. Follow the specific paint instructions for your vehicle's color.
    Shake the aerosol thoroughly before spraying and periodically throughout the application. Before spraying the vehicle, test the can with a brief spray in a safe direction to make sure the nozzle is working correctly. Hold the can approximately 6–8 inches from the surface and apply light, even coats rather than trying to cover the repair completely in one pass.
    The key is controlled coverage:
    • Start with a light coat
    • Allow it to dry
    • Apply additional coats as needed
    • Keep each coat thin and even
    • Gradually build coverage until the repair is fully covered
    Don't try to make the paint perfect with one heavy application. Heavy coats can lead to runs, uneven coverage, and a finish that takes longer to dry.
  8. Step 8: Apply the Clearcoat (~30 minutes)

    Gloved hand spraying aerosol clearcoat over a masked and painted vehicle repair area.

    Important:

    For the best results, apply Clearcoat as soon as the Colorcoat is completely dry. Do not wait more than 12 hours to apply Clearcoat, as waiting too long can affect Clearcoat adhesion.
    Once the Colorcoat has dried completely, it's time for Clearcoat.
    Clearcoat is essential because it provides the gloss and protective layer that completes the paint repair. It also plays an important role in achieving the correct final color appearance.
    Apply a light, even coat over the repaired area.
    • Allow the first coat to dry for about 15 minutes
    • Apply another light coat
    • Repeat as needed for full coverage
    • Do not exceed 4 total coats
    Avoid applying Clearcoat too heavily. Several controlled coats produce a better finish than one thick coat.
    Clearcoat will be dry enough to handle within approximately 30 minutes of the final application.
  9. Step 9: Let the Repair Cure

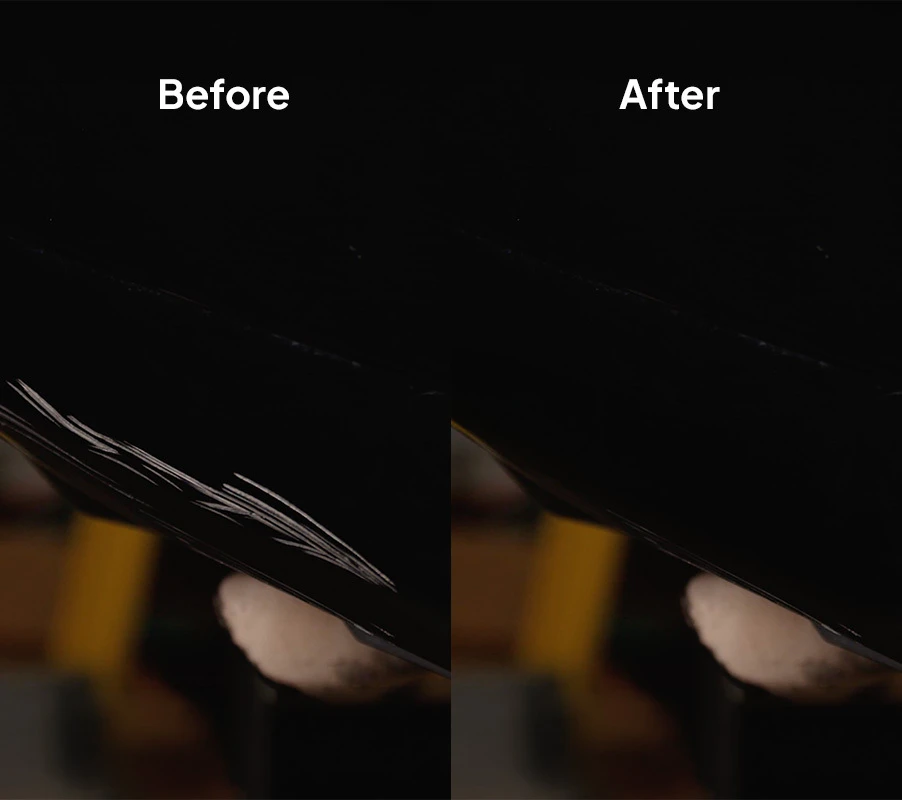
    Before-and-after comparison of a large scratch repaired on a black vehicle panel.

    Important:

    Wait 72 hours before washing or waxing the repaired area. Curing takes time — the clearcoat needs the full 72 hours to fully harden and bond, and rushing this step can affect gloss, durability, and how well the repair blends with the surrounding paint.
    During the cure period, avoid:
    • Washing or waxing the repaired area
    • Parking outdoors in direct sun, rain, or extreme temperatures
    • Heavy use or contact with the repaired panel
    Once fully cured, you can wet sand and polish the area to help blend the repair with the surrounding factory paint. To get an extra shine, use the TouchUpDirect Polishing Kit.

What This Repair Saves You

Cost Saving
TouchUpDirectBody Shop
CostStarting at $86$1,000+
TimeA few hours of hands-on workDays or longer
Skill LevelIntermediate DIYProfessional
ResultColor-matched, sealed repairProfessional repaint

Frequently Asked Questions

  • Do I need primer for a large scratch?

    If the scratch exposes bare metal, plastic, or another underlying substrate, yes. Primer provides a proper surface for the Colorcoat to adhere to and helps protect the exposed material.

  • Do I need to sand a large scratch?

    Sanding is generally part of preparing a larger scratch for repair. It helps smooth damaged edges and creates a suitable surface for primer and paint. Sand carefully and keep the repair area controlled so you don't unnecessarily damage the surrounding factory finish.

  • Can I fix a large scratch with a touch up pen?

    A pen is best for small chips and small scratches where you need precise paint application. For a larger scratch or larger damaged area, an aerosol provides broader coverage and is generally better suited to the repair.

  • How many coats of Colorcoat should I apply?

    Generally, 2–3 coats of Colorcoat should provide sufficient coverage. However, always check the repair to make sure the damaged area is fully and evenly covered before applying Clearcoat. Apply light, even coats and allow each coat to dry before applying the next.

  • How many coats of Clearcoat should I apply?

    Apply light, even coats with approximately 15-30 minutes of drying time between coats. Do not exceed 4 total coats.

  • When can I polish or wax the repair?

    Wait at least 72 hours before wet sanding, polishing, or waxing so the repair has time to cure properly.

  • Can I repair a scratch that reaches bare metal?

    Yes, if the damage is appropriate for a DIY paint repair. Bare metal must be properly cleaned, prepared, and primed before applying Colorcoat.

  • When should I go to a body shop instead?

    If the scratch is accompanied by significant denting, damaged bodywork, severe rust, or damage that goes beyond the paint surface, professional repair may be the better choice.

  • Can I apply the Clearcoat the next day after the Colorcoat has dried?

    For the best results, apply Clearcoat as soon as the Colorcoat is completely dry. Do not wait more than 12 hours to apply Clearcoat, as waiting too long can affect Clearcoat adhesion.

  • What should I do if the damaged area has rust?

    Rust needs to be completely removed before you begin the paint repair. Sand the affected area until all visible rust is gone, then clean the surface thoroughly to remove any dust or residue. Once the area is clean and dry, apply Primer before applying Colorcoat. Do not paint over existing rust, as it can continue to spread underneath the new paint and compromise the repair.

  • Free Shipping

  • Amazing Customer Support

  • Color Match Guarantee