Person using a microfiber cloth to remove transferred paint from a scratch on a dark blue vehicle.

How to Fix a Scratch with Paint Transfer

Is This the Right Method for Your Scratch?

This method works best when your scratch or scuff:

  • Has a different color sitting on top - white, black, silver, or grey that doesn't match your car
  • Came From Contact With Another Object - another bumper, shopping cart, pole, or wall
  • Looks Worse Than Expected - lots of visible marks that may be paint transfer, not actual damage

If the scratch reaches bare metal or plastic, you'll need primer - try the Combo Preferred or Platinum Kit. For larger panel damage over 6 inches, the Aerosol Spray Kit will give better coverage.
Step-by-Step: How to Fix a Scratch with Paint Transfer

  1. Step 1: Polish the Area First (~10 minutes)

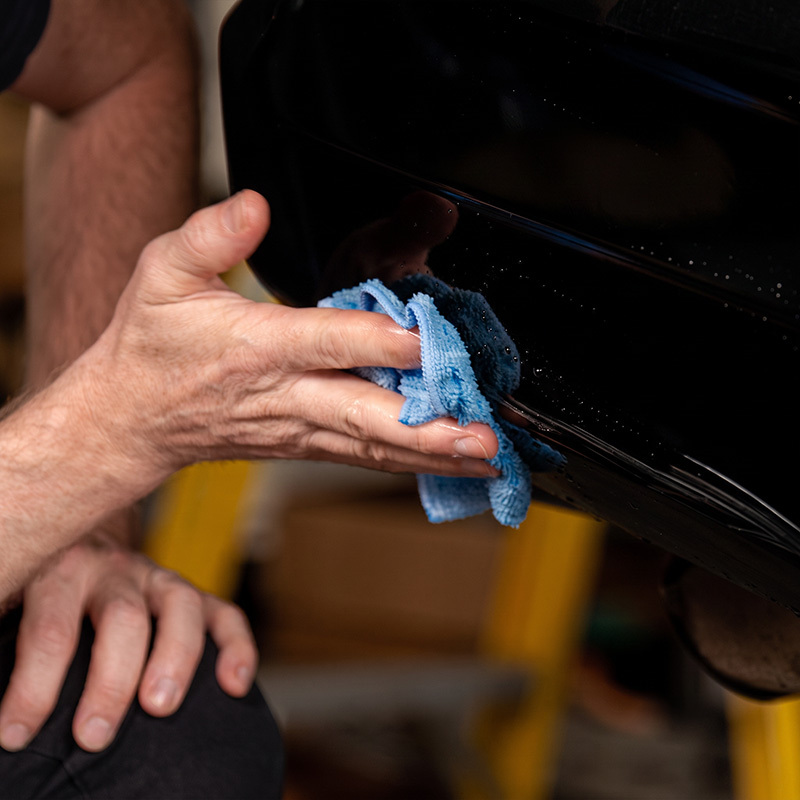
    Person polishing transferred paint on a black vehicle panel with a microfiber cloth.

    Pro Tip:

    Some light scuffing and surface marring will continue to improve with more polishing even after touch up. Polish first, touch up only what remains, then polish the whole area again after curing.
    Before applying any paint, apply polishing compound with a clean cloth over the entire scratched area and work it in with firm circular motions. Watch what lifts onto the cloth — if you see a color that isn't yours, that's paint transfer coming off.
    Keep polishing and reassessing. In many cases, what looks like several scratches turns out to be mostly transfer — with only one or two small actual scratches remaining underneath.
  2. Step 2: Clean the Area After Polishing (~5 minutes)

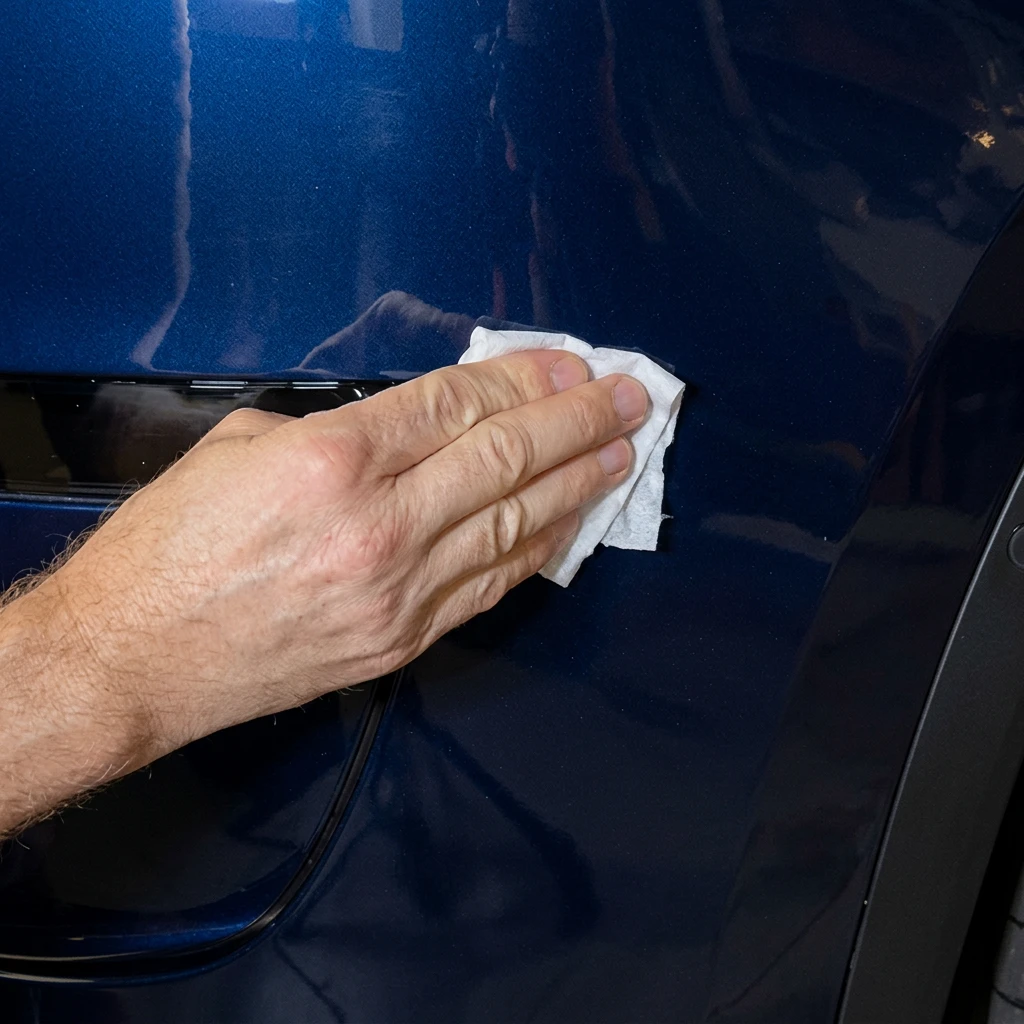
    Hand cleaning polishing residue from a dark blue vehicle panel with a wax and grease remover wipe.

    Tips:

    Work at around 70°F. Avoid direct sunlight and do not apply paint in humid or wet conditions.
    Polishing compound leaves residue behind. Wipe the area clean with the Wax & Grease Remover Wipe, wiping in one direction. This is especially important after using compound — any residue left on the surface will prevent the paint from bonding correctly. Let the surface dry completely before moving on.
  3. Step 3: Assess What Needs Touch Up

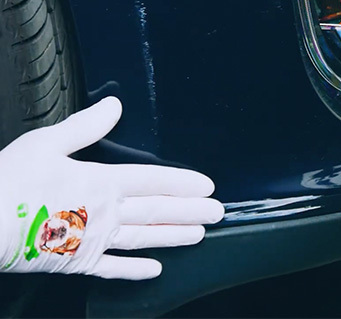
    Gloved hand pointing to scratches remaining on a dark blue vehicle bumper after removing paint transfer.
    Now look carefully at what's actually left after polishing. The key question: is there primer still visible in the scratch, or is bare metal/plastic exposed?
    • Primer still visible (grey or off-white layer) → No additional primer needed — go straight to colorcoat
    • Bare metal or plastic showing → Apply primer before colorcoat
    • Only tiny nicks or small scratches remain → Use the pen side for nicks, brush side for scratches
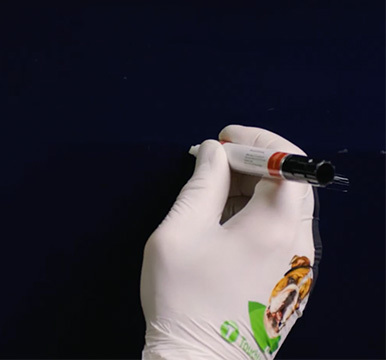
  4. Step 4: Prime the Applicator Tips (first use only)

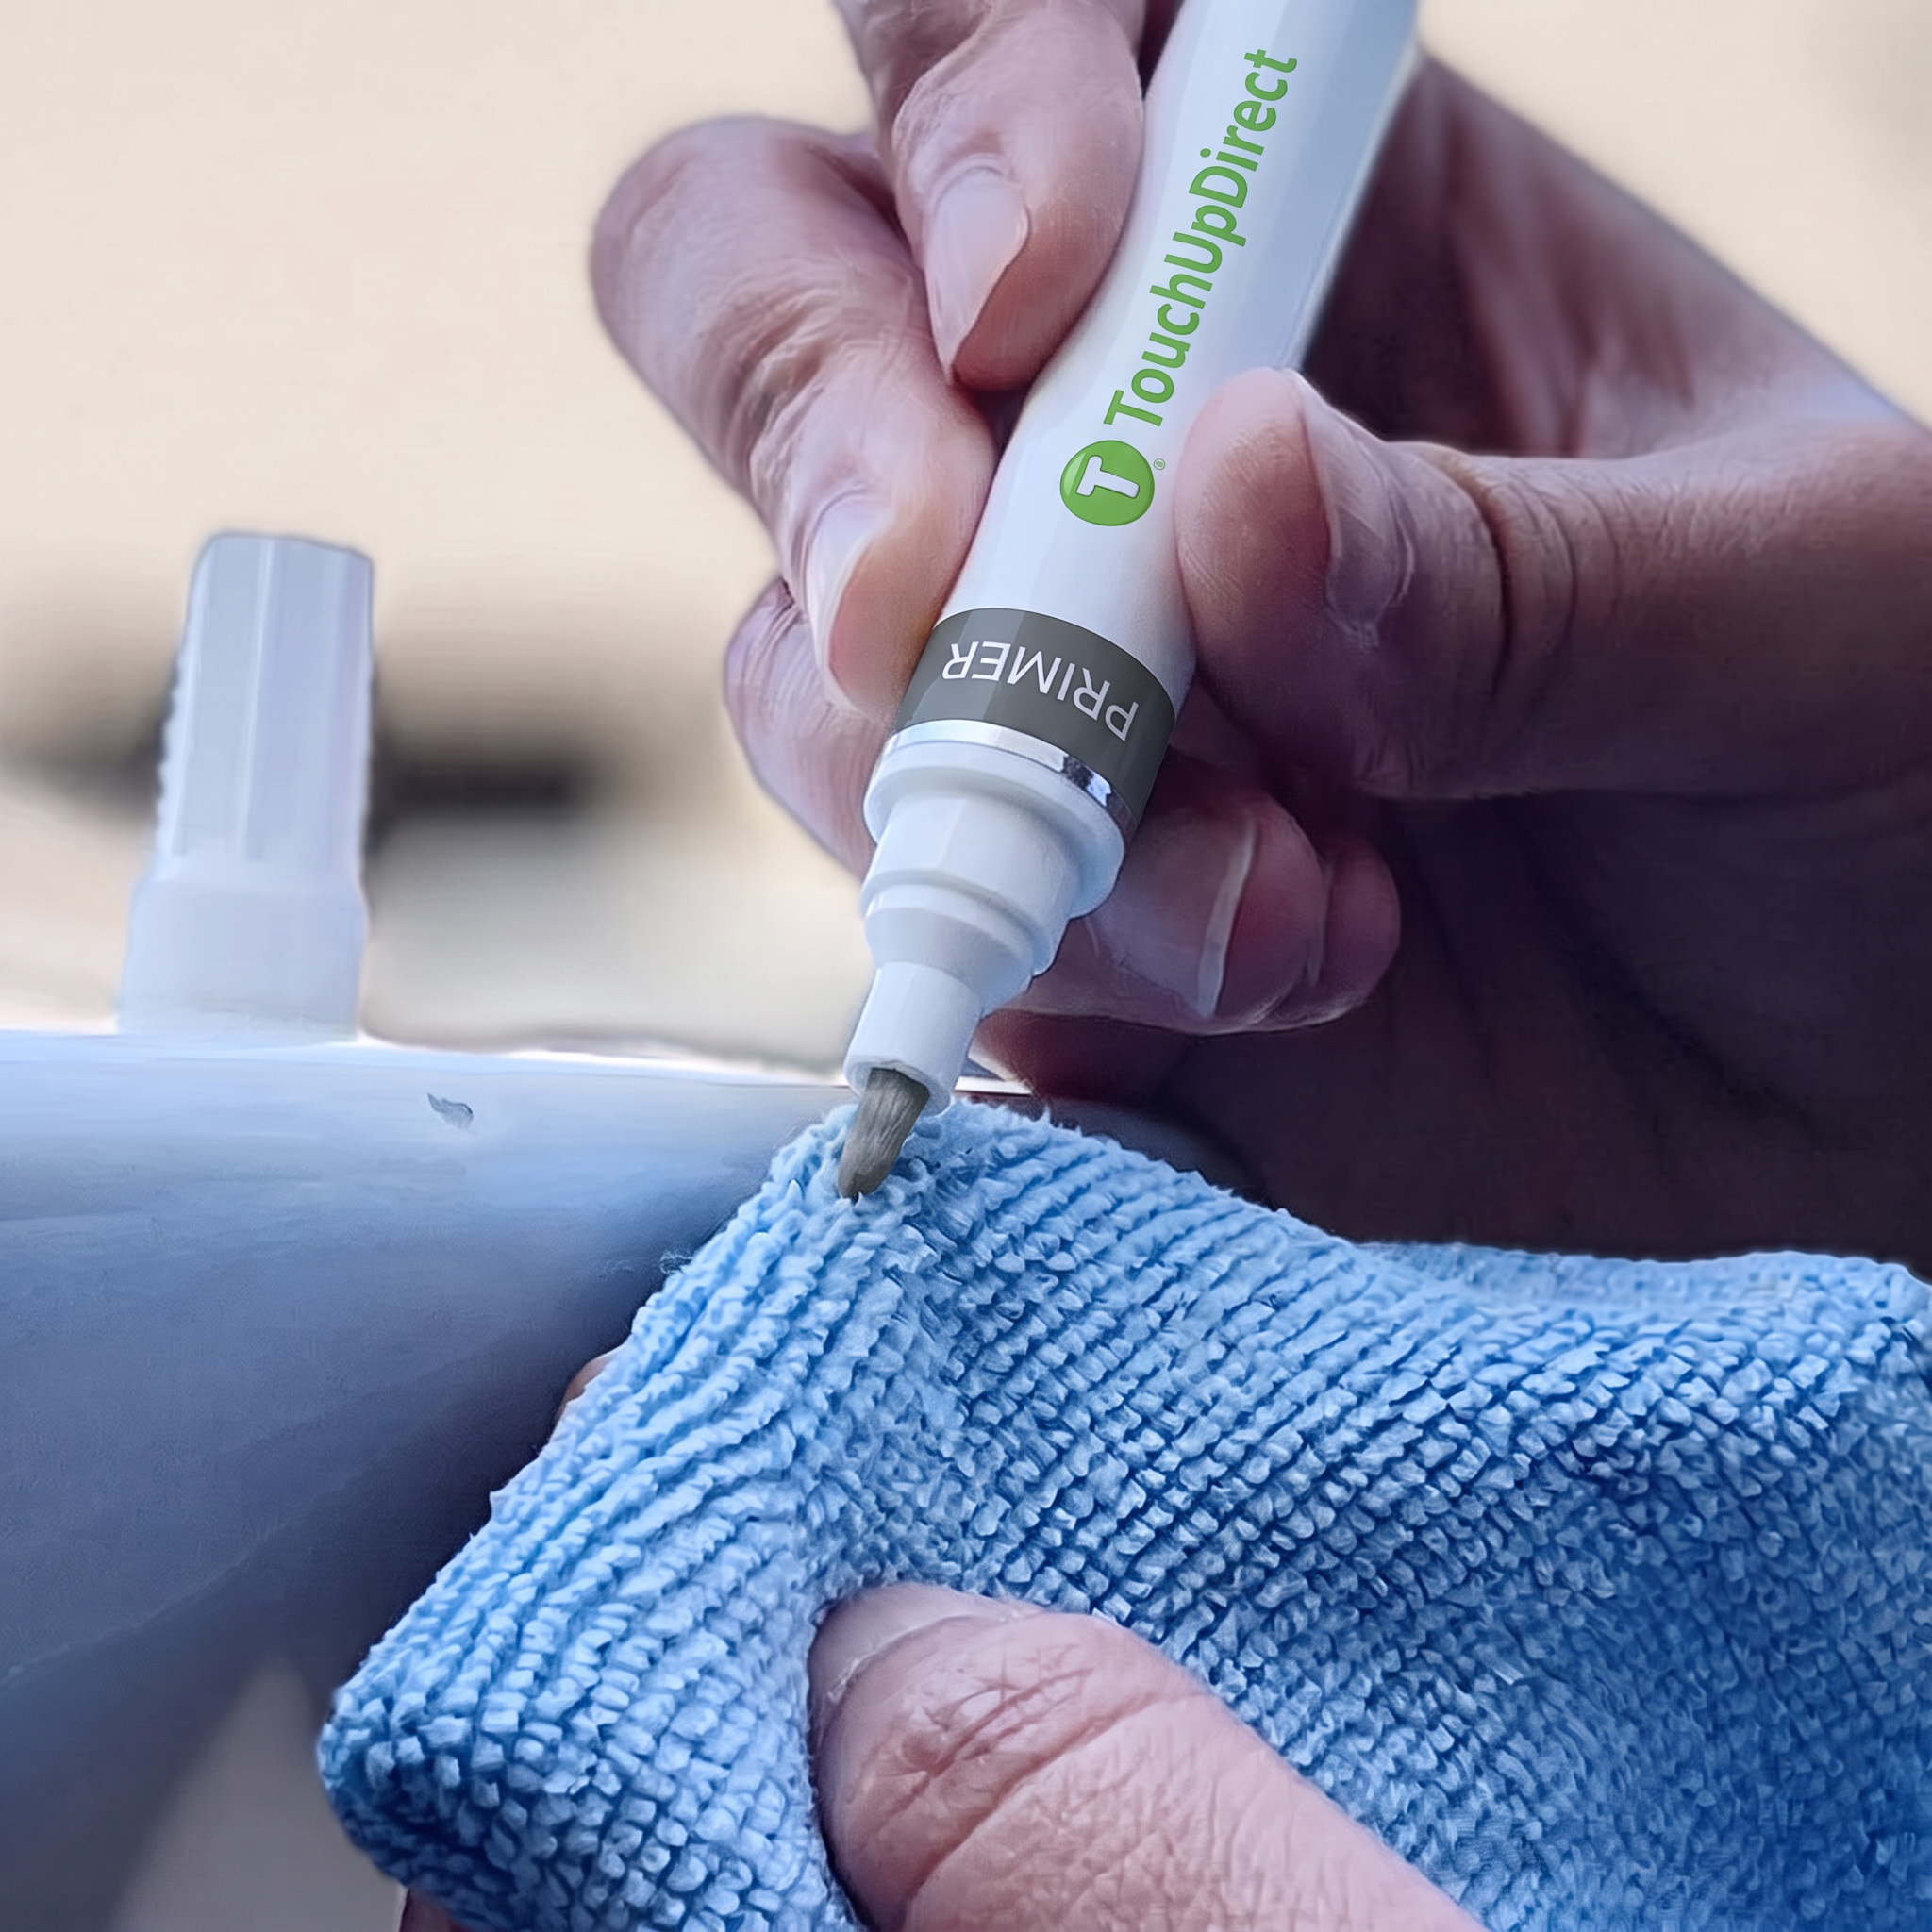
    Hand priming the tip of a TouchUpDirect paint applicator against a microfiber cloth.

    For the Pen Tip:

    Before applying paint, prime both the pen tip and brush tip to get paint flowing properly.
    • Remove the cap
    • Press the tip down firmly on a soft cloth — not the car, not anything hard that could damage the tip
    • Pump 3–5 times until paint flows down and saturates the tip
    • Wipe away any excess buildup with the cloth
    The paint will continue flowing for a moment even after you stop pressing — that's normal. Once it transfers to the cloth consistently, it's ready.
    For the brush: Unscrew the cap and remove excess paint by lightly dragging the brush along the inside opening as you remove it
  5. Step 5: Apply the Colorcoat (~20–30 minutes)

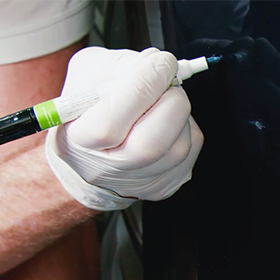
    Gloved hand applying blue colorcoat with the pen tip of a combo applicator.
    Choose the right end of the combo applicator for each repair:
    • Pen side — for tiny nicks and stone chips, using just the very edge of the tip to place a minimal amount of paint precisely into each nick
    • Brush side — for small linear scratches, using smooth even strokes along the length of the scratch
    Shake the colorcoat applicator thoroughly before each use.
    • Apply one thin, even coat
    • Let dry 10–15 minutes
    • Assess coverage — some small nicks may be fully covered in a single coat
    • If needed, apply a second coat the same way and let dry another 10–15 minutes
    • Maximum 2 coats for small chips and nicks — do not over-apply
  6. Step 6: Apply the Clearcoat (~15–20 minutes)

    Gloved hand applying clearcoat with the brush tip of a combo applicator to a repaired vehicle panel.
    Once the colorcoat is dry to the touch, apply clearcoat over all repaired areas. The combo applicator gives you flexibility here — use the pen side for tiny nicks and the brush side where you want slightly more coverage on scratches.
    • Apply one light, even coat of clearcoat
    • Let dry 15 minutes
    • Apply a second coat if needed for full coverage
    • Do not exceed 4 total clearcoat coats
  7. Step 7: Cure, Then Polish and Wax

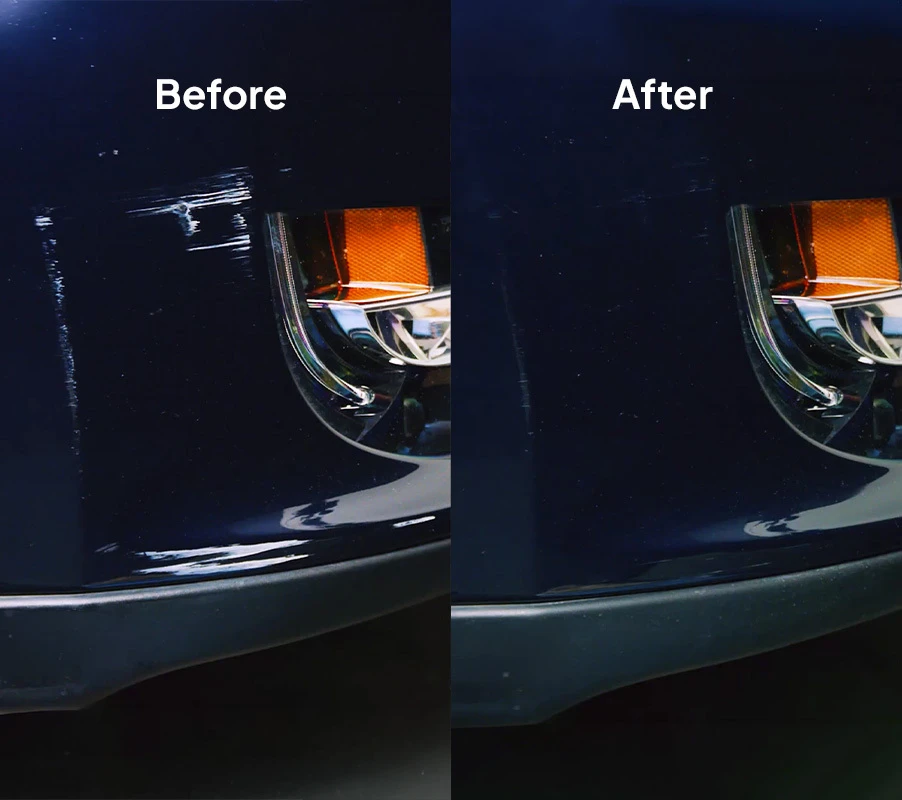
    Before-and-after comparison of paint-transfer scratches removed from a dark blue vehicle bumper.
    Let the full repair cure before finishing. Total active time: 30–60 minutes. Cure time before polish/wax: 48-72 hours Expected longevity: 3–5+ years with proper application
    After curing, use polishing compound one more time over the entire area to blend the sheen of the repair with the surrounding paint and bring the whole surface back to a uniform finish.

What This Repair Saves You

Cost Saving
TouchUpDirectBody Shop
CostStarting at $53$300–$1,000+
Time30-60 minDays (drop-off + wait)
Skill LevelBeginnerN/A
ResultColor-matched, sealed, lastingProfessional repaint

Frequently Asked Questions

  • How do I know if my scratch has paint transfer?

    Apply polishing compound first and watch what lifts onto the cloth. If the color coming off doesn't match your car, that's paint transfer — not your paint.

  • Can polishing compound remove the scratch completely?

    Sometimes yes, if there's no actual loss of your car's paint beneath the transfer. After polishing, if the surface is smooth and your paint is intact, no touch up is needed at all.

  • Do I need primer to fix a scratch with paint transfer?

    Not always. If primer (a grey or off-white layer) is still visible in the scratch after polishing, your car's factory primer is intact and you can go straight to colorcoat. Primer is only needed if polishing reveals bare metal or bare plastic underneath.

  • Why use the pen for tiny nicks instead of the brush?

    The pen tip lets you apply a minimal, precise amount of paint using just the very edge of the tip. For tiny nicks this precision prevents over-application — which is what causes a lumpy, raised repair.

  • Free Shipping

  • Amazing Customer Support

  • Color Match Guarantee