How to Fix Motorcycle Scratches
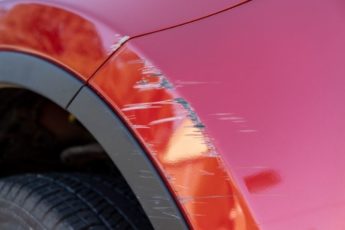
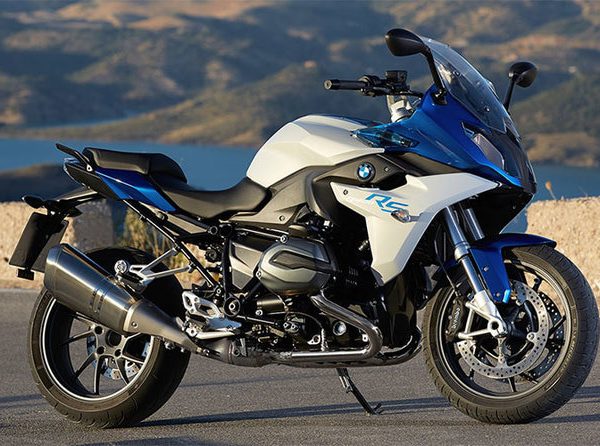
Few things can be more frustrating and disappointing to a motorcycle enthusiast than scratches on the bike’s finish. Although they can happen no matter how hard you try to avoid them, there are steps you can take to minimize their appearance.
How Do Scratches and Dings Happen?
No one is more careful or conscientious than you, yet your bike’s beautiful
finish has become marred. How could this have happened? One of the biggest culprits is the debris that flies up from the road while you are riding, particularly small stones and gravel. Another major source of damage to your finish occurs when careless automobile drivers open their doors into your bike. And let’s not forget about those crazy supermarket shoppers with their carts.
Whatever the cause, you now find yourself confronted with damage to your
paintwork. Of course, you could spend hundreds or even thousands of dollars to hire a professional to rehab your bike’s bodywork. However, if money is tight or you are the do-it-yourself type, you can definitely take this job into your own hands. Even if the result is not off-the-showroom-floor flawless, only the most eagle-eyed critic would be able to see the difference.
Select the Correct Paint
If you want to take on this important task, you should make every effort to do it properly. That starts with picking out the right kind of motorcycle touch up paint. The product you buy is more than a layer of pigmented veneer that decorates the surface of your motorcycle. In fact, think of it as a fortress that guards your vehicle against attack from enemies such as road debris, dead bugs, grime, salt and even sunlight. A high-quality paint will significantly prolong the life of your bike.
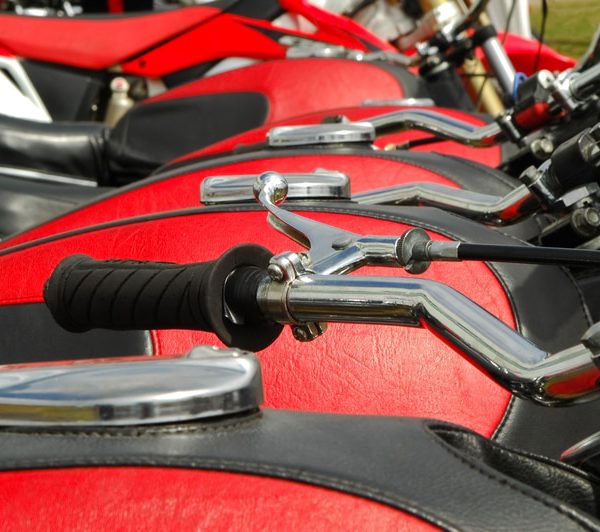
If your bike is red, for example, not just any shade of red will do. Your best
bet is to buy your paint from a company that offers exact color matching. Just provide them with the make, model and year of your motorcycle, and they will ship the same color that graced your bike in the factory – guaranteed.
Test Your Paint
Before you tackle this endeavor, you should make absolutely sure that the shade you have chosen is the right one. Use a small artist’s brush to apply a small amount of paint to an area of the bike such as a wheel arch that is not visible to the naked eye. Let it dry to be sure it matches with the rest of your
bodywork before proceeding.
Clean the Area
Make sure you are doing this job in a shady area away from direct sunlight.
Take time to thoroughly clean all of the places you intend to paint using warm, soapy water. Carefully remove all water with a soft towel, being conscientious that no moisture remains. Generally, this should take about three hours.
Apply Degreaser
Your next step involves ensuring that any leftover wax, grease or gunk is
eliminated from the affected surfaces of your bike. To that end, spray
degreasing solution onto a soft rag and rub on all of the parts you plan to
paint.
Sand
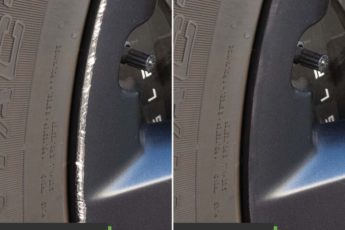
Your next step involves making the area as smooth as possible so that the new paint can completely cover the surface without cracking. To that end, use fine sandpaper to carefully smooth the scratches.
Apply Your Paint
Although some types of automotive and motorcycle touch up paint still require the use of a primer before you apply the actual color, most do not, particularly for more minor tasks such as those we are discussing here. Touch Up Direct sells one option called an EcoPen that is ideal for tiny scratches and imperfections because it gives the user a great deal of control for intricate tasks. For slightly larger imperfections, the tapered brush that is attached to the cap on the EcoJar+ allows for full, thorough coverage in just the right shade. Before you apply your paint, take the time to carefully read the manufacturer’s instructions, paying special attention to the number of coats and recommended drying times.
The Final Step
Once your paint has been applied and it is fully dry, use a sanding block and
2000 grit paper to again smooth down the affected area. When you are happy with the results, apply a couple of coats of motorcycle polish or paste wax to give it the shine and long-lasting protection it needs.
Some Additional Tips for the Road
Now that you have restored your ride back to its former glory, there are a few things you can do to prolong the life of your handiwork and, in general, make your motorcycle look better for longer.
- Don’t use products that contain harsh detergents.
- Never power wash your bike as that could cause damage.
- After washing, use a professional polish or liquid or paste wax to seal the surface. This should be a product designed specifically for a motorcycle.
- If you encounter road salt, clean your bike’s surfaces immediately afterward with cool water. Dry right away, and then apply protective spray or wax to all metal surfaces.
For many motorcycle enthusiasts, their bike is an extension of their own bodies. Keeping it beautiful inside and out is not a responsibility; it is actually a pleasure. If your ride is starting to get a little dingy and beat-up, you don’t need to wait until you have hundreds of dollars in the bank. Take matters into your own hands, and have some fun with motorcycle touch up paint! Before you know it, you will be proud of your bike once again.

 Cart
Cart
 Help Desk
