Turn your Lexus to the Dark Side
How to give your car a Darth Vader grille conversion
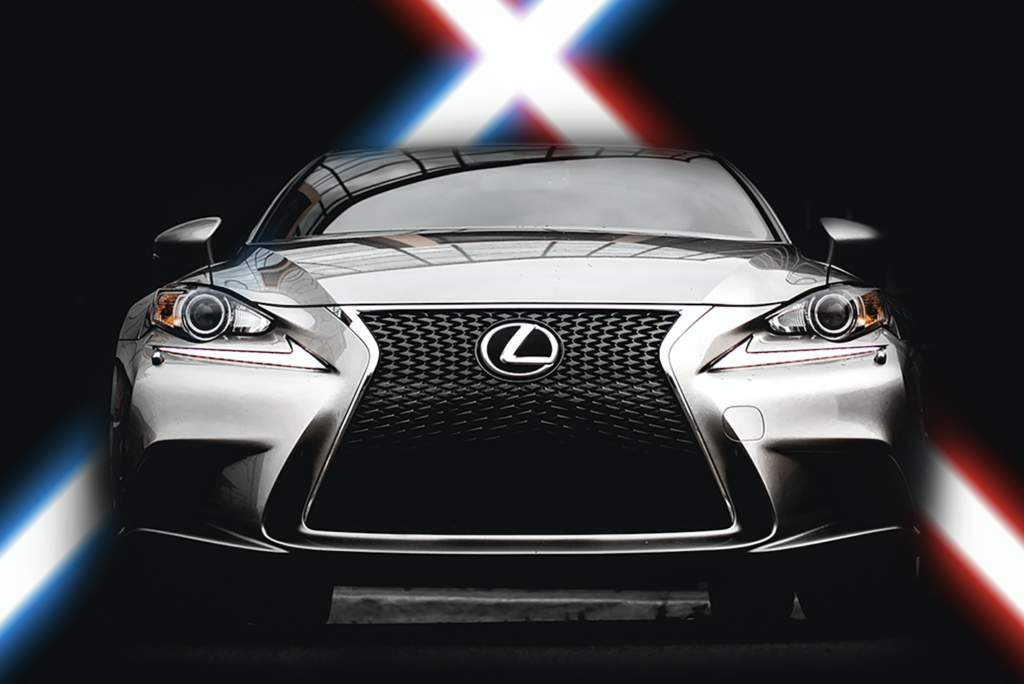
Have you noticed something weird about Lexus grilles in the last ten years? It started mildly enough. A glimpse out of the corner of your eye. A chuckle when you noticed it again. A quizzical head tilt when you saw it once more. But then finally, it becomes too much and you simply have to say out loud, “WHY DOES EVERY LEXUS HAVE DARTH VADER’S FACE ON IT NOW?”
In 2011, Lexus added a distinctive angular spindle grille that looks just like the mouthpiece on Darth Vader’s armor. The car company says it’s because the grille remodel helped cool the front brakes, but we all know the truth. You made all your cars look like Luke Skywalker’s dad (sorry. spoilers.) You are nerds and you used your power to do a deeply nerdy thing.
…Neat. We love Star Wars. Let’s lean into it. We’re gonna walk you through how to turn the front of your Lexus into Darth Vader’s head.
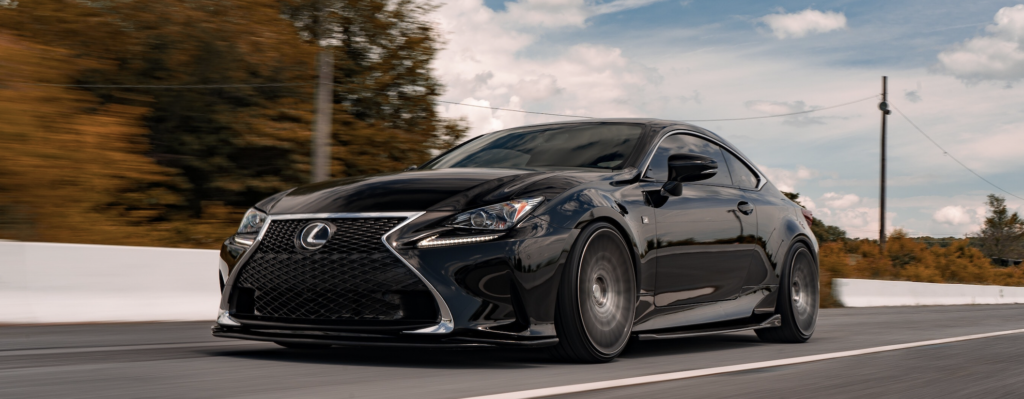
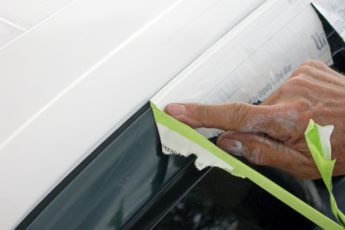
So you’ve decided to embrace the dark side and paint your grille black. What do you do next? You might want to do some research. Find the right shade of Vader black that speaks to your inner Sith lord. If you don’t feel comfortable doing this paint job yourself, there are professionals who will do it for you. But we highly recommend doing it yourself. It’ll save you money and it’s honestly not that difficult to pull off. Once you’ve decided to paint your car, get prepared by getting your hands on the right color of aerosol paint, a respirator (not just to protect your lungs, but also to make fun Darth Vader-style breathing noises), clothing that will protect your skin (a nice black cape perhaps), and a manual on your car that will show you how your grille is attached. Don’t forget to put down a drop cloth or disposable paper on your workspace! Once you’re ready, follow our step-by step guide to painting your grille Darth Vader black.
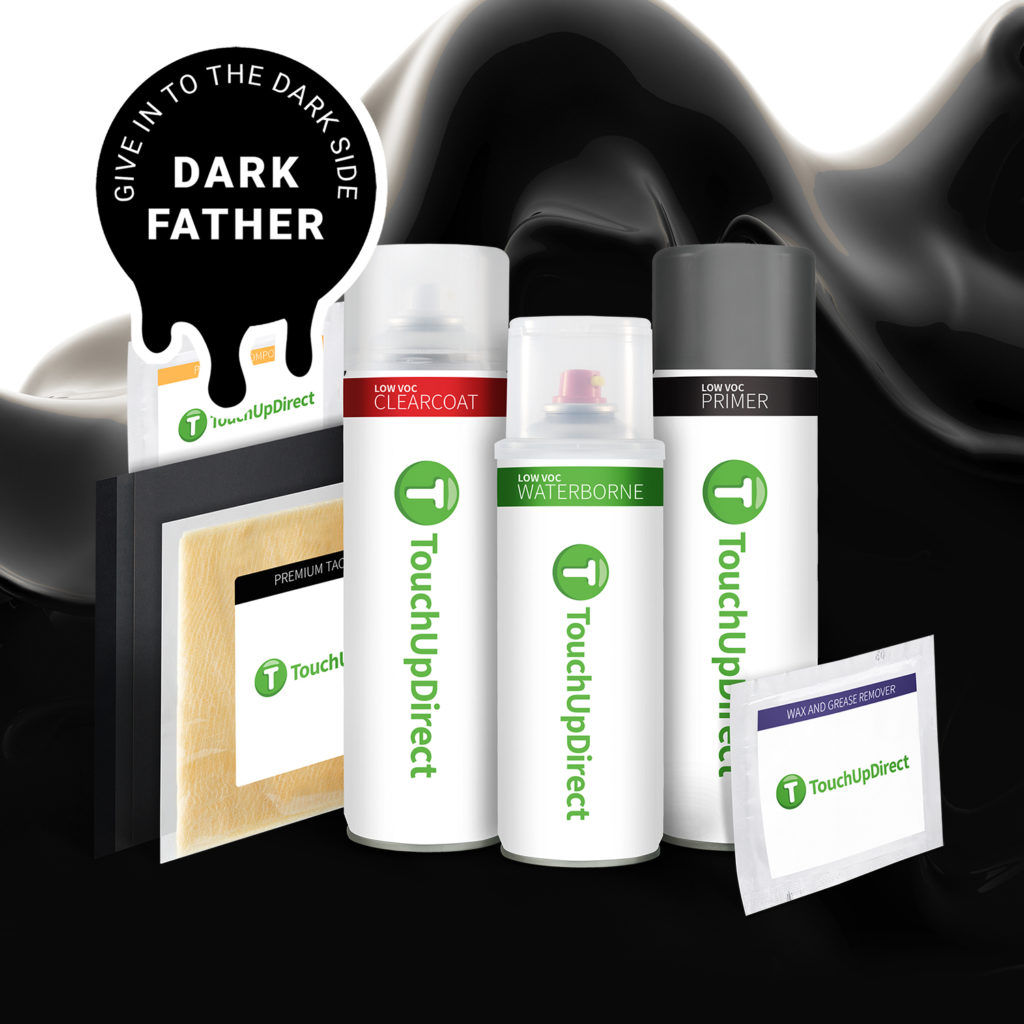
If you’re so inclined, we have a special paint called Dark Father that would be excellent for this particular project.
How to Paint Your Grille:
- Remove grille from car – Use plastic pry tools to pop out snap fixtures. Unbolt where necessary. Do not paint it without removing! No matter how well you protect the rest of your car, you might get stray windblown particles of paint on it if you don’t remove it from your car. As you remove the grille, take notes or photos if necessary to remind yourself where it is attached.
- Wash and dry grille – Get any road grime or dust off the grill that might interfere with paint adhesion. Use wax and grease removing wipes to get any extra gunk off. Remove or cover the badge before proceeding to paint.
- Wet sand the grill – Start by using sandpaper with 1000 or higher grit. Lightly sand the surface of the grill to prepare the area for paint.
- Apply adhesion promoter (optional) – This helps paint stick, but is optional. Allow it to dry before continuing.
- Apply two coats of primer – Wipe off dust before each application and let it dry before applying the next one.
- Wet sand the primed grill – Use 600 grit sandpaper to prepare the surface for the next round of paint.
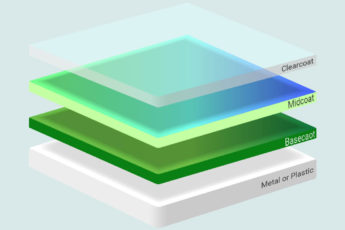
- Apply color paint – Apply multiple coats of paint, letting each dry before the next application.
- Apply clear coat paint – You can choose matte or gloss finish. Gloss is more in line with the original Darth Vader character, but at times in the films he does appear to be more matte-finished for dramatic effect, so if you really like matte, go for it.
- Allow the grille to dry – Put the badge back in place and then reattach the grille to your car.
How to Wet Sand
Wet sanding is a common practice for working with automotive paint because it helps reduce the size of the scratches you make on the finish of your car compared to dry sanding. Water functions as a lubricant which helps carry away grit as it comes off of the paper, reducing potential for scratching. In order to prepare your grille for painting and help paint adhere to it, wet sanding is a vital step.
When wet sanding you have the option of using a sanding block or using loose sandpaper by itself. If using sand paper by itself, prevent finger marks on your surface by avoiding using the sandpaper lengthwise and sand in a circular motion.
Steps for Wet Sanding
- Prepare your sandpaper by attaching round sandpaper to a sanding block or folding loose sand paper into long rectangles and wetting it.
- Use a spray bottle to wet the area. To reduce scratching, make sure you don’t let the area dry out as you sand.
- Gently sand the area, letting the sandpaper do the work.
- Wipe down the area with a chamois after you’re done with sanding to remove residual grit.
- Rotate sand paper as it wears down, replacing your sandpaper disks or moving to a new folded section of your loose sandpaper.
Additional painting tips:
- Don’t use steel wool to sand! Bits of steel wool may come off and remain on the grille. Adding a water-soluble paint on top will cause rusting and will ruin your paint job eventually.
- Before painting, shake the can well.
- When painting, wait at least 5-10 minutes between coats.
- Spray paint from 8-12”. Press gently as you spray paint, lightly fanning the area with fine droplets.
- To prevent the paint from running, paint multiple light coats rather than a few heavy coats.
Don’t be afraid of painting for yourself. Check out our helpful video which guides you through the entire aerosol painting process.
You can get the exact right obsidian color aerosol cans for your Darth Vader Lexus touch up paint job at Touch Up Direct. Touch up direct guarantees the color to match the color of your car and has professional-grade 2K clear coat to give your grille a tougher, more even, longer-lasting finish and super bright shine that looks like it came from the autobody shop or the command deck of an Imperial Star Destroyer. Find the color you need and may the force be with you.

 Cart
Cart
 Help Desk
