Top 9 Rules to Remember When Painting Your Car
Think about the process of painting your car, and you may envision a one-step process that involves applying a coat or two of color to your vehicle. The actual method is a combination of art, science and perfectionism that is a good deal more multi-stepped and complicated.
Understanding some of the tips that expert automobile painters use can help to turn what could be an ordeal into a true accomplishment.
1. Assemble Your Materials
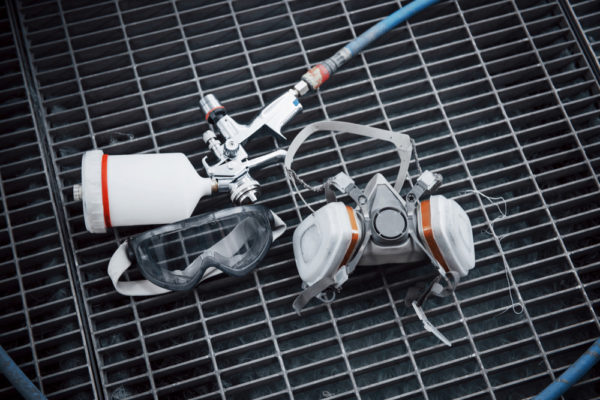
Any extensive project requires planning and organization, and painting your car is no different. Take time to purchase and lay out everything you will need for your painting project.
Ideally, find a place such as a shed or garage that is protected from the elements. After all, your project may take a few days or even a couple of weekends to complete. Be sure to have plenty of 1200- and 2000-grit wet-and-dry sandpaper on hand. You will also need an electric or air-powered sander, masking tape, plastic bags for taping off, an air compressor, paint gun, paint thinners, a buffer, face mask, safety glasses and your paint of choice. Although not absolutely essential, a dust extractor can be invaluable in keeping the area clean and neat.
If you have a small- or medium-sized vehicle, you will need approximately one gallon of primer, three gallons of topcoat and two to three gallons of clear coat. Larger cars require one and a half gallons of base coat, four gallons of topcoat and three to four gallons of clear lacquer.
2. Determine the Scope of Your Project
When it comes to painting your vehicle, you have choices to make. For instance, are you simply going to leave it assembled, tape it up and do a superficial makeover? Or perhaps you would rather remove the glass, the doors, the trunk and the hood to do a thorough job. The advantage of disassembling everything is that you can get the paint into even the smallest crannies of your vehicle while simultaneously having the opportunity to discover underlying damage or small repairs that need to be done.
Of course, leaving your vehicle assembled has upsides of its own. You can do the job more quickly, and you don’t need to worry about going through the aggravation of piecing everything back together again. Should you decide to go this route, however, do take the time to remove any small parts that you easily can. These include things like antennas, lights, wipers, locks, etc. Cover things that you will not be painting with high-quality automotive masking tape to avoid needing to clean up troublesome spots later.
3. Prepare the Canvas
Think of your vehicle as a foundation, a blank canvas that you will make beautiful with the addition of fresh and vivid color. To the extent that the foundation is smooth and flawless, so can be the coats of full color or car touch up paint that you apply. For that reason, your first step must be to remove any rust.
When steel or other metal is exposed to water or water vapor, it can begin to oxidize, resulting in an unsightly and flaky finish. Once this chemical reaction is in full swing, it is next to impossible to stop. The only solution is to either chemically halt the oxidation process or remove all of the rusty portions. Continuing on with the painting process without taking one of these actions will ultimately prove to be disastrous. Eventually, the rusting process will resume, causing your beautiful work to become bubbled and distorted.
In the majority of cases, the most efficient solution involves removing the rusty metal parts and replacing them. If you are reasonably comfortable with auto body work, switching out a rusty door or fender should give you little trouble. However, the task becomes a good deal more complex if you need to replace a quarter panel, door skins or floor pans. These jobs require more advanced tools including a spot weld cutter, clamps, grinder and cut-off wheels.
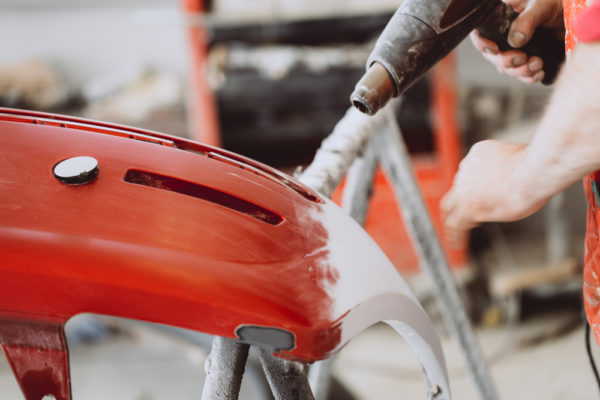
Welding contains its own potential for problems. For one thing, it is vital that you prime the area first and sand blast it after welding to prevent moisture from being trapped in the area and causing yet more rust. Another welding pitfall is that it generates a good deal of heat which can distort the shape of the piece you are welding. To minimize the chances of this happening, coat your metal with a heat-absorbing compound. Also, weld slowly and in short stitch-like pieces.
If you only see rust on the surface of the metal, you don’t necessarily need to go through the replacement and welding process. Instead, you can chemically remove the rust by applying a rust-inhibiting liquid or gel. Although there are several brands of these chemicals, all of them work in a similar way by converting active rust into iron phosphate. It can take up to 12 hours for this process to completely take place.
4. Straighten Your Panels
Now that your surface is rust-free, you can move on to what is probably the most time-consuming job: making your panels straight. To make this happen, you will definitely benefit from purchasing high-quality body filler. Although you might get away with hammering out some of the imperfections, you will not be able to escape the necessity of spending hours spreading body filler and sanding it down. Taking the time to meticulously perform this task using a high-end filler will ultimately give you straight panels that remain so for years to come.
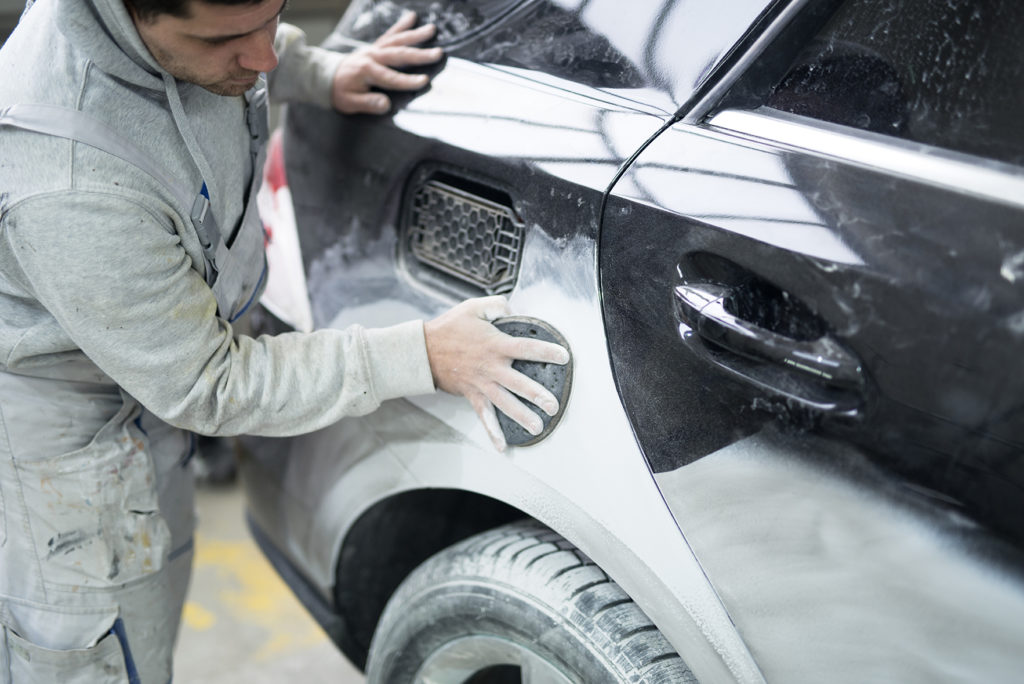
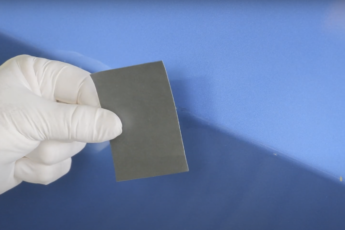
After you have applied the filler, sanding becomes your next priority. The preliminaries of this job can be done with a power sander or air files, but block-sanding by hand is always the necessary finishing touch. Sanding with a block is important because it keeps you from leaving finger grooves in the panel, resulting in a wavy look once the paint has been applied. Use progressively finer grains of sandpaper as you perfect the panel, and employ your sense of touch to feel for flaws or inconsistencies.
5. Apply Primer
Of course, you can’t simply plop your paint on this beautiful, rust-free and smooth surface. You first need to seal and protect it with primer. This step is vital because it ensures that the surface to which the paint will bond is smooth and consistent. Many experts prefer a two-part, urethane primer.
It is important that you mask areas that you don’t want to paint. Use plastic sheeting for the best results. Then mix your primer with thinners. For best results, don’t just guess; follow the instructions on the paint can. Then practice your spraying technique on a piece of scrap metal before you actually attempt it on your car. Stay about six inches from the surface, and use a side-to-side sweeping motion. Only pull the trigger when you are moving the spray gun. Holding it continuously while spraying the paint will make it thicker in the places where you switch directions, resulting in unsightly runs.
Once you feel comfortable with your spraying technique, you can begin applying the primer. Start from the roof and work down. Put it on in thin coats. Typically, you will need two or even three coats to completely cover the surface. Follow the instructions on the primer can, ensuring that each coat is allowed to cure for the appropriate amount of time.
6. Pick Your Paint
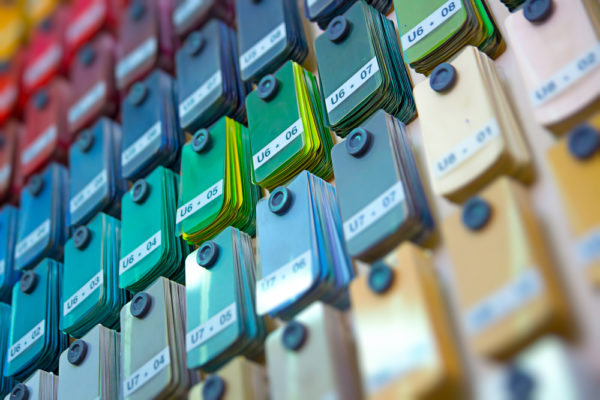
These days, you have a choice when it comes to the type of touch up paint you use. If you’re on a budget, it’s perfectly acceptable to go with what is known as single stage paint. As the name implies, all the elements of this product, including its pigmentation, ultraviolet protection and additives, are combined into one can and applied to the car all at once.
The second, more modern type of paint is known as base or clear coat. In this two-part process, the base or color coat is applied first and is followed by a clear, protective top coat. All new cars are painted using base/clear, which also has the advantage of being easier to repair. In addition, base/clear leaves the car with a more lustrous finish that is less likely to show small dings or other imperfections that may occur down the line.
7. Prepare Your Car for Painting
Now the time has come for getting the surface of the vehicle ready to be painted. That means protecting those parts that you won’t be coloring. Cover the wheels and tires with trash bags and encase the engine bay in plastic. Don’t use newspaper as protection; it is porous, meaning that paint can bleed through and lead to a lengthy and annoying clean-up. Then, use a Naphtha cleaner to remove oils or other byproducts, and finish off by dusting the car with a tack-cloth to ensure that every inch of the surface is free of debris and dust.
8. Mix and Apply Paint
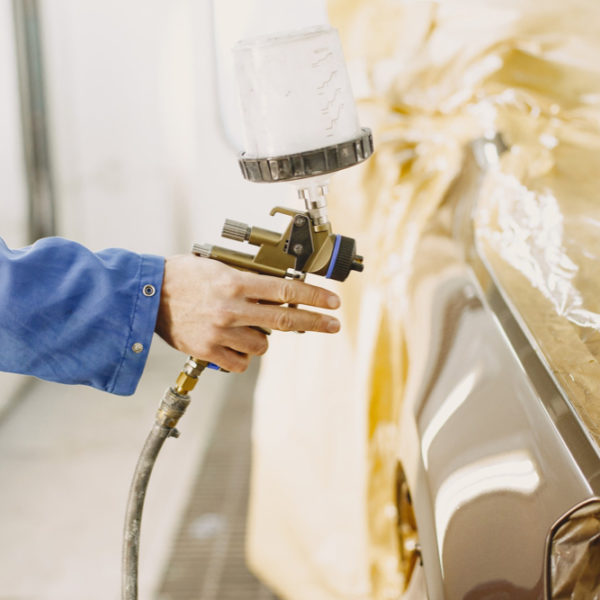
After all of that careful preparation, it’s finally time to get down to the business of applying paint to your vehicle. In order to prepare it, you will need a graduated mixing cup, stir sticks and strainers. To apply, you will need a paint gun. These fall into two categories: Can-style guns contain their paint in a can below the gun; high volume low pressure (HVLP) guns store their paint in a cup above the gun. The advantage of the HVLP variety is that they use lower air pressure, reducing over-spraying and product waste.
Whatever style of gun you decide upon, you will need an oil and water separator and a pressure regulator. The data sheet for the paint you choose will contain specific instructions on air pressures as well as how much time must elapse between coats. Regardless of your paint type, never compromise on using safety equipment, including gloves, safety glasses and especially a respirator.
The ideal place to apply your color is a paint booth. This environment is consistently well-lit and dust-free. In some cases, it can even be climate controlled for an optimal paint job. The other desirable element in creating the perfect coats of paint is experience. A master painter with years of work under his or her belt intuitively knows how thick to spread the paint as well as how to adjust with changes in surface. If you are a novice, however, don’t despair. Paying attention to the paint’s material safety data sheet (MSDS) can steer you in the right direction in most cases.
9. The Finishing Touches
Once the paint has been applied, be sure to follow the instructions on the appropriate cure time. After it has elapsed, you can wax your car or wash it down with soap. If you want to give it the auto body shop treatment, wet-sand the surface with 2000-grit paper before buffing it with a polishing solvent.
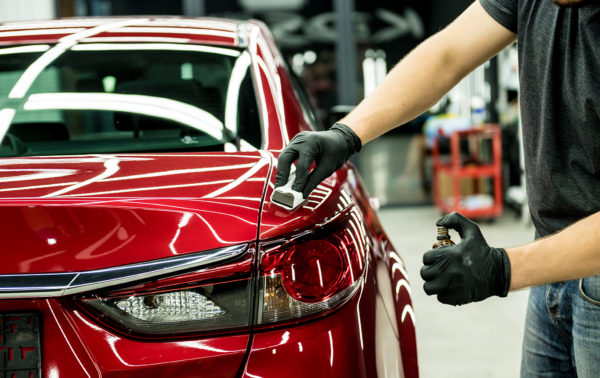
Whether you are just applying car touch up paint to a small surface or giving your vehicle a whole new color makeover, we hope you now see that the process involves a good deal of preparation, specialty tools, knowledge and patience.
While you won’t accomplish the job in an hour or two, your perseverance and attention to detail will ultimately pay off. In the end, you will have a paint job that will look vibrant and protect your vehicle’s exterior for many years to come.

 Cart
Cart
 Help Desk
