No Weekend? No Problem: Complete Your Car Touch Ups After Work
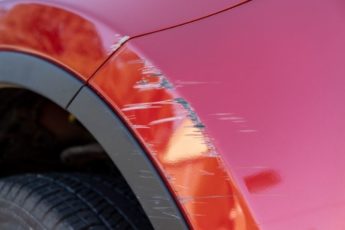
Sometimes, your car has damage that absolutely requires a visit to a body shop or garage. But there’s also the other kind of car damage. Maybe a tree branch gave your car paint a little scratch. Maybe a stray bumper dinged your car’s exterior in the grocery store parking lot. It’s that little noticeable blemish that you’ve just decided to live with. The scratch that’s too small to take into the professionals. It’s time to apply a little elbow grease and do it yourself. There are some quick and easy fixes you can do at home to make your paint job look shiny and brand new. Here are just a few you can undertake, the supplies you’ll need to do it, and a short walkthrough on each project.
Prepping Your Paint Project
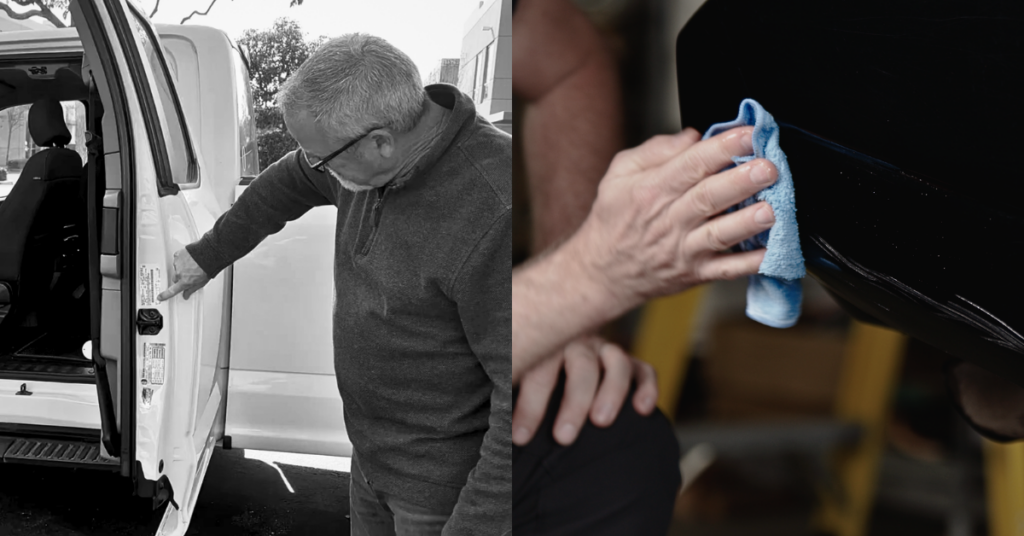
There are a couple of things you should know about prepping your car for a touch up job before you begin.
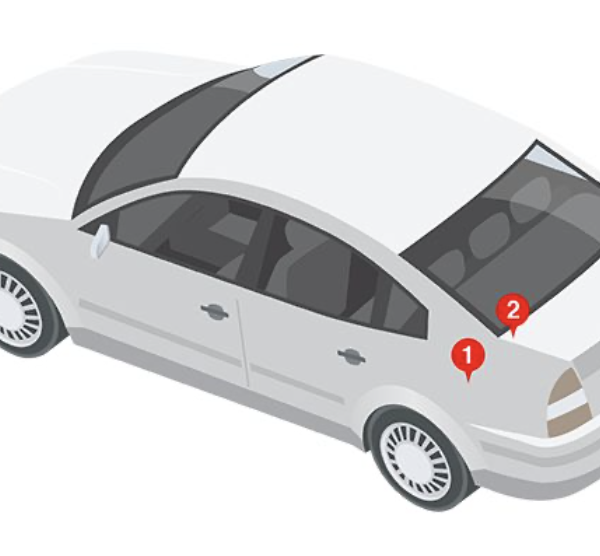
Finding the Color Code – If you want the best results, you’ll definitely want to get the exact right paint color. That’s where the color code comes in. The code is a string of letters or numbers or letters and numbers that are used to identify exactly which shade is which. You can usually locate the color code somewhere on your vehicle.
Wiping Down the Surface – Washing the area you’re about to touch up with soap and water is always a good idea, but we would also suggest using a microfiber cloth before you begin. There’s simply some residue, like wax, that does not come off with a simple wash. The reusable microfiber cloth is great at removing debris and grime without causing more scratches. This gives you a clean area to work on.
Prepping the Surface by Wetsanding – For most small touch up jobs, wetsanding is not necessary. But if you notice uneven or jagged edges, you’ll want to smooth those out before you begin your project. If you’re applying Primer, wetsanding the applied Primer once dry will create a much smoother surface before you apply the paint. Remember though to only sand damaged or primed surfaces. Fold the sandpaper and dip it into a cup of water. Sand in short, even strokes until the surface is smooth to the touch. For an easy sanding job, continually dip your sandpaper in a cup of water during the process. This will create a smooth surface for you to work on.
Choosing The Right Kits and Applicators – We here at TouchUpDirect judge the damage to your car’s finish by its size and depth. The applicator you choose corresponds to the size of the scratch while our kits deal with its depth.
TouchUpDirect has 5 applicators available: the Pen, the Brush, the Combo, the Aerosol, and our Professional Sizes. Let’s go through each and see which option will be most effective against the damage on your vehicle.
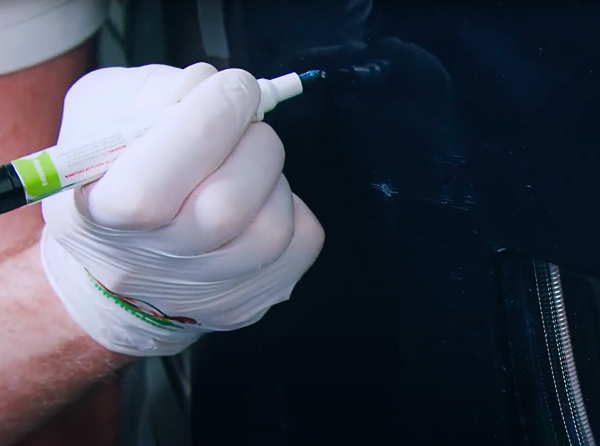
Pen– TouchUpDirect Pens are designed specifically to fix chips, nicks, scuffs, and minor scratches that are around the size of pencil eraser.
Brush– The TouchUpDirect Brush is a small paintbrush tool that works best with small scratches that are the size of a quarter or smaller.
Combo– The TouchUpDirect Combo is our handy 2-in-1 applicator. On one side, the Pen. On the other, the Brush. Be ready to repair any blemish that appears on your vehicle with the Combo!
Aerosol– The TouchUpDirect Aerosol’s fan spray gives your vehicle smooth and professional coverage on larger areas. This applicator is perfect for bumpers, mirrors, hoods, and trunk lids.
Professional Sizes– TouchUpDirect’s Professional Sizes are for those who have the equipment needed to tackle the most complex paint jobs.
TouchUpDirect has 3 kits available and we’re going to talk about which one is best for your car, truck, or motorcycle.
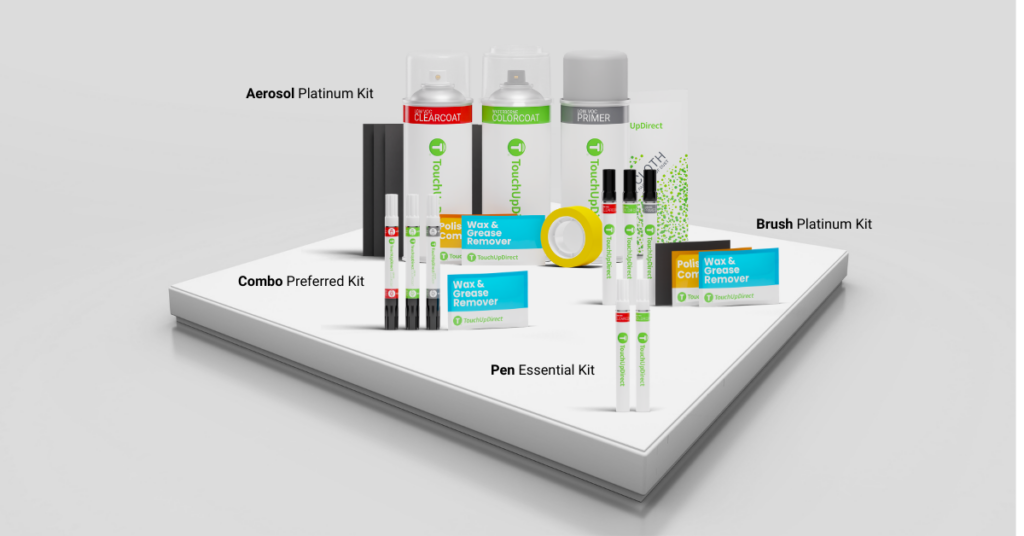
Essential Touch Up Kit – This kit contains the basics. You’ve got your touch up paint Colorcoat and your Clearcoat. The Essential Kit is best for light and superficial scratches that aren’t very deep.
Preferred Touch Up Kit – This kit adds Wax & Grease Remover Wipes and Primer to the mix. If you can see bare metal or substrate, that means the Primer that was on your car to begin with is gone and you will need to put down a new coat of Primer.
Platinum Touch Up Kit – If you want your ride to have the sleekest paint job around, you’ll want the Platinum Kit. This is the complete and full kit. It comes the Primer, Colorcoat, Clearcoat and all sorts of accessories and tools designed to give you the ultimate touch up.
Fixing Up Dings & Chips On Your Car Paint
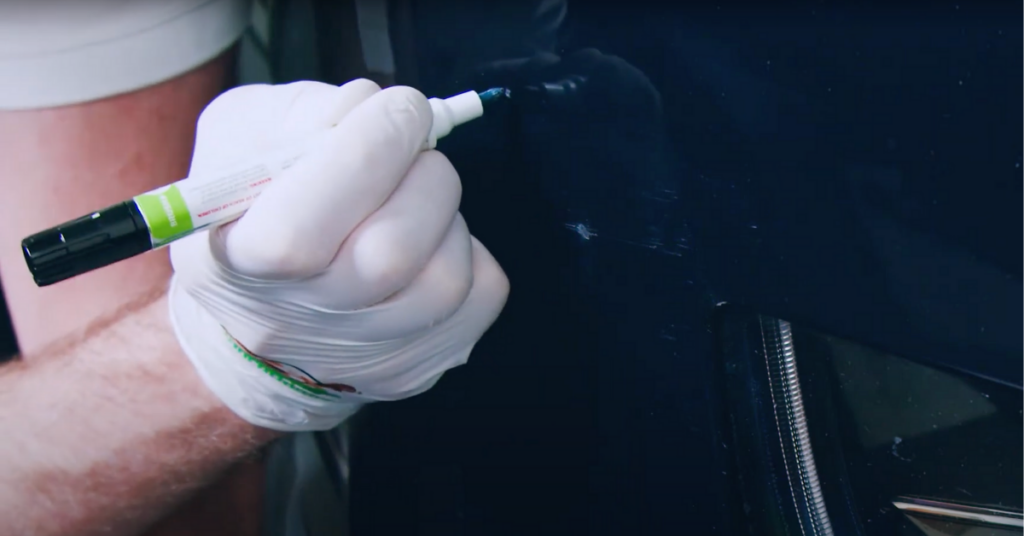
Once you finish your prep work, it’s time for a touch up! A small ding or chip can be dealt with quite quickly. The touch up process for these smaller scratches can be done well with the right instructions and accessories. Remember, if bare metal or substrate is visible, you will need to put down Primer. If not, head straight to the Colorcoat. Evenly apply 2 to 3 coats of the Primer. Wait 15 minutes in between for each coat to dry. Make sure to cover the entire damaged area. Once you’ve finished the final coat of Primer, give it 30 minutes before starting on the Colorcoat.
The Colorcoat is the layer that shows you the actual colors of cars. Add your 2-3 even coats of Colorcoat, waiting 15 minutes in between coats so it can dry. The Clearcoat works to both protect and enhance your paint job. This layer acts as a shield against the sun, corrosion, rust and outside detritus. It has a very similar process to the two previous layers. Apply 2-3 even coats on the target area. Wait 15 minutes in between coats. Once you’ve finished, allow it to dry for 48 hours and voila! You’ve touched up your vehicle.
Vanish Those Deep Gouges with Filler
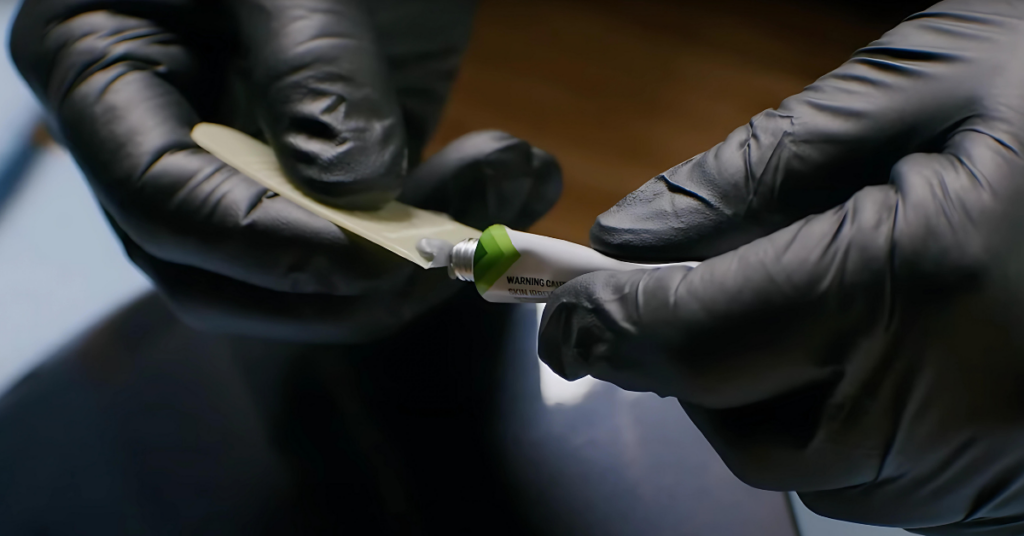
Sometimes there are deep scratches and then there are the times where you just have a hole in your car. TouchUpDirect has a solution for that too: the Scratch & Chip Putty. This putty is designed to fill any gouges, pits, holes, or deep scratches on the surface of your car. You absolutely need to deal with these issues before you begin the touch up process. The TouchUpDirect Scratch & Chip Putty is incredibly easy to use, you don’t even have to mix it. After sanding the area, squeeze the putty on to the spreader (make sure to put on gloves first!). Then apply the filler to the gap and use the spreader to smooth out the area, removing excess putty. After a 30 minute dry time, you’re ready to start your touch up!
Time For a Good Polish!
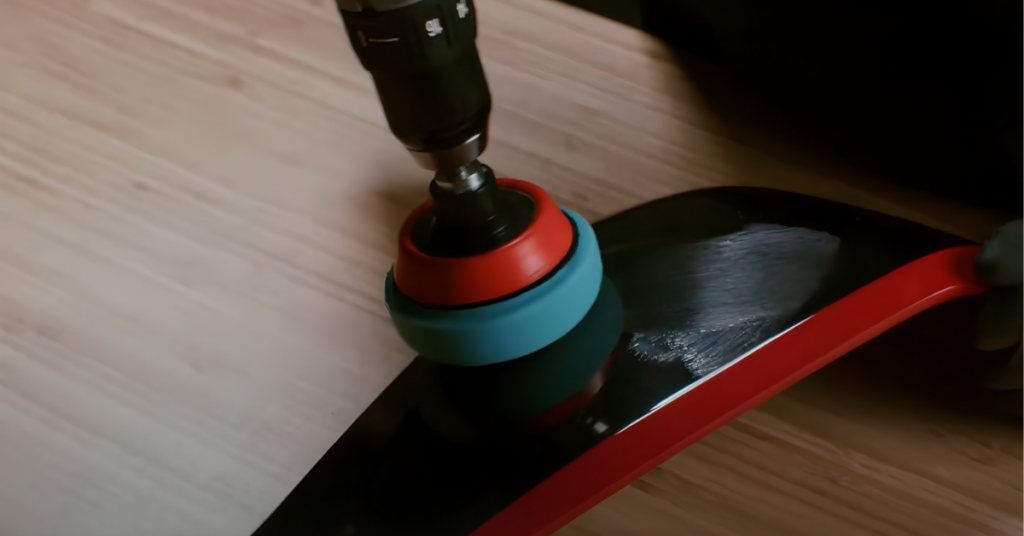
Are you in need of an extra shiny finish? We’ve got good news for you, there’s something you can do about that. Meet the TouchUpDirect Polishing Kit. Our customers asked us for a way to get a glossier paint job and that led us to create this polishing kit. Stocked with a bottle of gloss restorer, a bottle of final step, polishing pads, a microfiber cloth, sandpaper, a drilling extension and backup plate, the TouchUpDirect Polishing Kit is a good project you can undertake to make your car’s coat shine.
This project requires a drill. First, attach the first polishing pad to the drill. Wetsand the target area in a circular motion, dipping the pad repeatedly into the water as you progress. When the water becomes milky and the paint looks dull, you are ready to add the gloss restorer. Squeeze a dime-size drop of gloss restorer onto the center of the first polishing pad. Activate the drill in its faster setting and with medium pressure completely work the entire area that needs its gloss restored. Use the gloss restorer liberally, keeping the polishing pad feeling damp. Continue until gloss is fully achieved. Once satisfied with the smoothness and gloss, move on to the second polishing pad and the bottle of final step.
Install the second polishing pad onto the drill extension and apply a dime-sized amount of the final step. Smear it onto the surface, activate drill and polish the entire area. When done polishing, wipe off excess polish with microfiber cloth and you’re finished. Your vehicle is now at peak shine!
From our factory out on the West Coast, TouchUpDirect will have your road weary cars, trucks and bikes looking their best once more. With paint colors for almost every make and model from the last couple of decades for sale, we’re here to help you get a perfect paint job. Worried about cost? Our automotive touch up paint, applicators, and accessories will help you save a ton in car repair. Still a little confused on how to apply paint for that scratch repair? Don’t worry about it! We’ve got step by step instructions that will help you get the best coat possible for your vehicle. Between our blog posts and the giant library of instructions we’ve created, we’ve got touch up paint walkthroughs for everyone. And if you don’t want to read, check out the many instructional videos on our YouTube page.

 Cart
Cart
 Help Desk
