How To Repaint Over Old Paint
Are you sick of staring at that one spot of fading paint? Is that peeling paint on your door giving you the eye twitch? It might be time for a bit of a refresh. And good news! You don’t have to take your car into the shop to make it look its best. You can get a great looking paint job right at home for a fraction of the price! TouchUpDirect has Aerosol spray paint that can make a world of difference. But what do you do about the paint that’s already there? Don’t worry! We’re gonna run through everything you need to know so you can start your touch up. Let’s dive in, shall we?
When Do I Remove Old Paint?
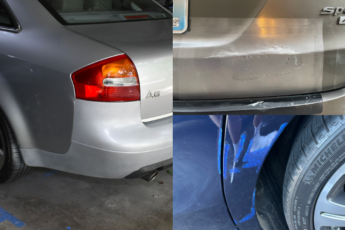
Do you see cracks in the paint? Is the paint chipping? Is there some peeling going on? If the answer to any of these questions is yes, you need to prepare the surface by removing that paint before you begin work. With old paint that is cracking or peeling, sooner or later it will flake off your car. If this is the case with your car paint, do not paint over it. In this situation, the new paint is sitting on top of the old paint and you will lose both when it peels or cracks off your car.
Paint in bad condition isn’t the only reason to remove existing paint. If you see rust or scratches in the paint, you absolutely need to deal with it before you begin painting. With surface rust, a fine grit sandpaper is enough to remove the corrosive element. You’re then free to paint over it, adding the Primer, Colorcoat, and Clearcoat. If you wish to know more about the different types of rust and what to do if you find a more severe stage on your vehicle, check out our blog on the subject.
What Do I Need To Do When Painting Over Old Paint?
Prepping Smooth Surfaces
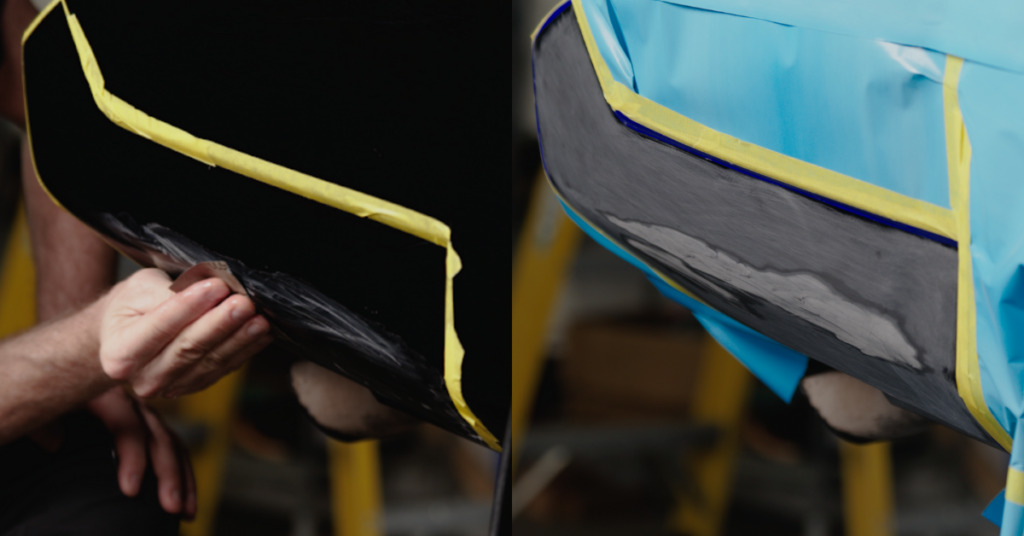
If you’re painting over the existing paint, you’re going to have to scuff the Clearcoat. The Clearcoat is a thin layer of finish that adds gloss and protection to your paint job. Do not just paint over the Clearcoat. You’re going to wetsand it. Wetsanding helps smooth the surface, removes imperfections, and creates an atmosphere where the paint can adhere and bind properly. Using water while sanding reduces friction, ensuring a smoother finish.
Take 800-1000 grit sandpaper and dip it into a cup of water as you sand. Make sure that you don’t sand through the old Colorcoat and Primer, scuffing it up just enough that the gloss is gone. Once you’re done and that glossiness has vanished, wash the area with soap and water. When that’s dry, use a tack cloth to wipe down the area. This will grab up any contaminants lingering so the surface is clean when you begin painting. Once your Clearcoat is dull, you’re ready to paint.
Prepping Peeling and Cracked Surfaces
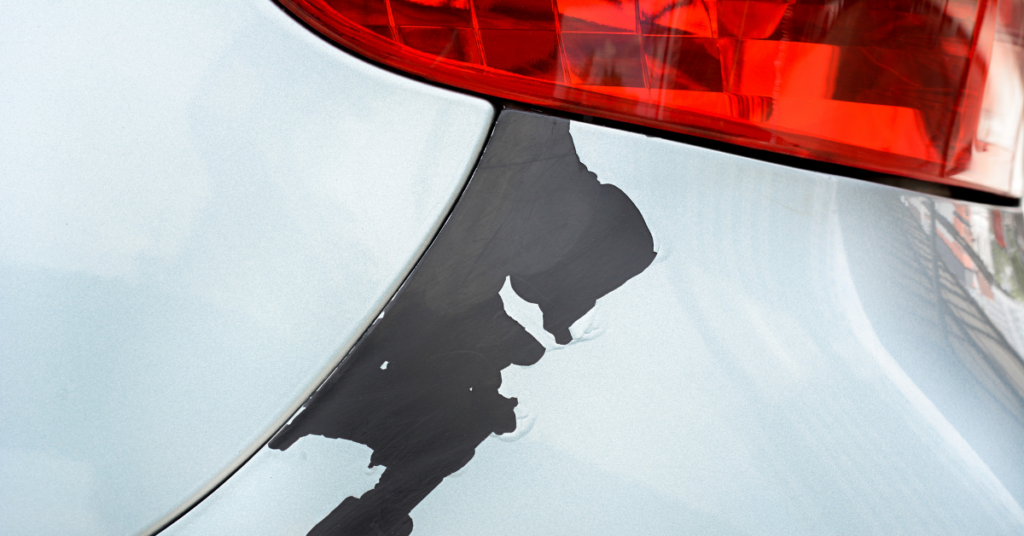
With peeling, sections of the paint are coming off the surface of the car. You can tell if it’s major peeling when you see large sections of the paint job peeling off and visible metal, plastic, or fiberglass. Cracking is often caused by age or exposure to the elements. Deep cracks go through the Clearcoat, Colorcoat, and Primer. With deep cracks, you can often see metal or bare substrate.
The process for removing peeling and deep cracks is very similar. If it’s peeling, get rid of the paint by using sandpaper or a scraper to gently scrape it off your vehicle. Next, we’re going to wetsand the uneven surface smooth. Use 800-1000 grit sandpaper, dipping it into a glass of water as you sand the surface. Don’t forget to sand the edges of the paint to blend it into the surrounding area. Keep going until the peeling or cracking is gone and the area is smooth. Once you’ve cleaned the area, your surface is now ready to paint. If you see exposed metal, plastic or fiberglass, you’ll need to lay down a layer of Primer before you add the Colorcoat and the Clearcoat.
Prepping Surfaces With Faded Paint & Clearcoat
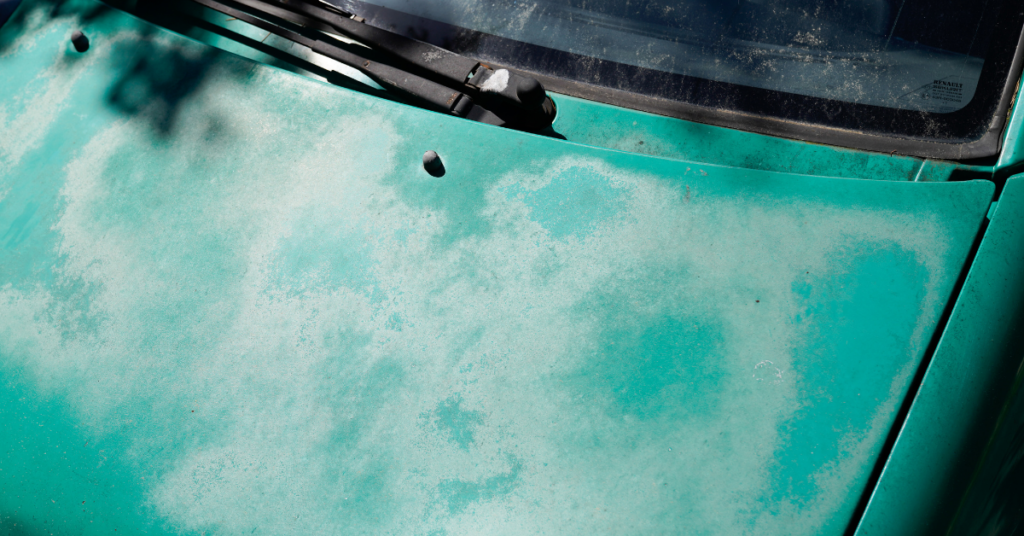
If your Clearcoat has turned white and splotchy, that means that it has de-laminated from the Colorcoat. This issue is caused by prolonged exposure to UV rays as well as the general debris a car encounters on the road. Clean the surface with soap and water to create a pristine surface to work on. Wetsand the Clearcoat with 800 grit sandpaper until the surface is smooth and the glossiness is gone. Apply Primer to the bare metal and substrate if it’s visible. Now you’re free to add the new layers of paint to your car’s paint job!
Need some help with the touch up process? We’re here to help you get the best possible coat for your vehicle. Between our blog posts and the giant library of instructions we’ve created, we’ve got touch up paint walkthroughs for everyone. And if you don’t want to read, check out the many instructional videos on our YouTube page.

 Cart
Cart
 Help Desk
