Essentials for Touching Up Your Car
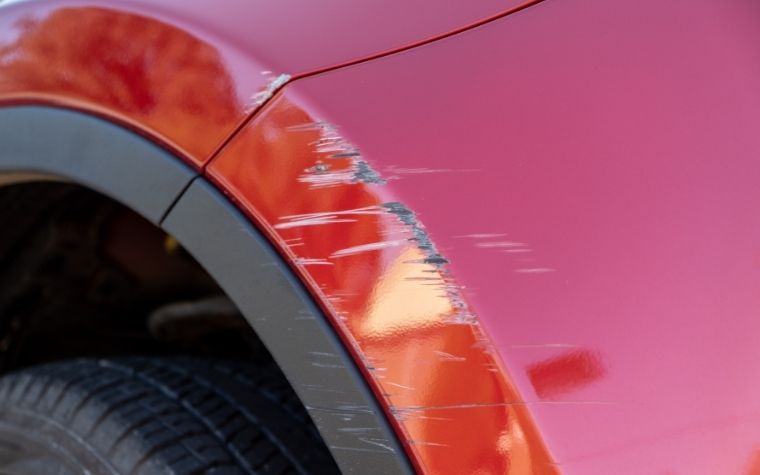
As you’re driving your car along the road, you’re bound to come across a few minor scratches and marks during your adventures. Whether it was a rock that kicked up and scuffed the paint or a shopping cart rolling into your car, it’s a familiar feeling of dread that looms over every car owner. Sometimes, it’s a minor scratch, while other times, it’s a decently sized scrape.
Luckily, you can easily find what you need for your DIY car paint touch up project and fix it quickly. Thankfully, you can take power back into your hands and take care of scuffs and marks yourself right at home. So don’t sweat it too much; you’ll finish the job before you know it and get back out on the road again.
Finding the Right Color and Gather Supplies
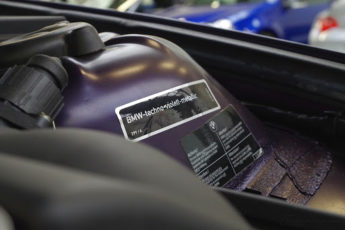
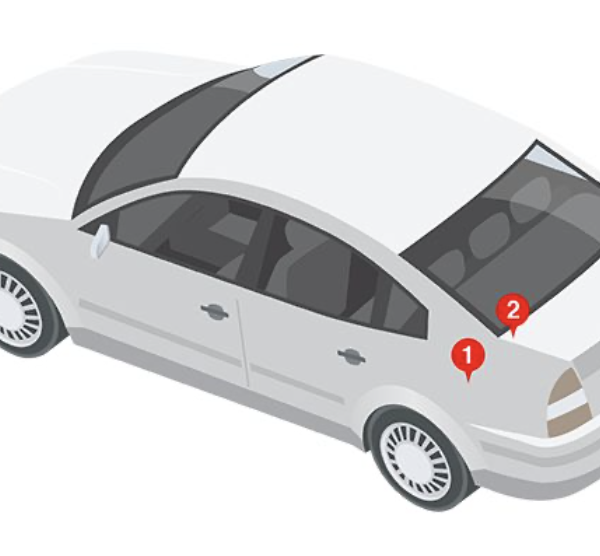
Make sure that you find the correct color for your car. We suggest an online retailer, as they are more likely to have a wider stock of touch up paint. Luckily, many retailers carry different car brand kits, such as a Honda car paint touch up kit, that will contain what you need from paint to applicator. If you can see bare substrate (i.e. bare metal or plastic), you will need primer. Make sure to get clearcoat with your order. You’ll need that later. If you’re confused about the exact color that you need, online retailers should have your make and model’s color code available. If that is not an option for you, the color code should be located on a small plate listed next to the body number.
Test a Color Match
A large number of things could happen to cause a mismatch in colors. You need to test out your paint before you put it on your car. The retailer you chose should have provided you with a test card. If they didn’t, find a very thick piece of paper that can hold the paint. Test the paint on the card. Wait 15 minutes and apply the clearcoat. After that has dried, check to see if it matches your car.
Choose Appropriate Conditions
When it comes to knowing what you need for your DIY car repair touch up project, you need to have a safe and controlled environment for your task. A prime choice for a touch up is a garage because it is not in direct sunlight, and is usually temperature controlled.
If a garage isn’t accessible to you, find a shaded spot on your property or somewhere nearby with permission. You want as mild of a climate as possible, as working in direct sunlight or freezing temperatures can affect how the paint processes. So make sure you have an excellent location prepared.
Prepare Your Vehicle
After getting the supplies you need to paint, you can move forward with cleaning and preparing your car. You don’t want to have any debris, dust, or foreign contaminants sticking to your vehicle, or it can prevent the paint from adhering.
Clean and Repair Rust Spots
Firstly, make sure you wash your car before you treat the scratches. Remove any priorly applied rust arrestor, filler residue, debris, and wax that could get in the way of the paint. Afterward, let the area dry completely. You should ideally clean the damaged area with soap or wax and grease remover.
If your car has rust spots near the damaged area, remove all traces of rust with 500 grit sandpaper or a wire brush. Shortly after, apply a rust arrestor to the decayed area to prevent it from continuing under the new paint. From there, you can move forward with priming, painting, and clearcoat application.
Apply the Paint
The method of applying the necessary liquids is essential. If there are any spots with flaking paint, make sure it gets removed before application. Usesandpaper on scratches that cut down to the metal or have larger paint chips. Then, rub the area with a clean rag.
Primer Prep and Application
Applying primer is the first part of the paint touch up process. Apply it to any place where bare metal or plastic shows on the vehicle. Ensure the application layers are thin and left to dry for at least 20 minutes undisturbed. Try your best not to get it on the original car paint, either. If you happen to do so, wipe it off immediately. Taping off the damaged area will help with this.
Colorcoat and Clearcoat
After the primer has completely dried, you can apply the colorcoat to your car. Apply 2 to 3 coats evenly across the damaged area. Allow the paint to dry for 15 minutes between coats. Once done, wait a further 15 minutes before applying the clearcoat.
As for the clearcoat, apply several thin layers and let it dry in between layers. Waiting time to dry is 15 minutes, so have patience and take your time. Remain gentle with clearcoat application. Any pressure applied can remove the colorcoat if not careful.
Apply Polishing Compound
Once you’ve completed the paint application, wait at least 48 hours before adding a polishing compound to your touch up. Apply the rubbing balm to the entire area of the car paint you fixed. It’ll make your car shiny and smooth, giving it a glamorous feel. Afterward, wait at least 30 days before waxing.
There you have it; you’re now prepared to fix any little scratch on your car! If you’re ready to take on a touch up repair, we can help you at TouchUpDirect. We offer dozens of name-brand touch up paints for any car type. If you have any questions, feel free to call us today, and we’ll be more than happy to help you.

 Cart
Cart
 Help Desk
