A Ford F-150 Transformation: Blue Flame Metallic
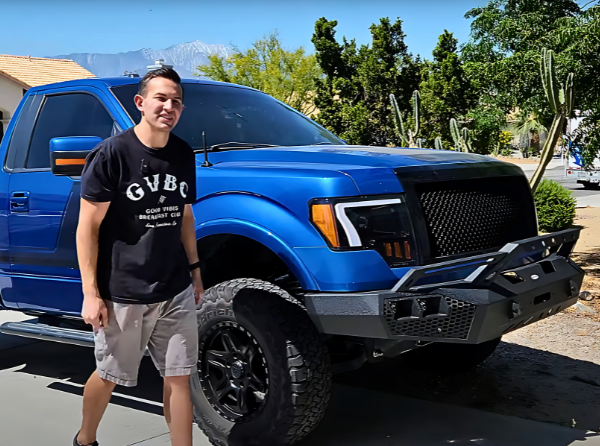
Devin Gonzales from Auto Journey is no stranger to car modifications and customizations. As an avid automotive enthusiast, Devin has always sought ways to enhance the aesthetics and performance of his vehicles. Achieving a professional finish requires careful attention to paint adhesion, which ensures the paint bonds properly to the surface. His latest project involved transforming the grille of his Ford F-150 to match the truck’s Blue Flame Metallic finish perfectly. With the help of TouchUpDirect’s Aerosol Platinum Kit, Devin accomplished a stunning transformation that not only enhanced the look of his truck but also provided a step-by-step guide for DIY enthusiasts. The paint was a perfect match for the Blue Flame Metallic, ensuring a precise color match that blended seamlessly with the original paint. Here’s a detailed account of Devin’s journey.
Why Change the Grille?
Ever since purchasing his Ford F-150, Devin felt that the stock grille didn’t quite complement the truck’s overall look. The original grille’s look was too naturally occurring and didn’t go with the truck’s unique Blue Flame Metallic paint finish. Initially, he tried to enhance its appearance with a grille inlay from 300 Industries, but the complexity of the project led him to put it on hold. Determined to complete his vision, Devin reached out to TouchUpDirect for assistance.
The Solution: The TouchUpDirect Aerosol Spray Platinum Kit
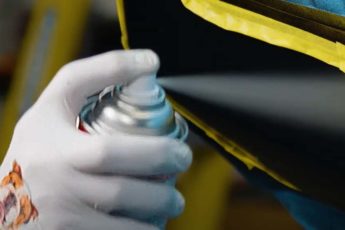
To help Devin achieve the perfect color match, we sent him our Aerosol Platinum Kit in Ford Blue Flame Metallic (Color Code: SZ). This comprehensive kit includes Primer, Colorcoat, Clearcoat, and all the necessary accessories for a professional-quality finish. The items in the Platinum Kit ensure strong paint adhesion, which is crucial for a durable and long-lasting finish. The kit uses Aerosol spray paint to apply the Primer, Colorcoat, and Clearcoat, providing DIY enthusiasts with the tools they need to achieve a factory-like finish on their vehicles.
Step 1: Preparing for the Transformation
The first step in Devin’s project was removing the old grille. He discovered that the previous installation was quite haphazard, making the removal process more complicated than expected. Once the grille was out, he started prepping the new grille inlay by addressing any scratches with glazing and spot putty. This ensured a smooth surface for the new paint. Removing solid particles is crucial for paint adhesion. It was also crucial to remove any solid particles from the surface to ensure a smooth application of the new paint.
Step 2: Sanding and Priming
Devin began by sanding down the black paint on the grille surround using 600 grit sandpaper. This step is crucial for ensuring paint adhesion by affecting the particle size of the sanded material. Sanding provides a rough texture that allows the primer to bond effectively. After sanding, he applied the first coat of Primer using a spray gun attachment, which helped achieve a smooth, even layer.
Step 3: Applying the Blue Flame Metallic Spray Paint
After allowing the Primer to dry, Devin sanded it with 800 grit sandpaper to prepare for the Colorcoat. Using the wax and grease remover from the kit, he cleaned the surface thoroughly. This step is essential to remove any contaminants that could affect the paint’s adhesion and finish. The chemical reaction between the Primer and the paint ensures strong paint adhesion and a durable finish. Devin then applied the Ford Blue Flame Metallic paint in multiple thin layers, building up the color to ensure even coverage and a professional finish.
Step 4: Addressing Mistakes and Ensuring Quality
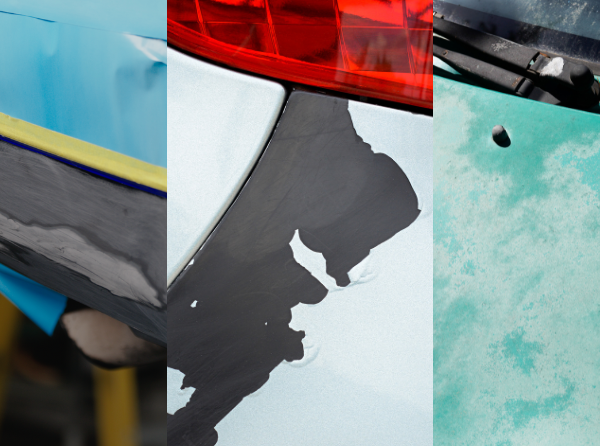
During the painting process, Devin encountered an issue where the Primer and Colorcoat didn’t provide even coverage due to sanding down to the original black surface. Ensuring even coverage is crucial for paint adhesion, as it helps the paint to properly bond to the surface. To address this, he decided to sand the entire grille down and reapply the Primer. Although this added an extra step, it ensured a more uniform base for the paint, leading to a better final result. This step highlights the importance of patience and attention to detail in DIY projects. Additionally, ensuring the even distribution of aerosol particles is crucial to avoid uneven coverage and achieve a smooth finish.
Step 5: Wet Sanding and Polishing
With the paint fully cured, Devin proceeded to wet sand the surface using 2000 grit sandpaper. Wet sanding removes minor imperfections and particulate matter from the surface to achieve a flawless finish. He then used the provided polishing compound to bring back the shine, resulting in an OEM-style finish that perfectly matches the rest of the truck. The polishing process requires some elbow grease, but the end result is a glossy, professional paint finish that blends seamlessly with the vehicle’s original paint.
Step 6: Installing the Grille Inlay
The final step was installing the new grille inlay. Despite the somewhat unclear instructions from the inlay manufacturer, Devin successfully aligned, drilled, and bolted the inlay into place. He also wired the Amber Raptor-style lights to the truck’s daytime running lights, completing the custom look. This step involved careful alignment and precise drilling to ensure a secure fit without damaging the freshly painted surface. It is also important to ensure no mineral dust is present during installation to avoid contamination of the freshly painted surface.
The final paint finish contributes significantly to the overall appearance of the grille, giving it a sleek and polished look. With all the shine and gloss of a cloud droplet, this paint color practically glows.
The Stunning Result
Devin’s Ford F-150 now features a custom grille that seamlessly matches the Blue Flame Metallic color of the truck. The combination of the new grille, amber lights, and excellent paint-matching gives his truck a unique and polished appearance that stands out on the road. The transformation not only improved the truck’s aesthetics but also added a personal touch that reflects Devin’s style and attention to detail.
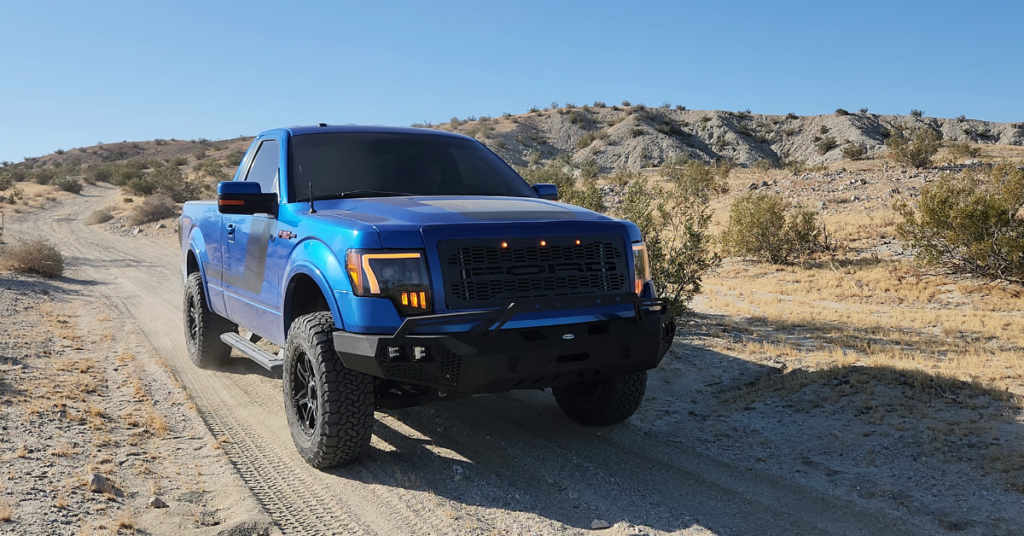
At TouchUpDirect, we are proud to support automotive enthusiasts like Devin Gonzales. His project not only showcases the high-quality results achievable with our Aerosol Platinum Kit but also serves as an inspiration for others looking to customize their vehicles. The exceptional paint adhesion contributed significantly to the success of the project, ensuring a durable and long-lasting finish. T Devin’s journey demonstrates that with the right tools and a bit of patience, anyone can achieve professional-grade results at home.
For anyone interested in similar DIY projects, TouchUpDirect offers a range of perfectly matched paint kits and accessories. Trust us as your paint manufacturer and we’ll help you transform your vehicle with professional-grade products and achieve a flawless finish. Whether you’re addressing minor scratches or undertaking a full customization project, our kits are designed to deliver outstanding results.

 Cart
Cart
 Help Desk
