Is Pearlescent Paint Harder To Match?

Imagine. You’re finally getting rid of that scratch on your car’s coat fixed up. You’re ready to tackle the eyesore that’s been ruining your car paint for ages. But what’s this beautiful, almost magical shimmer? That doesn’t look like something the other cars have. Oh right, you have a pearlescent paint job. Will this pearl sheen be a more difficult job? Don’t fret! TouchUpDirect is here to help. What’s the difference between the base coat, tri coat, mid coat, and clear coat? Why’s a test card important? And most importantly, is this pearl paint harder to match?
What is Pearlescent Paint?
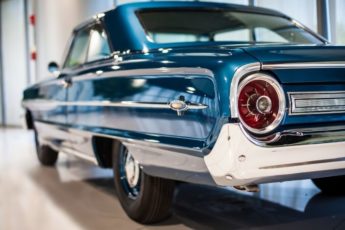
Pearlescent paint is exactly what it sounds like. It gives a pearl like sheen to your paint job thanks to the pearl pigments within. The way this works is that there is tiny mica mixed into the paint. Unlike metallic paint which use metallic flake pigment, pearlescent paint is made with pearl mica. These pearl pigments create a shimmer effect when light hits it in different ways. These can give the paint job a shimmering effect or even make the paint look like a different color. Pearl paint colors don’t have to be white. There are blue, yellow, and black pearl colors out there. You can even get gold and silver pearl car paint.
What Types of Pearlescent Paint Are There?
The different types of pearl paint are determined by the amount of steps in the paint process. Most modern paint jobs are done in a multi-step process where coats work together to create a more vibrant, protected paint job. First you have the Primer. We will get more into depth about the Primer later but basically, it creates an adhesive surface and protects against rust and corrosion. On top of the Primer goes the Colorcoat. This is the layer that gives your paint job its color. TouchUpDirect uses waterborne paint which creates a deep and vibrant color. Finally, we have the Clearcoat. This is incredibly important as your paint job is not finished until the Clearcoat goes on. It creates a professional shine and protects your paint from the elements.
Single Colorcoat Pearl Paint
First, we have a method that uses just two layers, the Colorcoat and Clearcoat. In this you put down your layer of pearl infused paint (the Colorcoat) and once that coat is dry, a Clearcoat finish is applied to provide protection and an extra shine to your paint job.
Tricoat Pearl Paint
The second type uses three coats to create better color depth. Often used with Pearl and Candy paint, this method takes different paints to create a new pearl-like effect. In this method, you have a Basecoat, a Midcoat, and a Clearcoat. You lay down the base color first, followed by a Midcoat with the Pearl or Candy properties mixed into the Midcoat’s paint. And once that’s dry, simply apply your Clearcoat and voila! You’ve got your pearl Tricoat. With a Tricoat, the Basecoat and Midcoat can be wildly different colors and you may not understand how it will look until every coat is applied and dry. The base color and its new layer mix to create a cool new color that has shimmer and sparkle.
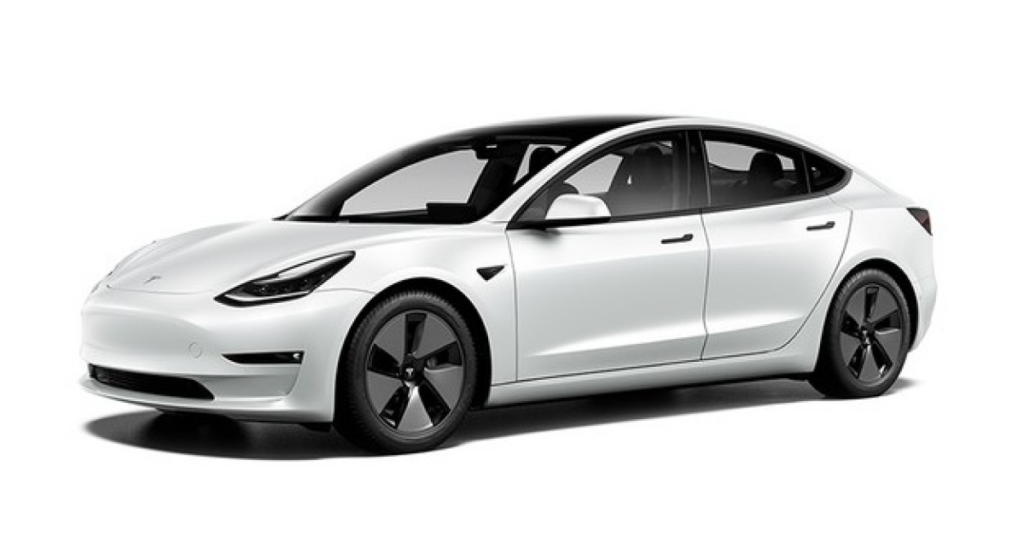
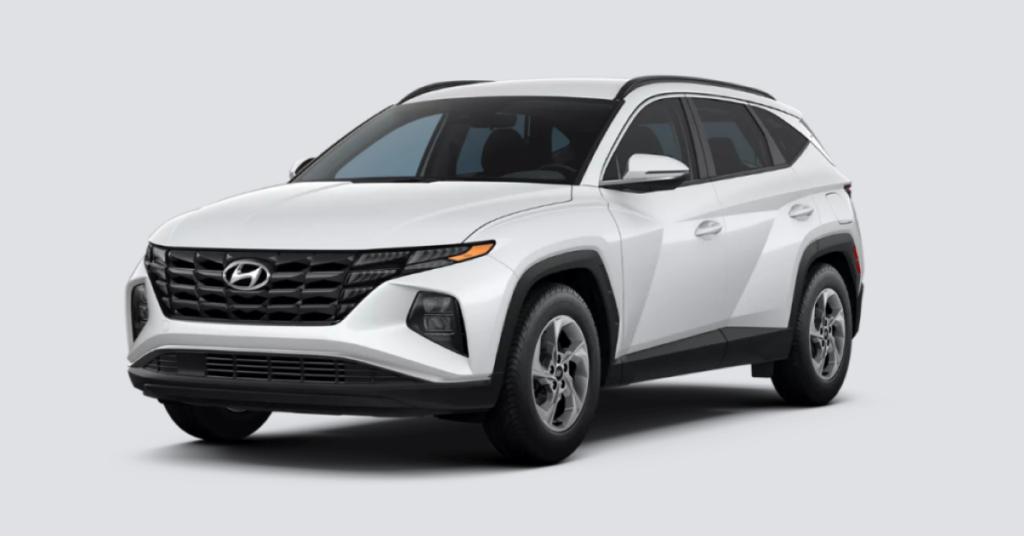
The Tesla Pearl White (PPSW) and the Hyundai White Pearl (TW3) both give a pearlescent sheen to your white paint job!
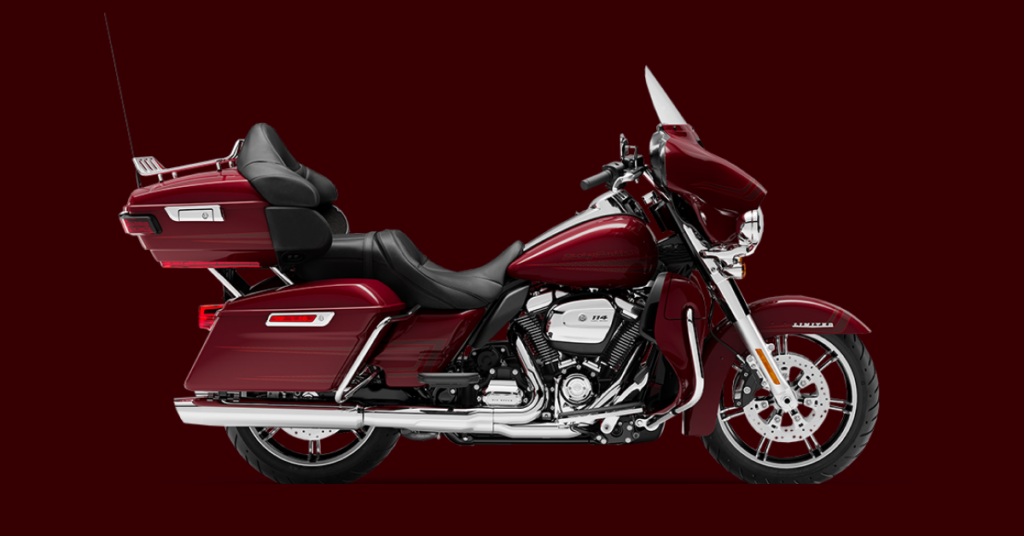
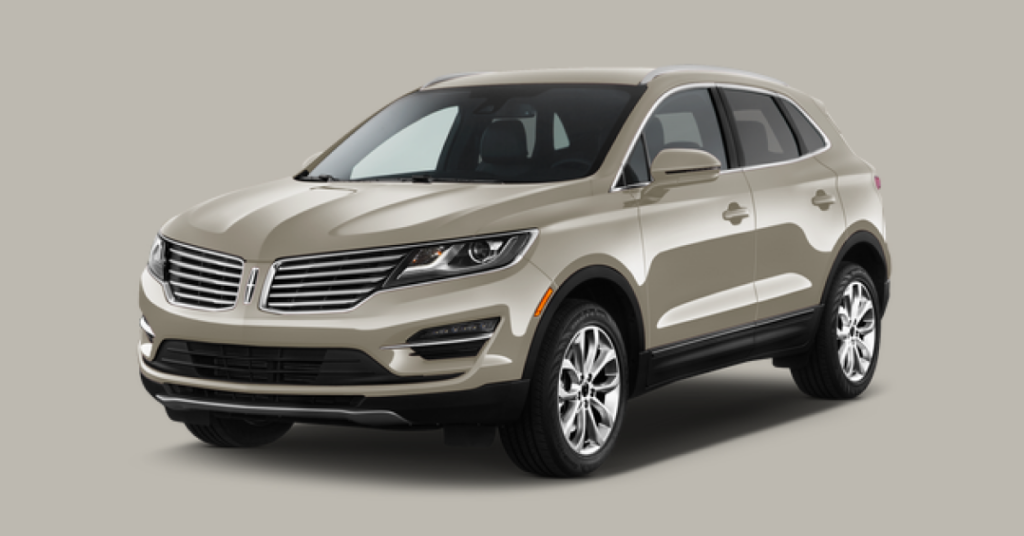
Like a more vibrant color or something off-white? Meet the Harley Davidson Stiletto Red Tricoat (HAR157) and the Lincoln Ivory Pearl Metallic Tricoat (HA/M6718).
Now you know about this paint, it’s time to go back to the original question. Is it harder to find a perfect color match for pearl paint?
Nope!
A perfect match is a little more difficult with a pearl paint because of the aforementioned micas that give the coat that special glow. However, it is difficult in a way that means you just have to be extra careful when it comes to applying and painting the coatings on your vehicle. Simply put, it is harder to do but you can nail touching up a pearl paint if it’s done correctly.
What Can I Do To Make a Good Match For My Pearlescent Paint?
Technique is key! Here are a few tips that help you achieve a good paint match for your car.
Use a Test Card
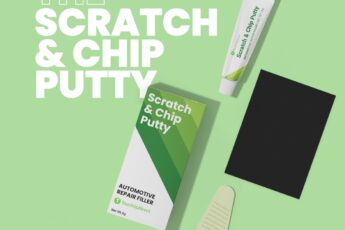
We recommend that all of our customers use our test cards before they begin applying paint to their vehicles. This will ensure that you get the best match. Apply each layer on the card, allowing the paint to dry in between coats. Make sure you don’t forget the Clearcoat! Once the whole thing is dry, hold your card up to your car. This allows you to see exactly the color you are about to apply and if it matches your paint job. TouchUpDirect provides test cards with all of our orders but if you’re coming from somewhere else, a sheet of thick stock paper will do the job.
Apply Primer When Necessary
Sometimes your touch up will require you to apply Primer. This layer is there to make your paint stick to your car’s metal and create a smooth surface for painting. When do you need to use Primer? If you can see bare metal, fiberglass, plastic or bare substrate on the original site of damage, you need to put down a coat of Primer before you begin to paint (or spray if you’re using Aerosol). If you don’t see any of that, you’re good to go!
Apply the Correct Amount of Basecoat and Midcoat
If pearl paint is painted the wrong way, there is a risk that the color match will be off. Here are the amount of coats and dry time for each TouchUpDirect applicator.
Pen
Prime your Pen by pressing the Pen tip down on a soft surface 3 to 5 times. Lightly dab the pen on the damaged surface. Apply 2 to 3 even coats of Primer, waiting 15 minutes in between for each coat to dry.
Once you’ve finished the final coat, give it 30 minutes before starting on the Colorcoat. Once your Primer is dry, pick up your paint pen, shake well, and dab 2 to 3 coats on the touch up area, waiting 15 minutes in between coats.
Dab 2-3 even coats of Clearcoat on the area you are working on. Wait 15 minutes in between coats. Once you’ve finished, allow it to dry for 48 hours and you’ve officially touched up your car!
Brush
Make sure that the cap is facing up when you unscrew it! Remove the excess paint by lightly dragging the brush along the inside opening as you remove it from the container.
Apply 2-3 coats of Primer evenly and allow to dry for 15 minutes before you apply the Colorcoat. Repeat until the repair area is thoroughly covered.
Apply the Colorcoat evenly over the damaged area. Allow to dry for 15 minutes. Repeat until the repair area is thoroughly covered.
Apply a light, even coat of Clearcoat in the same manner used to apply the Colorcoat. The first coat should have thorough, even coverage. Allow to dry for 15 minutes. Allow to dry for 15 minutes. Repeat until the repair area is thoroughly covered. Do not exceed 4 coats.
Aerosol
Hold the spray paint can about 6-8 inches from the surface being painted. Begin spraying 1-2 inches before the target area and stop spraying 1-2 inches past the target area. Shake spray paint can prior to spraying and intermittently while spraying.
Apply 2-3 coats of paint, overlapping the previous pass by at least 50% to ensure thorough coverage. Allow for 15 minutes of dry time in between each coat. Once you have finished the Colorcoat stage, wait 30 minutes for the final coat to dry before moving on to the Clearcoat.
Apply a thorough, even coat of Clearcoat with the same 50% overlap of the previous pass. Repeat for up to 4 coats with a 10-15 minute dry time in between coats. Allow the Clearcoat to dry for 48 hours before polishing or waxing.
Mixing your paint here from our factory in Southern California, TouchUpDirect is here to make your car’s pearl paint look its best. If you need help with your touch ups, we’ve got you covered. Between our blog posts and the giant library of instructions we’ve created, we’ve got touch up paint walkthroughs for everyone. And if you don’t want to read, check out the many instructional videos on our YouTube page.

 Cart
Cart
 Help Desk
