Rattlecan Restoration
Well hello again, drivers! Today, we’re diving into the wonderful world of Aerosol spray cans. Touching up your car with an Aerosol can isn’t just about fixing up those scratches—it’s a full blown culture of restoration that combines history, personal style, and technical skill. From its invention in the ‘20s by a dentist’s son repurposing his father’s medical atomizer to the incredible talent of today turning their cars into driveable art, Aerosol paint has been a staple of automotive culture for decades. It’s time to join that revolution and give your car the smooth and polished paint job that only an Aerosol can provide.
Why Should I Use Aerosol?
Aerosol cans, or as we like to call them, “rattlecans,” are pretty popular among DIY buffs for a bunch of good reasons. While many auto enthusiasts swear that professional clean room paint jobs are the only way to go, a professional looking paint job can be achieved by a prepared and diligent DIYer. For those who don’t have the option of getting their car professionally airbrushed, Aerosol is easily available and cost effective. They’re not just affordable and convenient, Aerosol covers a lot of ground in a satisfying and fun way! Opting for an Aerosol can to restore your car’s paint doesn’t just save its appearance—it enhances the overall appeal and extends the life of its bodywork. Whether you’re dealing with a few scratches or looking at a full paint overhaul, every step you take with an Aerosol can is a step towards mastering the art of car restoration.
Is That Your Color?
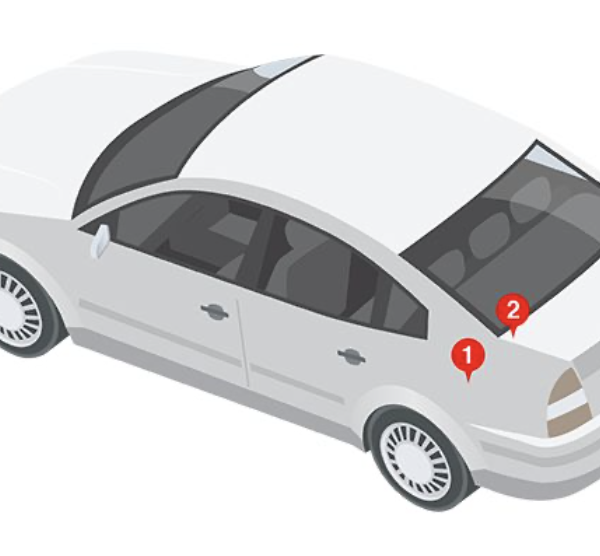
Painting with Aerosol cans is an art form demanding creativity and a steady hand. It starts with picking the right color, which might sound simple but actually involves navigating a sea of shades and finishes. TouchUpDirect’s website can help you find your color easily, but finding your car’s color code should give you that extra bit of reassurance that you’ve got the right color. The color code, a string of numbers, letters, or both that identify your exact car color, can usually be found inside the door jamb. Some car brands place the code in a different location, such as the glove compartment, under the spare trunk lid, the mat, the spare rear tire compartment, or trunk lid. Now that you’ve found the right color, it’s time to paint! When it comes to application, these cans offer a nuanced approach—you can build up layers for a flawless finish, but achieving that smooth, uniform look takes practice and a bit of skill.
The Silver Mink Thunderbird Restoration
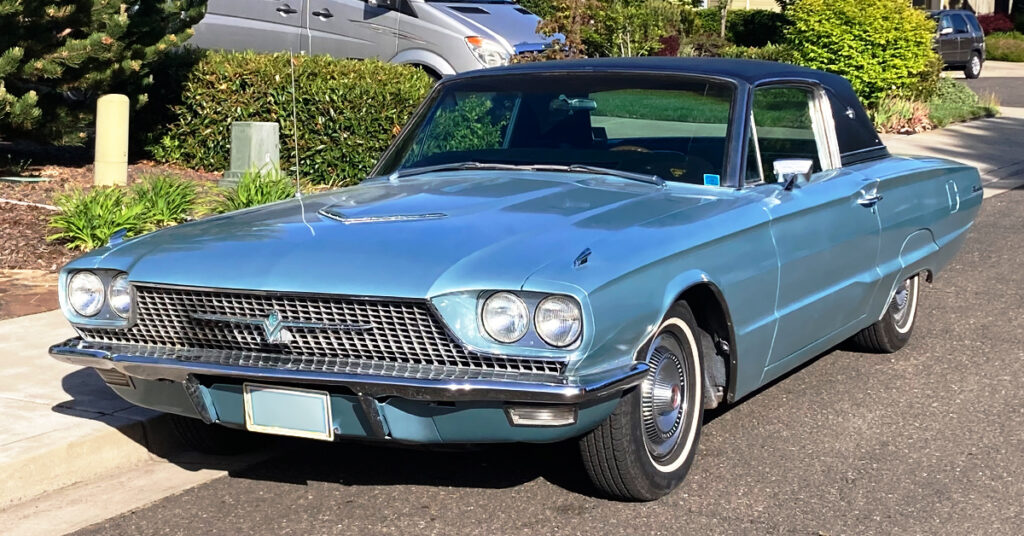
You can do incredible things with Aerosol. Take for instance, this 1966 Ford Thunderbird. When we are lucky, our customers will sometimes send us pictures or even videos of their completed touch up projects. One of our favorites, Mr. D. of Oregon, did something rather unique. He embarked on a project to repaint his entire car using only Aerosol paint cans. The results were astonishing. He used can after can of Ford Silver Mink Aerosol from TouchUpDirect to a gorgeous result. We salute you, Mr. D. You gave a true classic the paint job it absolutely deserves.
How Do I Use an Aerosol?
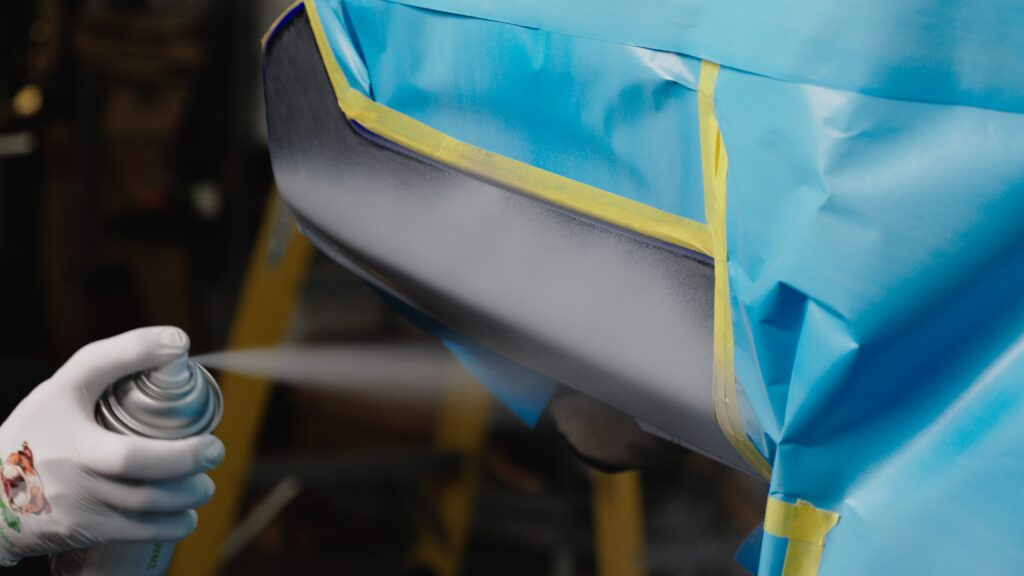
It’ll take some time to become a pro at this but don’t worry! We’ve got you covered with a step by step guide on how to apply TouchUpDirect Aerosol to your vehicle. While you can spray without it, we recommend that you use a spray can trigger for your Aerosol. It ensures an even spray and reduces hand fatigue during the process.
Hold the spray paint can about 6-8 inches from the surface being painted. Begin spraying 1-2 inches before the target area and stop spraying 1-2 inches past the target area. Shake spray paint can prior to spraying and intermittently while spraying.
Apply 2-3 coats of paint, overlapping the previous pass by at least 50% to ensure thorough coverage. Allow for 15 minutes of dry time in between each coat.
Once you have finished the Colorcoat stage, wait 30 minutes for the final coat to dry before moving on to the Clearcoat.
Apply a thorough, even coat of Clearcoat with the same 50% overlap of the previous pass. Repeat for up to 4 coats with a 10-15 minute dry time in between coats.
Allow the Clearcoat to dry for 48 hours before polishing or waxing.
So, whether you choose the DIY route with Aerosol cans or opt for a professional paint job, what matters most is the care, passion, and detail you put into the project. Each method has its place, and the best choice depends on what you’re looking for in a finish, what you’re willing to spend, and how much work you want to put in. Happy painting, everyone!

 Cart
Cart
 Help Desk
