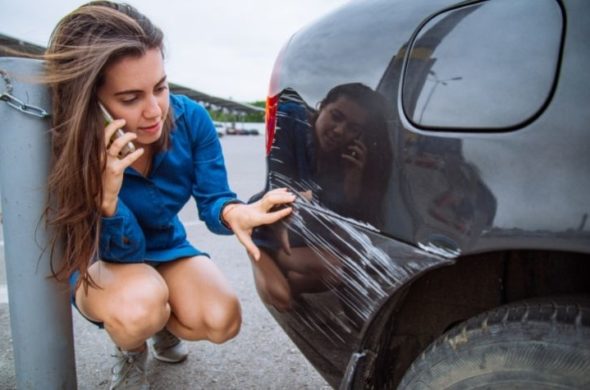
If you’re here, you’ve probably had a run in with a rogue shopping cart or someone parked too close or a vengeful ex who happened to see your vehicle in the parking lot while they had keys in their hand. Don’t worry! We’ve been there and we’re here to help. It can be a little intimidating fixing those scratches by yourself. So we’re going to walk you through how to deal with car scratches on your paint job step by step.
Applicators & Paint Layers
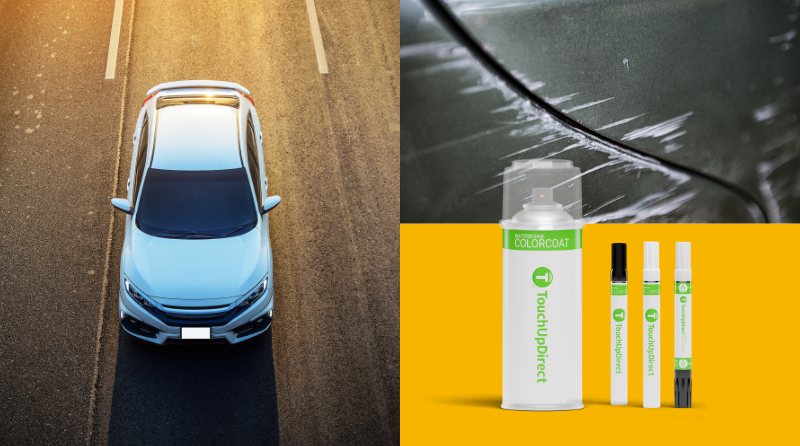
We’re here to get your cars painted in some truly excellent colors. But before we get to the instructions, let’s take a look at how the modern automotive paint system works and what applicators you will need for your vehicle’s paint job. The multi-step touch up system is designed to let each layer handle a different aspects of the paint job so one layer doesn’t have to do all the work. The steps consist of the Primer, the waterborne Colorcoat, and finally the Clearcoat.
Primer
Primer is the first layer of paint to touch the surface of your car. It is designed to make sure that the Colorcoat on your vehicle will adhere to whatever surface it needs to, be it bare metal, fiberglass or plastic. In addition to helping create excellent adhesion, this sandable primer works to protect your paint job by fighting rust, corrosion and other detrimental elements.
Colorcoat
The Colorcoat is exactly what it sounds like. If the Colorcoat is white, your car will likely be white. The exception to this rule are Tricoats. Tricoats act in a very similar way to Colorcoats, except it adds an extra layer that must be painted on for a complete paint job. Tricoats come with a Basecoat and a Midcoat. Apply the Basecoat first and once it’s dry, apply the Midcoat. These extra colors are used to add a special effect, often a metallic or candy sheen. This can be seen with cars like the Harley Davidson Candy Orange or the Tesla Shasta White Pearl.
Clearcoat
Clearcoat is a very thin layer of finish that is the top and final layer of the multi-step touch up process. Clearcoat both protects and enhances the color on your vehicle. In most cases, it provides gloss and shine while protecting your paint job colors from tree sap, UV rays, bird droppings and several types of fuel. Because the Colorcoat does not need to provide the finish, providing an excellent and vibrant color for your vehicle.
Pen
You’ll find that our Pen’s specially designed chiseled nib tip is perfect for smaller jobs like rock chips and small scratches. The applicator covers damaged areas that are around the size of a pencil eraser.
Brush
The touch up Brush is a brush-in- cap style applicator that is good for touching up wider areas while also handling smaller scratches. This applicator is used for slightly bigger scratches than the Pen as they release a more generous amount of paint. If your car has chips or scratches that are the size of a quarter, use a Brush.
Combo
The Combo brings together two of our favorite applicators in one tool. On one side, the Pen. On the other, the Brush. Be ready for absolutely anything with this versatile applicator.
Aerosol
The Aerosol spray was designed to give you a smooth and polished look. While applicators like the Pen and the Brush were created for small scratches, spray paint can cover larger areas. Do you need to paint hoods, mirrors or trunk lids? Aerosol is the way to go.
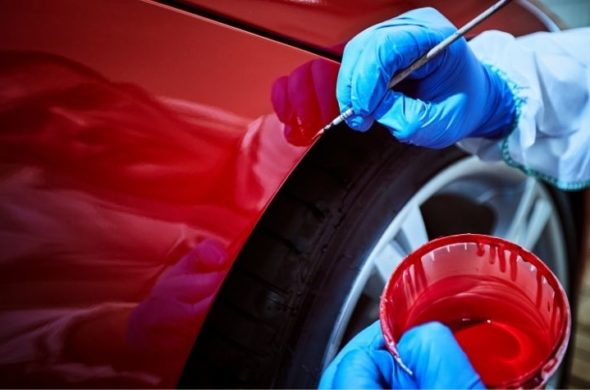
How To Touch Up That Paint Job
Ok! Let’s get that car painted. There are slight differences on how to apply touch up paint depending on the applicator, so we’re going to run through how to apply Primer, Colorcoat, & Clearcoat using the Pen, the Brush, & the Aerosol. The Combo is a combination of the Pen and the Brush, so we would recommend that you use those instructions for that applicator.
Pen
Use a soft cloth to prime your Primer Pen, pushing the tip down on a soft surface until you see Primer saturate the tip.
Lightly dab 2 to 3 coats of Primer on to the target area. Drawing or rubbing will not have the desired effect. You have to dab.
Cover the area and the original base material thoroughly. Allow the Primer to dry for 15 to 20 minutes before painting the Colorcoat.
Use a soft cloth to prime your Colorcoat Pen. Use a firm but gentle force to avoid damaging the pen tip. Paint should saturate the tip within 3-5 pumps of the tip into the pen. If excess paint builds up on the pen tip, wipe with a soft, clean cloth.
Using the Pen, lightly dab paint onto the damaged area. Apply 2-3 coats evenly, waiting 15 minutes in between coats. Make sure the cap is screwed on tightly after you have finished.
Use a soft cloth to prime your Clearcoat Pen, pushing the tip down on a soft surface until you see Clearcoat saturate the tip.
Lightly dab the Clearcoat on to the target area. Drawing or rubbing will not have the desired effect. You have to dab. You’ll want to apply 2-3 coats, waiting 15 minutes in between coats. Once finished, allow the Clearcoat to dry for 48 hours.
Brush
Clean the scratch area with soap and water. Wipe it dry. Open the package of Wax & Grease Remover and gently wipe the area in one direction for 2-3 times. This will remove any excess grease from the project area.
Make sure to hold the Brush applicator with the black cap pointing up. Twist cap to open container. Remove excess paint by lightly dragging the brush along the inside opening as you remove it from the container.
Only use Primer if you see bare metal, fiberglass, or plastic. Apply evenly and allow to dry for 15 minutes before you apply the Colorcoat. Repeat until the repair area is thoroughly covered (2-3 coats).
Apply the Colorcoat evenly over the damaged area. Allow to dry for 15 minutes. Repeat until the repair area is thoroughly covered (2-3 coats). Don’t paint outside the damaged area.
Apply a light, even coat of Clearcoat in the same manner used to apply the Colorcoat. The first coat should have thorough, even coverage. Allow to dry for 15 minutes. Allow to dry for 15 minutes. Repeat until the repair area is thoroughly covered (2-3 coats). Do not exceed 4 coats.
Aerosol
To avoid paint fumes and protect your health, always wear a mask and gloves before spray painting. Automotive spray paint is best applied in a well ventilated area at a temperature of about 70° Fahrenheit.
Worried about a finger cramp? Our Universal Spray Can Trigger (a spray gun) can help with that. In addition to the comfort provided with its ambidextrous arthritis-friendly grip design, this spray gun was devised to create an even more professional looking paint job. To begin use, simply pop the car spray paint into the spray gun applicator and begin spray painting our fast drying car paint. The spray gun is not included in the kit.
Remove dust by wiping down the surface with the tack cloth.
Hold the spray paint can about 6-8 inches from the surface being painted. Begin spraying 1-2 inches before the target area and stop spraying 1-2 inches past the target area. Shake spray paint can prior to spraying and intermittently while spraying.
Apply 2-3 coats of paint, overlapping the previous pass by at least 50% to ensure thorough coverage. Allow for 15 minutes of dry time in between each coat.
Once you have finished the Colorcoat stage, wait 30 minutes for the final coat to dry before moving on to the Clearcoat.
Apply a thorough, even coat of Clearcoat with the same 50% overlap of the previous pass. Repeat for up to 4 coats with a 10-15 minute dry time in between coats.
Allow the Clearcoat to dry for 48 hours before polishing or waxing.
After finishing the project, remove the spray gun from the paint cans. To clean spray cans nozzle, hold the can upside down and press and let the air clear out any paint. Keep your spray gun around for future projects.