touchupdirecttouchupdirect.com
Instructions by touchupdirectAerosol Platinum Kit
touchupdirect

Aerosol Platinum Kit

Aerosol Platinum Kit
Before you start
Things to Know Before You StartOptimal Working EnvironmentPaint Application Timing GuidelinesMaterials
Steps
1. Assess the Damage2. Prepare the Surface3. Use the Tack Cloth4. Apply Primer5. Wet Sand and Feather6. Apply Colorcoat7. Apply ClearCoat8. Wet Sand, Buff, and Polish

No results

touchupdirect
touchupdirect / Aerosol Platinum Kit
Aerosol Platinum Kit
touchupdirect

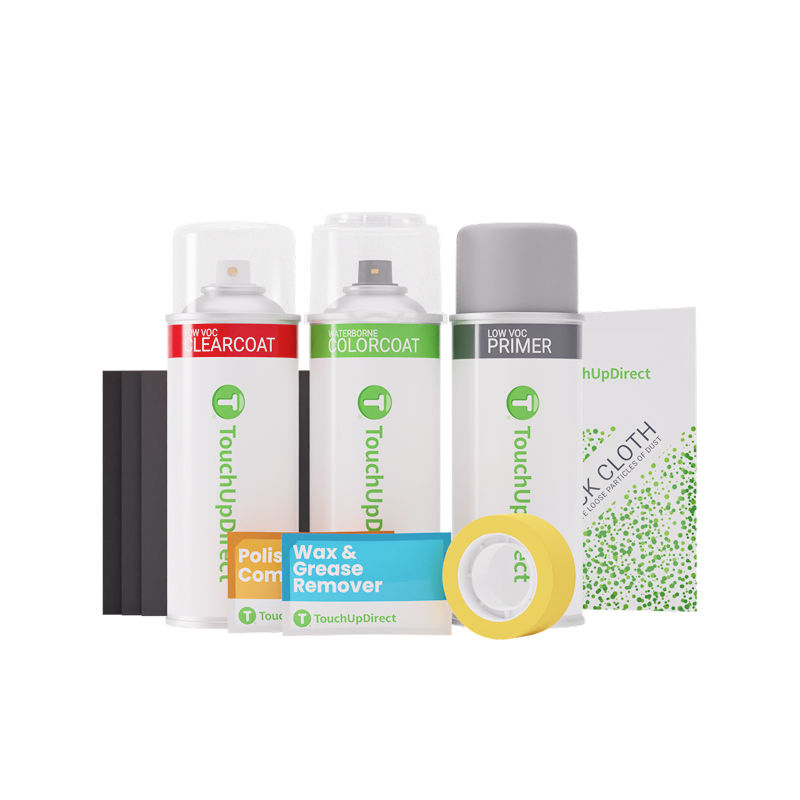
Instructions by

touchupdirect

Aerosol Platinum Kit

The Aerosol Platinum Kit is your all-in-one solution for fixing large scratches — everything from prep to final polish.

Things to Know Before You Start

  • Test your paint color (opens in new tab) with a test card
  • How to use (opens in new tab) an aerosol spray can

Optimal Working Environment

  • Paint is best applied in temperatures around 70º Fahrenheit.
  • Do not apply in direct sunlight.
  • Ensure your working area is clean and free of dust. 
  • Mask off surrounding areas to protect them from overspray.

Paint Application Timing Guidelines

  • Wait 15–30 minutes between coats to allow proper drying.
  • After applying the Colorcoat, let it dry for at least 30 minutes before applying Clearcoat.
  • Do not wait more than 24 hours to apply Clearcoat—delaying too long can cause peeling or wrinkling.
  • Wait 24–48 hours after painting before washing or polishing to allow the paint to cure fully.

Materials

Primer Aerosol Can
Primer
Colorcoat Aerosol Can
Colorcoat
Clearcoat Aerosol Can
Clearcoat
Wax & Grease Remover
Wax & Grease Remover Wipe
Polishing Compound
Polishing Compound
Masking Tape
Masking Tape
Sandpapers
Sandpaper (400 & 800 grit)
Tack Cloth
Tack Cloth

1. Assess the Damage

  • Examine the area you need to repair to understand the extent of the damage.
  • Clean the entire vehicle or part with soap and water to remove surface dirt. 
  • Make sure to rinse and dry the surface thoroughly.

2. Prepare the Surface

  • Tape off the area around the damage to protect the rest of your vehicle during sanding.
  • We recommend using 400 grit sandpaper included in the kit (the video used 500 grit). 
  • Keep a cup of water nearby and dip your sandpaper frequently for wet sanding. 
  • Sand the damaged area using short, even strokes to create a smooth surface.
  • Once done, dry the area thoroughly with a clean rag or paper towel.

3. Use the Tack Cloth

  • Tape off the area you plan to paint to protect the surrounding surface while sanding or applying paint.
  • Before applying the first coat, lightly wipe the area with a tack cloth to remove any surface dust.

4. Apply Primer

  • Spray the Primer downward to prevent hard edges.
  • Start with one coat, then wait a few minutes before adding more.
  • Apply 2–4 light coats to avoid drips or runs.

5. Wet Sand and Feather

  • Wet sand the edges of the Primer to feather them out (800 grit sandpaper), creating a smooth transition between the repaired area and the original paint.

6. Apply Colorcoat

  • Retape the paint area before painting.
  • Shake the color thoroughly before use, and shake periodically between sprays.
  • Before applying the first coat, lightly wipe the surface with a tack cloth to remove any dust.
  • Point the can away from surfaces you don’t want to paint. Test spray 1–2 quick bursts to clear the nozzle and ensure proper spray function.
  • Hold the can 6–8 inches from the surface. Begin your spray pass 1–2 inches before the target area and continue spraying 1–2 inches beyond it for even coverage.
  • Repeat for up to 2-4 coats total. Let paint dry for 15-30 minutes between coats.

7. Apply ClearCoat

  • Wipe the surface with a tack cloth before the first coat and before each additional coat.
  • Apply a light, even first coat with full coverage. Let it dry for at least 15 minutes.
  • Apply a second coat—slightly heavier, but not enough to cause runs. Let dry for 15–30 minutes.
  • Repeat for up to 2-4 coats total, allowing proper drying time between each. 
  • Do not exceed four coats.

8. Wet Sand, Buff, and Polish

  • Allow to dry for 48 hours before wet sanding, polishing, or waxing.
  • Once the Clearcoat is dry, wet sand (2000 grit) the area to smooth it out. 
  • Buff and polish using a circular motion with a Polishing Compound to bring out the gloss.
  • Try our Polishing Kit (opens in new tab) for extra shins.
touchupdirect
touchupdirect (opens in new tab)Terms (opens in new tab)Privacy (opens in new tab)