1. Assess Damage
- Clean the damaged area with soap and water.
- Inspect for any paint transfer.
- If present, use the Polishing Compound to remove it before applying touch up paint.
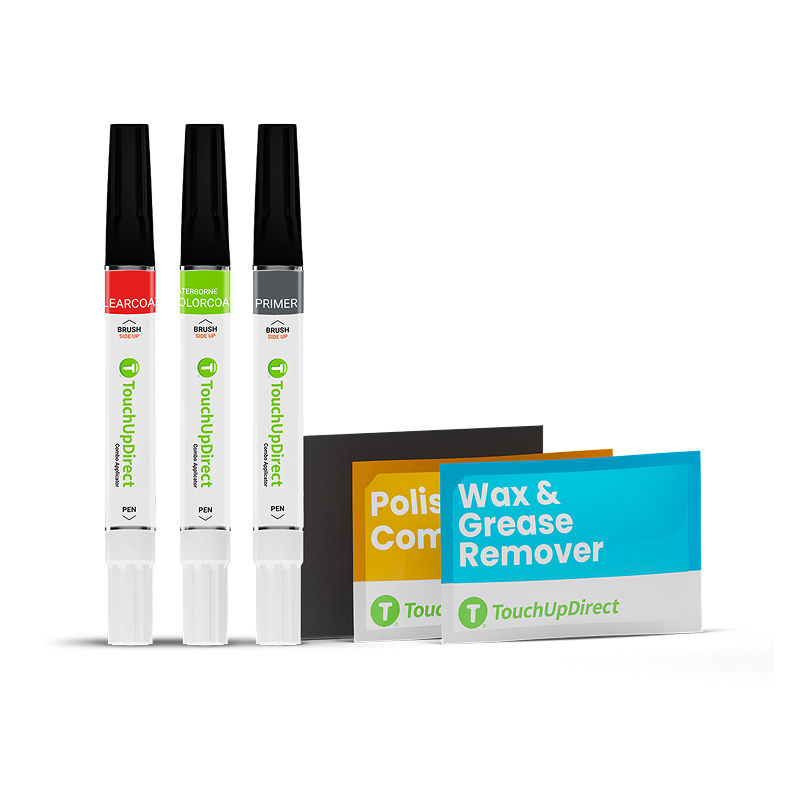 Instructions by touchupdirect Combo Platinum KitThe TouchUpDirect Combo Platinum Kit includes Primer, Colorcoat, Clearcoat, and all you need for step-by-step chip and scratch repair. The Combo applicator features a pen tip on one end and a brush on the other for added precision and flexibility. Materials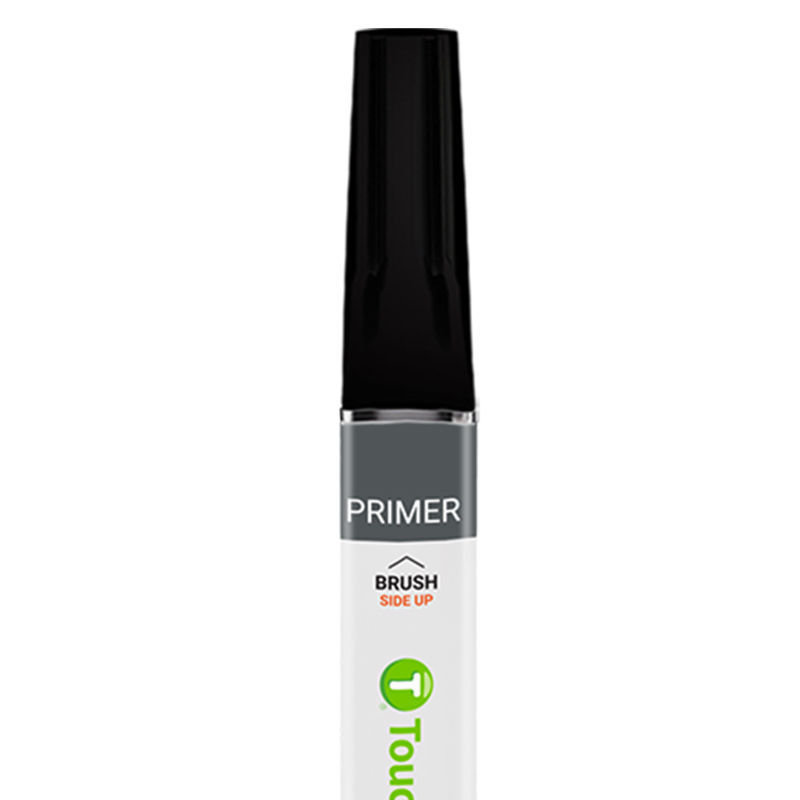 Primer 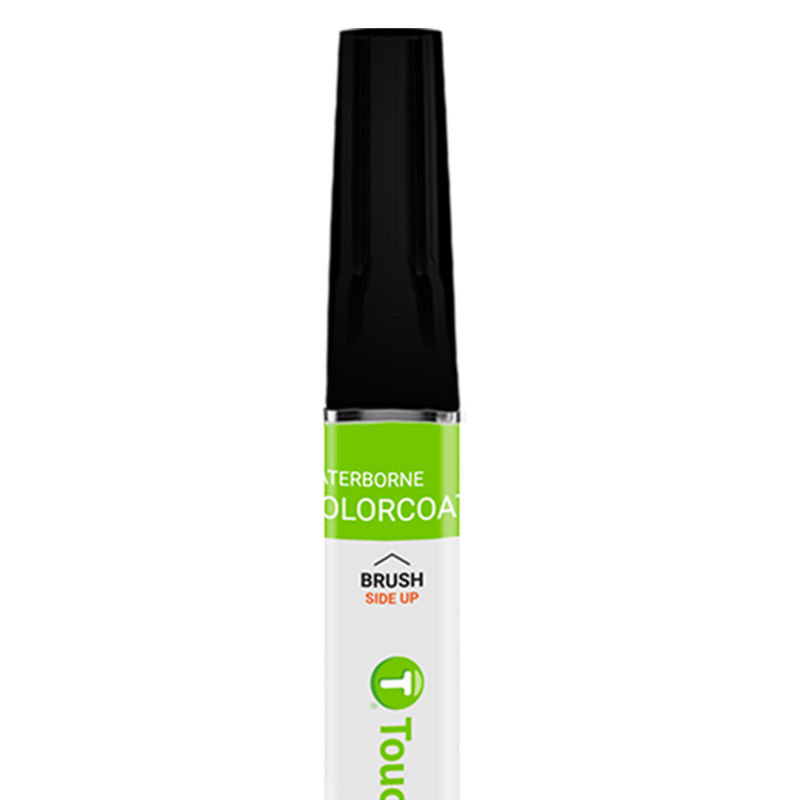 Colorcoat 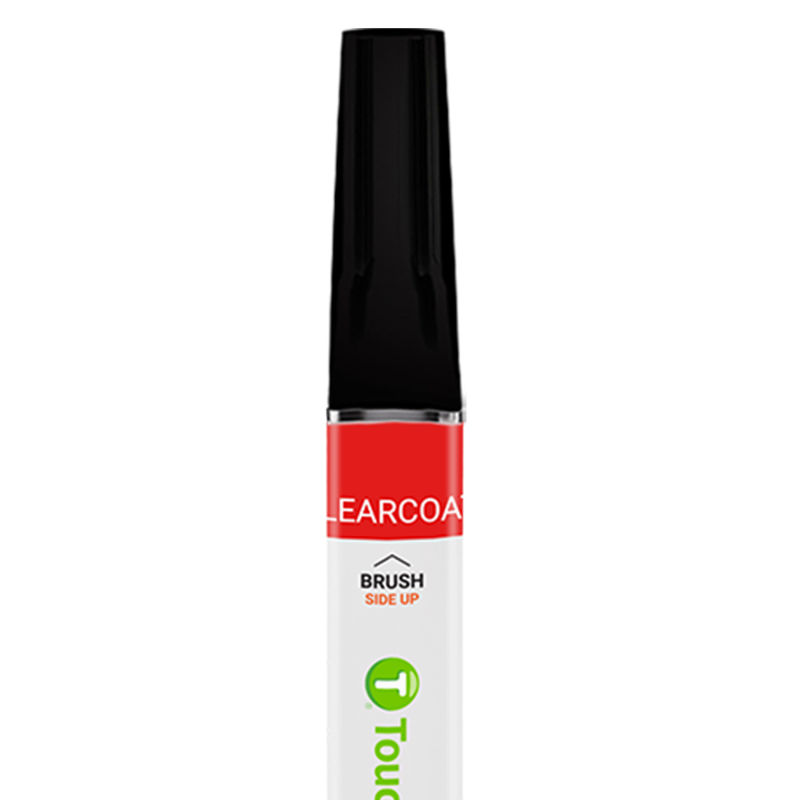 Clearcoat  Polishing Compound  Sandpaper (400 & 800 grit)  Wax & Grease Remover Wipe 1. Assess Damage
2. Remove Paint Transfer
3. Apply Primer
4. Apply Colorcoat
5. Clear Coat Application
6. Final StepsAllow the clear coat to dry completely. After drying, the surface can be polished and waxed after 24 to 48 hours to enhance the finish and protect the repair. |