1. Prepare for Painting
- Wet sand the entire part with 500-grit sandpaper to scuff the surface.
- Follow up with 800-grit sandpaper for a smoother finish.
- Clean the surface thoroughly.
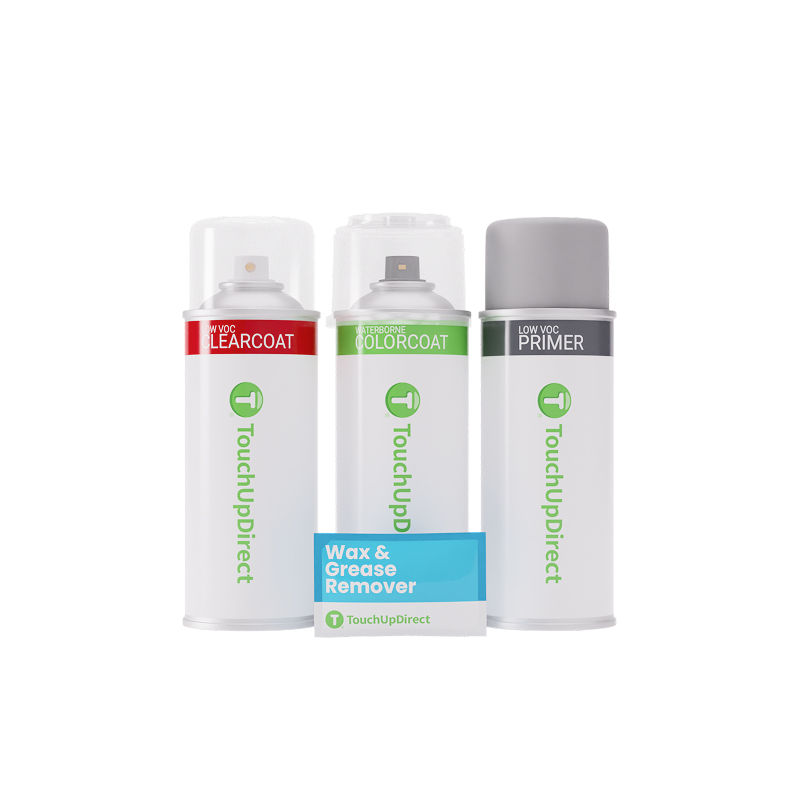 Instructions by touchupdirect Aerosol Preferred KitThe Aerosol Preferred Kit includes Primer, Colorcoat, Clearcoat, and a Wax & Grease Remover Wipe—everything you need to repaint auto parts or repair a large scratch. We recommend having sandpaper and a tack cloth on hand for best results. Materials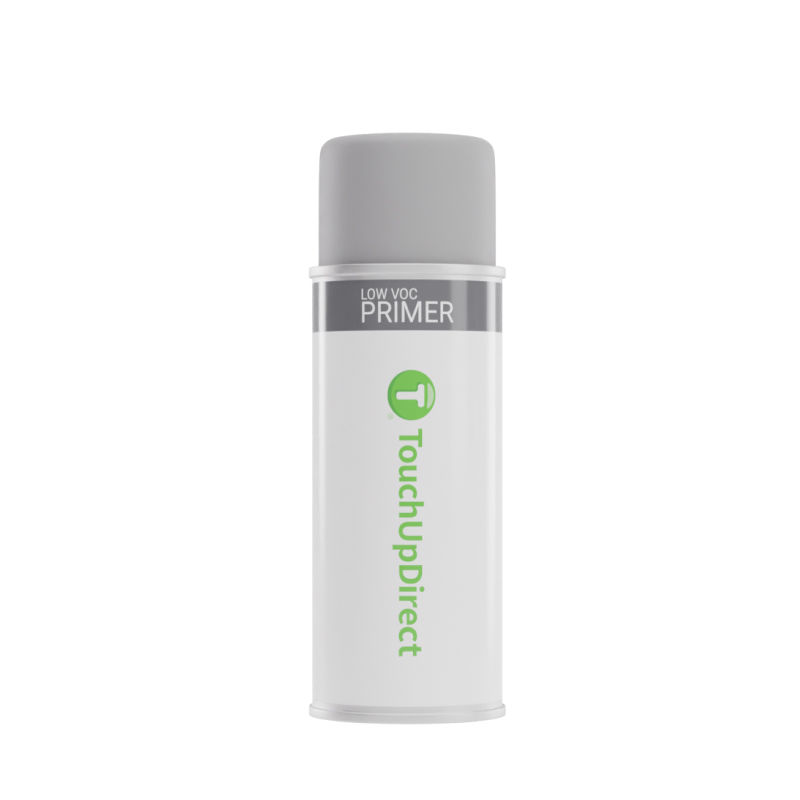 Primer 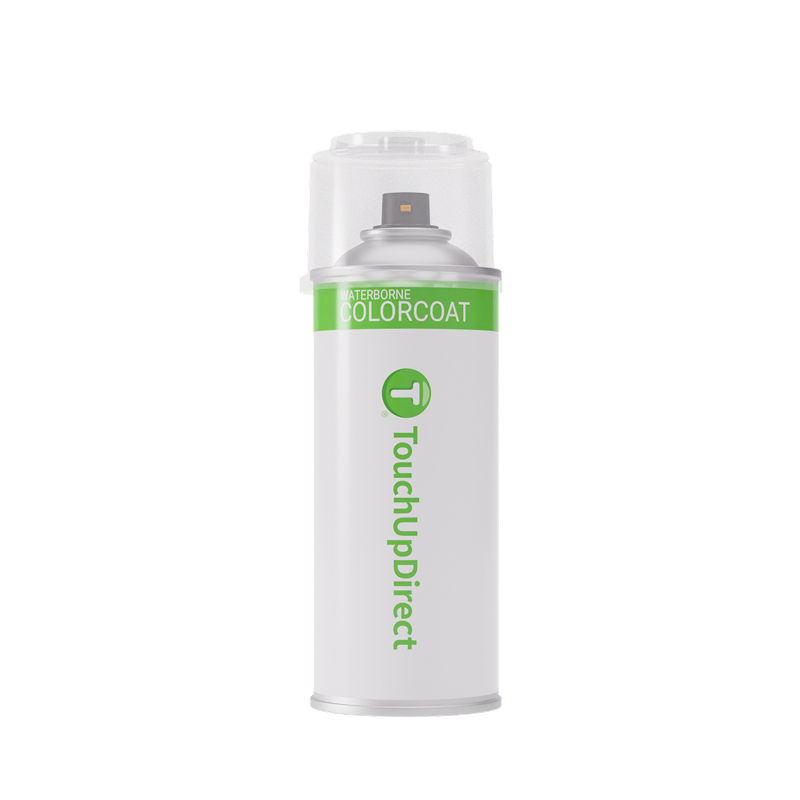 Colorcoat 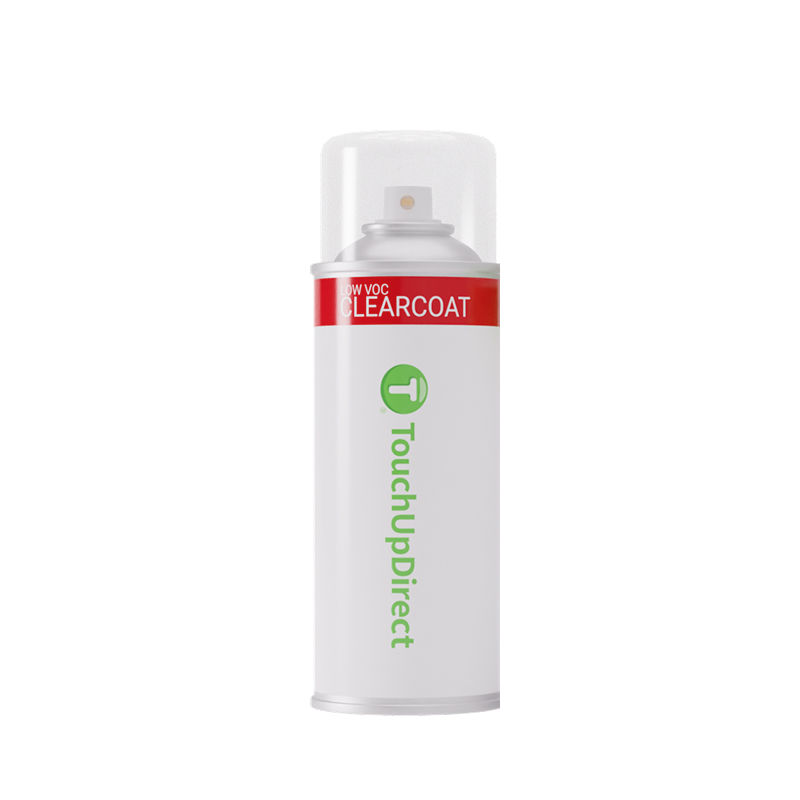 Clearcoat 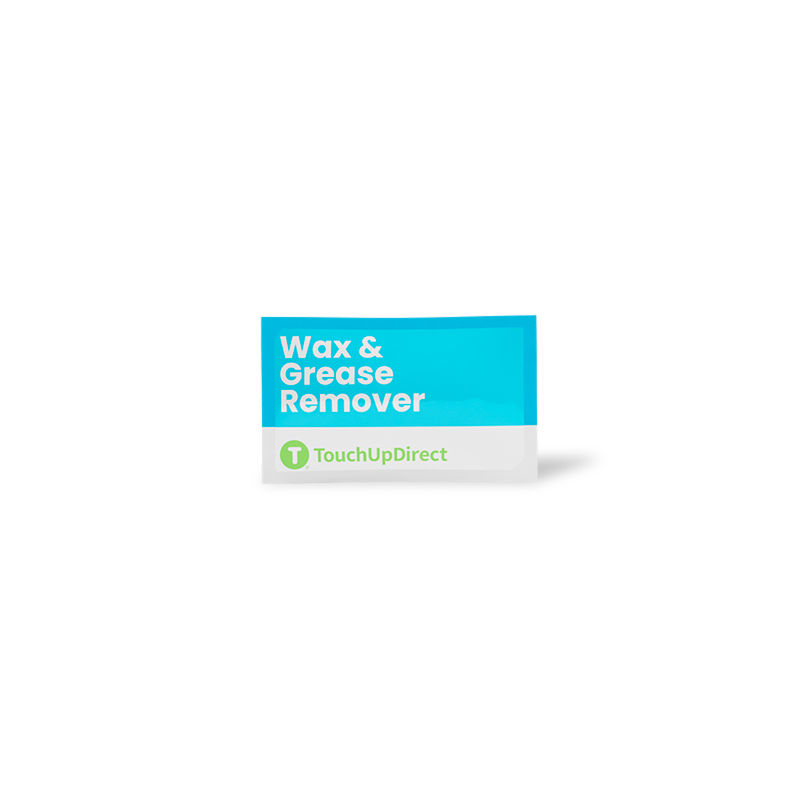 Wax & Grease Remover Wipe 1. Prepare for Painting
2. Clean Surface
3. Apply Primer
4. Wet Sand Primer
5. Apply Colorcoat
6. Apply Clearcoat
|