1. Prepare the Surface
- Wash the car thoroughly to remove dirt and debris.
- Use the Wax & Grease Remover Wipe to clean any leftover contaminants.
- Wipe in a single direction for best results.
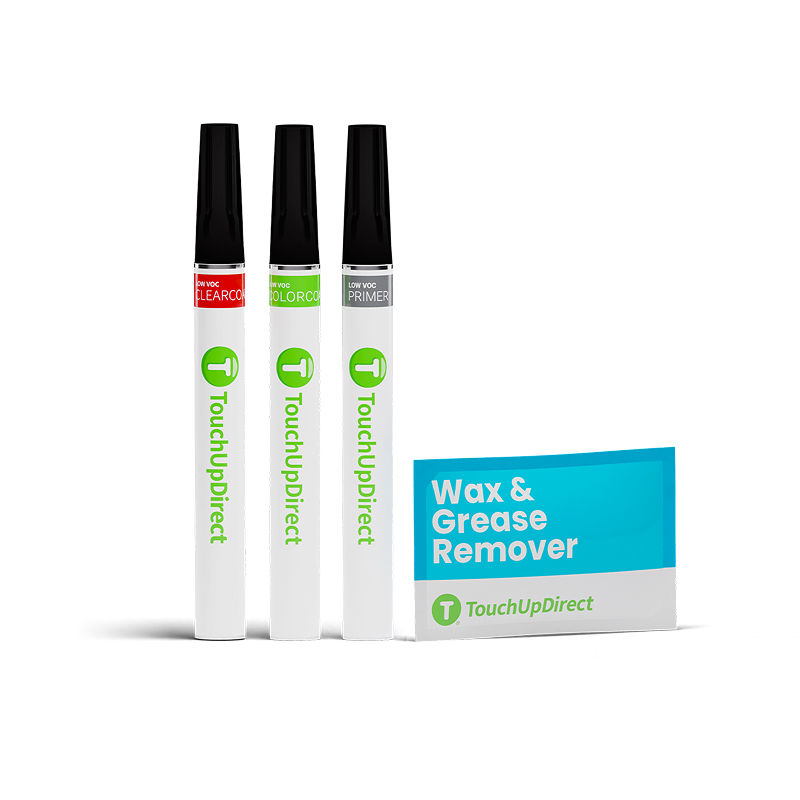 Instructions by touchupdirect Brush Preferred KitLearn how to fix a small car scratch step by step using the touch up brush, along with Primer, Colorcoat, Clearcoat, and the Wax & Grease Remover Wipe. Materials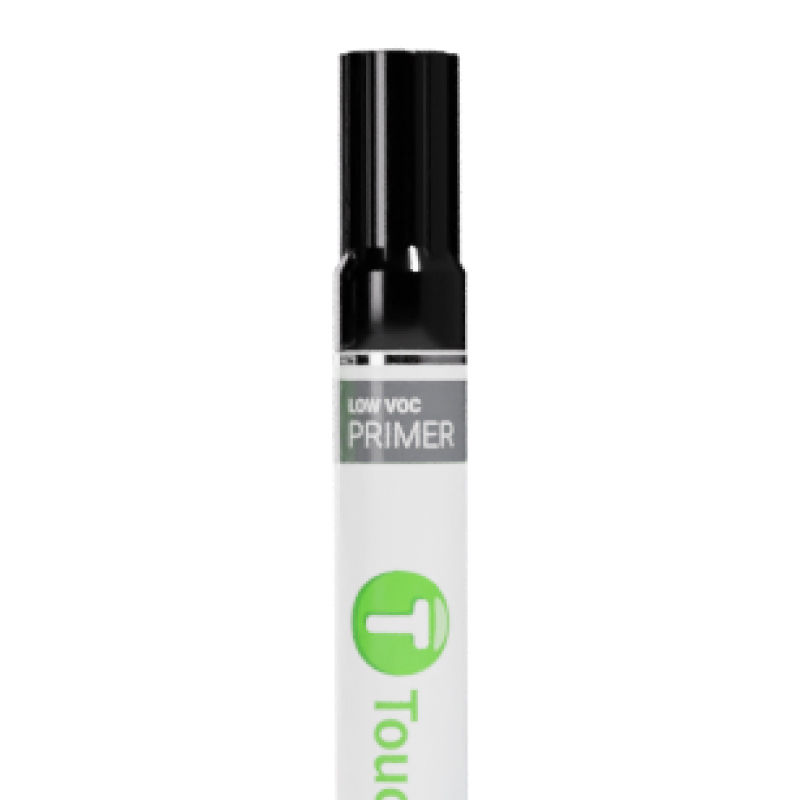 Primer 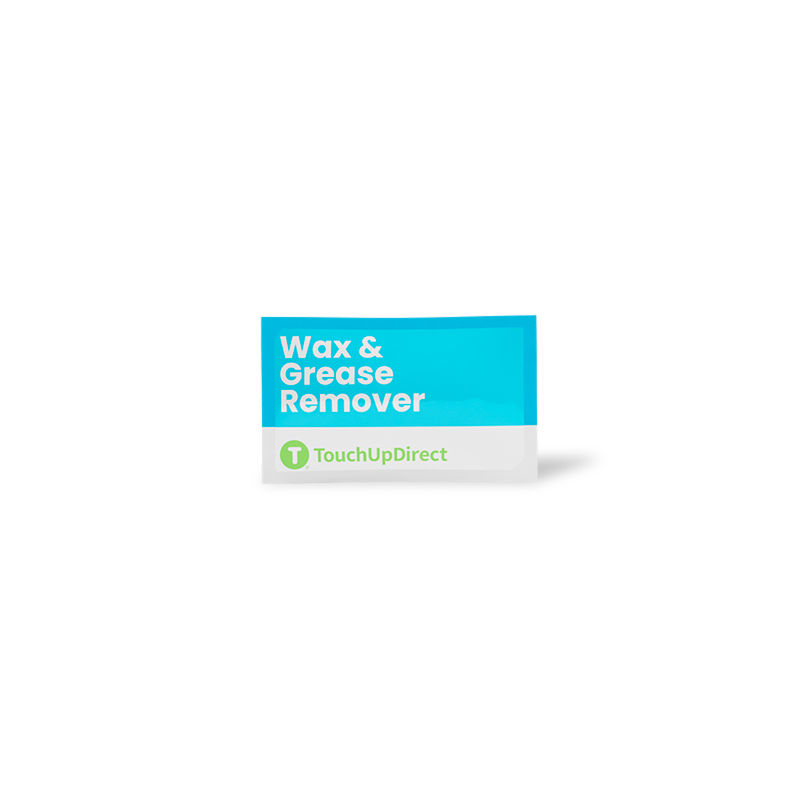 Waxing grease remover 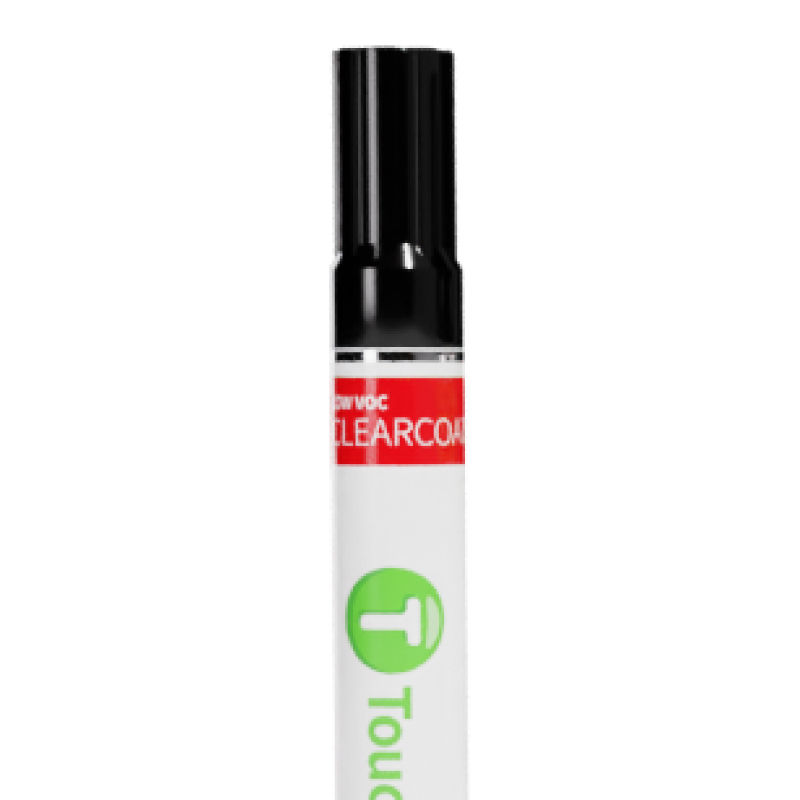 Clearcoat 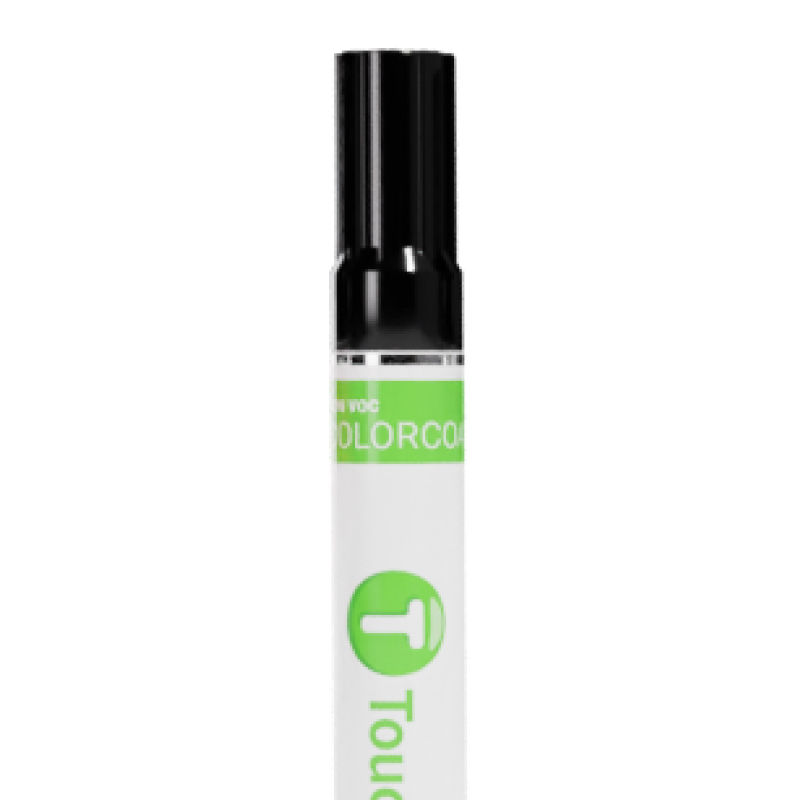 Colorcoat 1. Prepare the Surface
2. Apply Primer
3. Apply Colorcoat
4. Apply Clearcoat
|