touchupdirecttouchupdirect.com
Instructions by touchupdirectAerosol – Pearl Tricoat Paint Application Tips
touchupdirect

Aerosol – Pearl Tricoat Paint Application Tips

Aerosol – Pearl Tricoat Paint Application Tips
Before you start
Best Practices for Tricoat ApplicationOptimal Working Environment
Steps
1. Understand Tricoat System2. Color Match Verification3. Apply Basecoat4. Apply Midcoat5. Apply Clearcoat

No results

touchupdirect
touchupdirect / Aerosol – Pearl Tricoat Paint Application Tips
Aerosol – Pearl Tricoat Paint Application Tips
touchupdirect

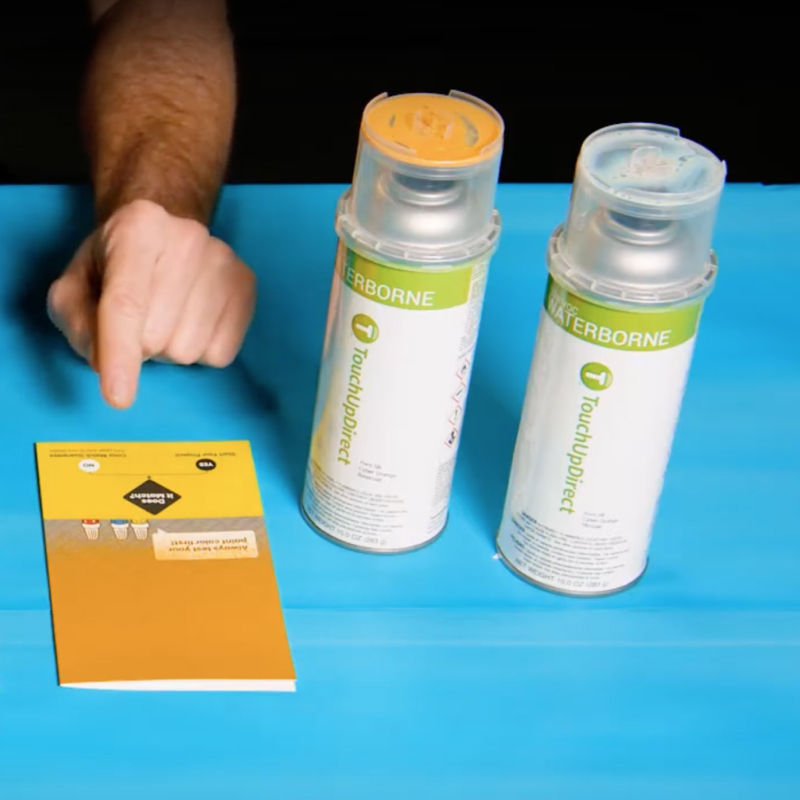
Instructions by

touchupdirect

Aerosol – Pearl Tricoat Paint Application Tips

Pearl Tricoat colors deliver depth and a rich, eye-catching finish. This 3-layer system—Basecoat, Midcoat with pearl, and Clearcoat—creates a dynamic look that shifts with the light. Tricoats take more care than standard paints, so follow the steps closely for the best match.

Best Practices for Tricoat Application

  • Allow each coat to dry completely before applying the next. 
  • Use test cards to verify color accuracy before starting the project on the vehicle.

Optimal Working Environment

  • Work in a clean, dust-free area to prevent contaminants from affecting the paint finish. 
  • Ensure adequate lighting to accurately assess color matching.

1. Understand Tricoat System

  • Tricoats consist of a colored Basecoat, Midcoat, and Clearcoat.

2. Color Match Verification

  • Compare the test card color to your vehicle to ensure it matches.
  • If it looks good, go ahead with your project.
  • If it doesn’t match, stop and contact the supplier for a Color Match Guarantee.

3. Apply Basecoat

### Step 1: Apply the Basecoat

### The basecoat may appear flat or not quite the right color. That’s expected—color accuracy comes after the midcoat.

The basecoat lays down the initial solid color.

  • Shake the aerosol can for at least 1 minute after the mixing ball begins to rattle.
  • Spray light, even coats from 6–8 inches away.
  • Apply 2–3 coats of basecoat.
  • Wait 10–20 minutes between coats of the same product.
  • Wait 20–30 minutes before applying a different product (in this case, the midcoat).

The basecoat may appear flat or not quite the right color. That’s expected—color accuracy comes after the midcoat.

4. Apply Midcoat

### Step 2: Apply the Midcoat

### Applying too much midcoat can darken the color. Applying too little can leave it looking too light.

The midcoat is a translucent pearl layer that adjusts the base color and adds depth.

  • Shake the aerosol can for at least 1 minute after the mixing ball begins to rattle.
  • Spray 1–3 light, even coats from 6–8 inches away.
  • Use the included Test Card to compare your midcoat to the original finish after each coat.
  • Stop applying midcoat once the painted area matches the Test Card.
  • Wait 10–20 minutes between coats of the same product.
  • Wait 20–30 minutes before applying a different product (in this case, the Clearcoat).

Applying too much midcoat can darken the color. Applying too little can leave it looking too light.

5. Apply Clearcoat

### Step 3: Apply the Clearcoat

The Clearcoat locks in color, adds gloss, and protects the finish.

  • Shake the aerosol can for at least 1 minute after the mixing ball begins to rattle.
  • Spray 2–3 medium wet coats from 6–8 inches away.
  • Wait 10–20 minutes between coats of the same product.

After the final coat of Clearcoat, allow the painted area to dry for at least 30 minutes before handling.

touchupdirect
touchupdirect (opens in new tab)Terms (opens in new tab)Privacy (opens in new tab)